First router project. My family had a trivet like this when I was growing up, and I wanted to recreate it. Made from a scrap end of an oak board.

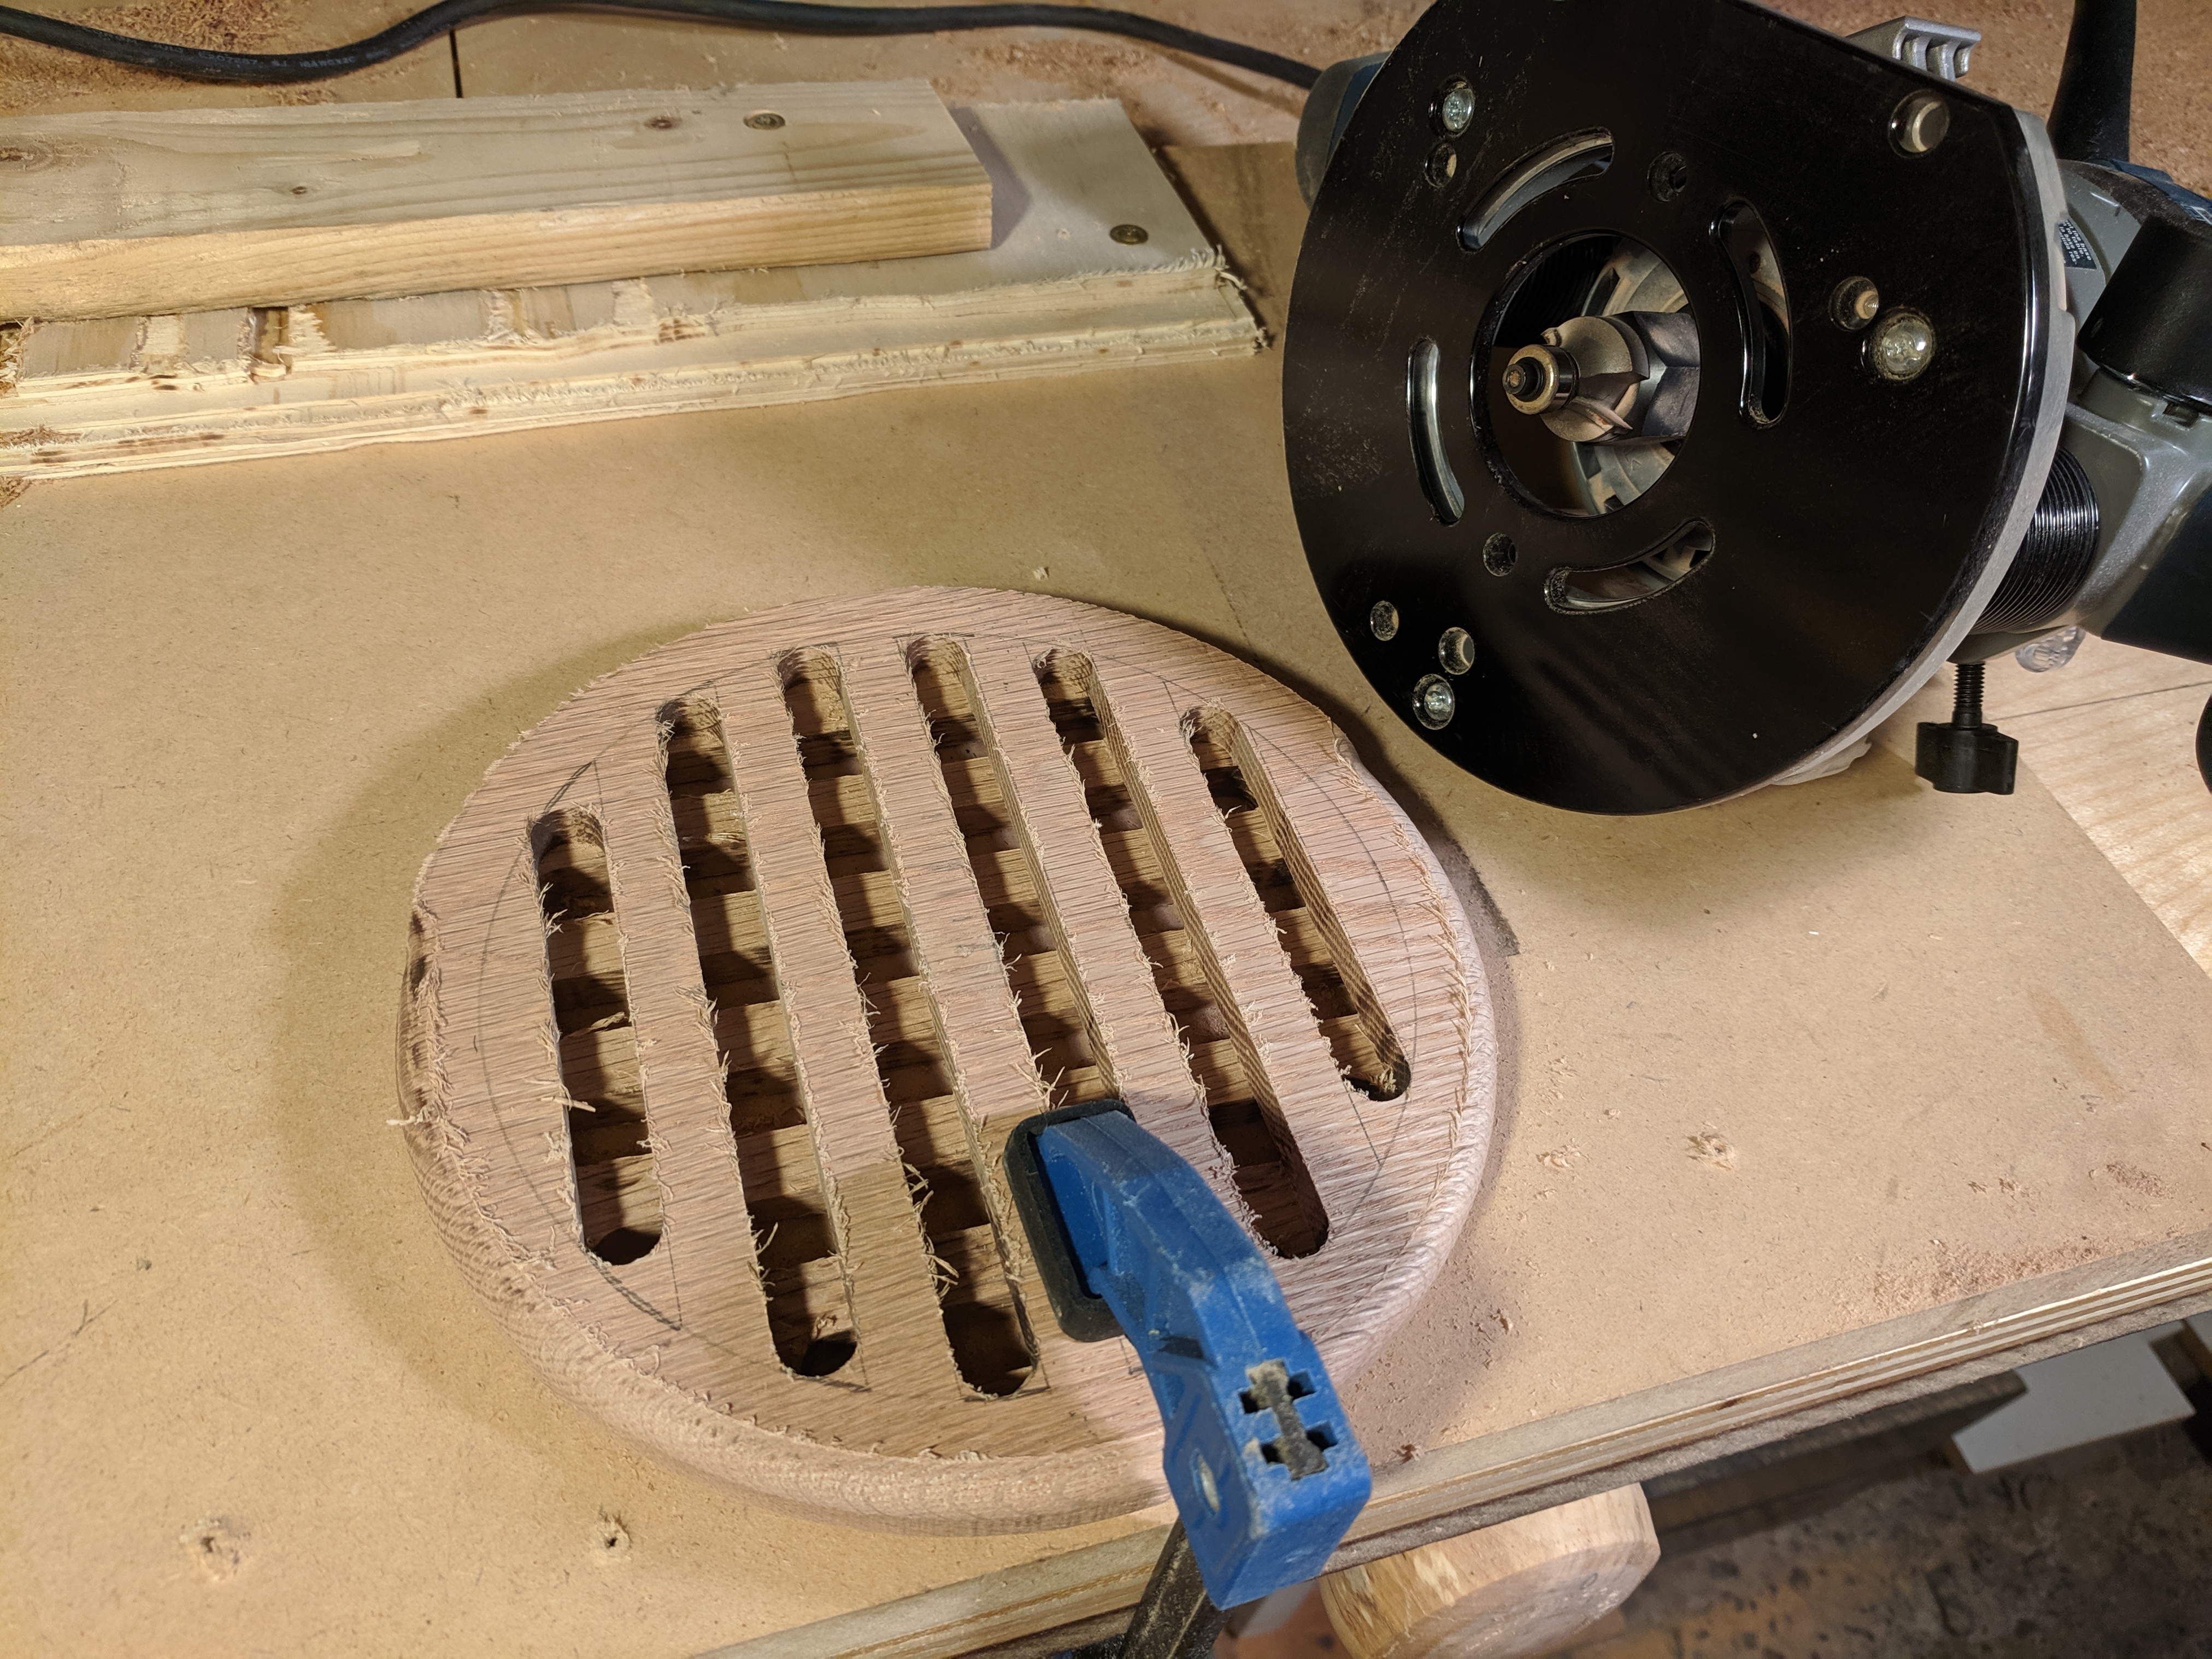
One of the channels on the bottom has a little deviation but otherwise they came out pretty much straight. And there's a fair amount of burning on the sides. I was moving very slowly at full depth, so I wouldn't have to try to get to the exact same endpoint multiple times at different depths. Curious if that's a likely source of burn and what a better way would be; it's not really a problem on the oak but would be on lighter wood (and I have an ash scrap waiting to be v2).
I started with a practice on a plywood scrap.
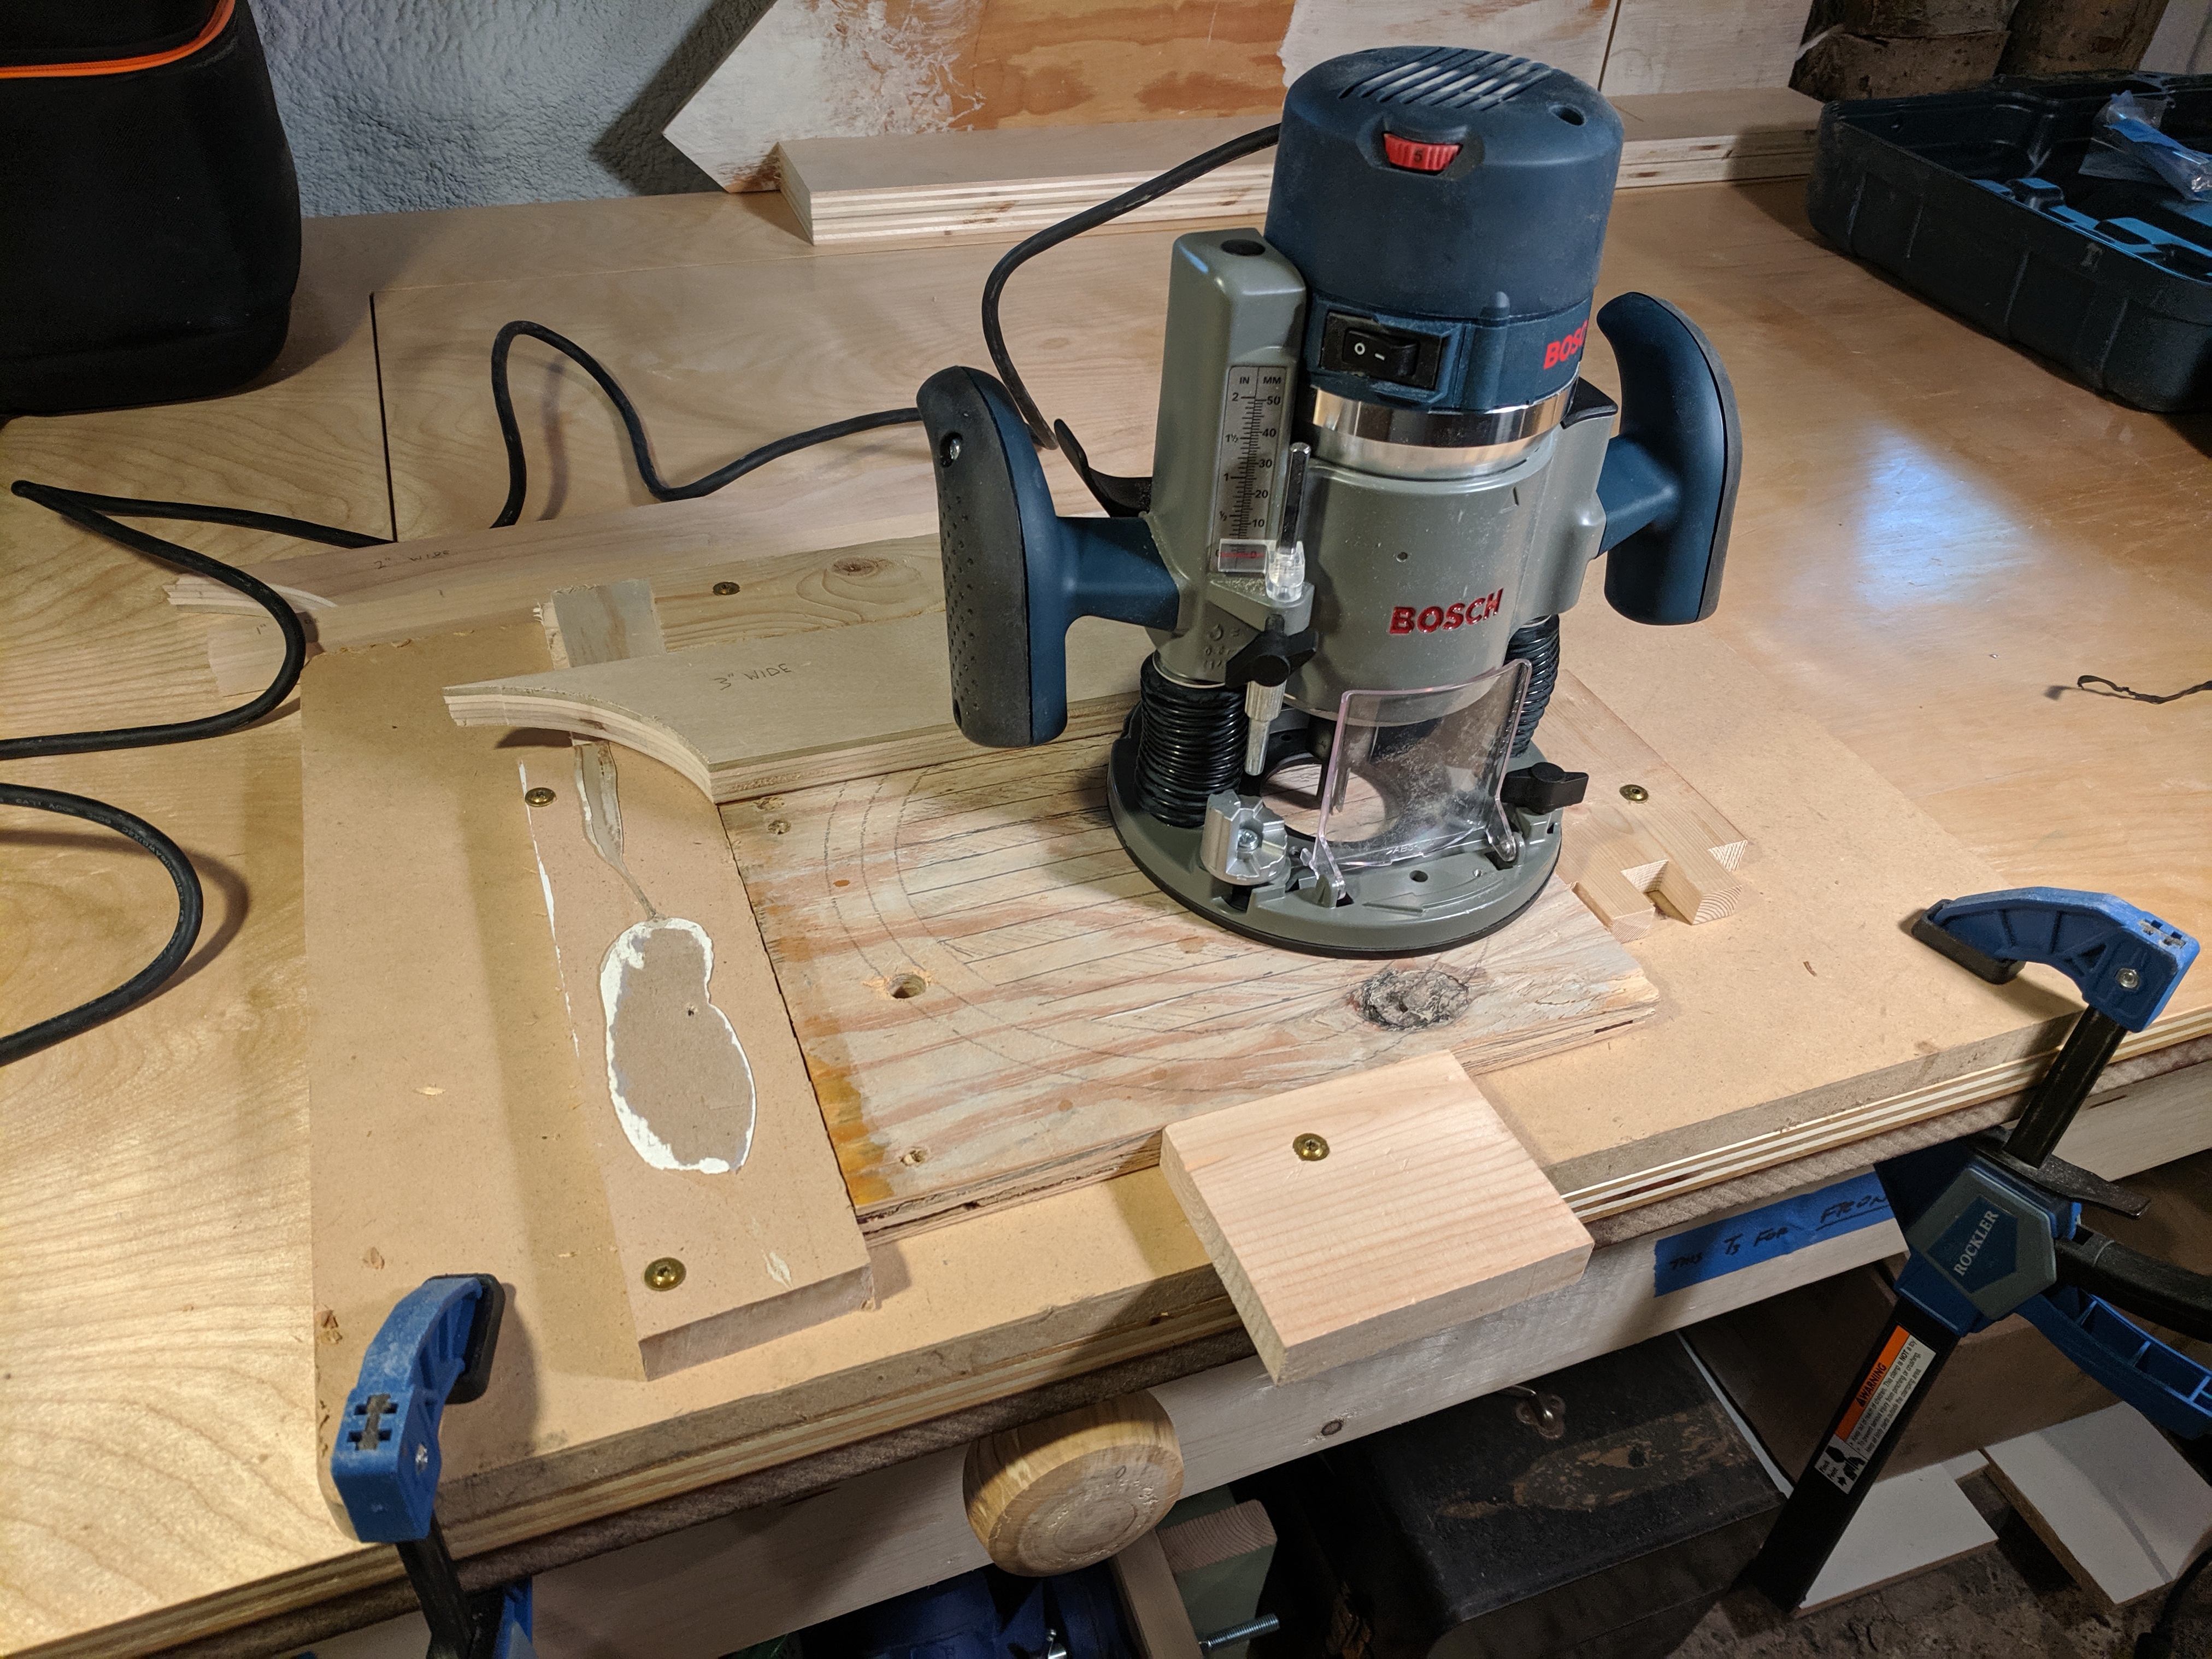
The jig mostly just holds it in place, with a fence along the back and 1", 2" and 3" spacers (then flip it around to work in from the other side).

For the real thing, I cut it out first on a bandsaw circle jig. That left a pinhole in the center, still slightly visible after a sawdust + glue patch, but it's on the bottom. Placing a channel in the center could avoid that.

After all the criss-cross cuts (routes?) I used a 1/4" roundover. The set of the bandsaw left the outside a little rough, so I'd probably smooth that out before doing the roundover next time.
Finally, 80 + 150 + 200 with the orbital sander (just holding the trivet in my hand to do the edge and rounded corner), and butcher block finish.
