First router project. My family had a trivet like this when I was growing up, and I wanted to recreate it. Made from a scrap end of an oak board.

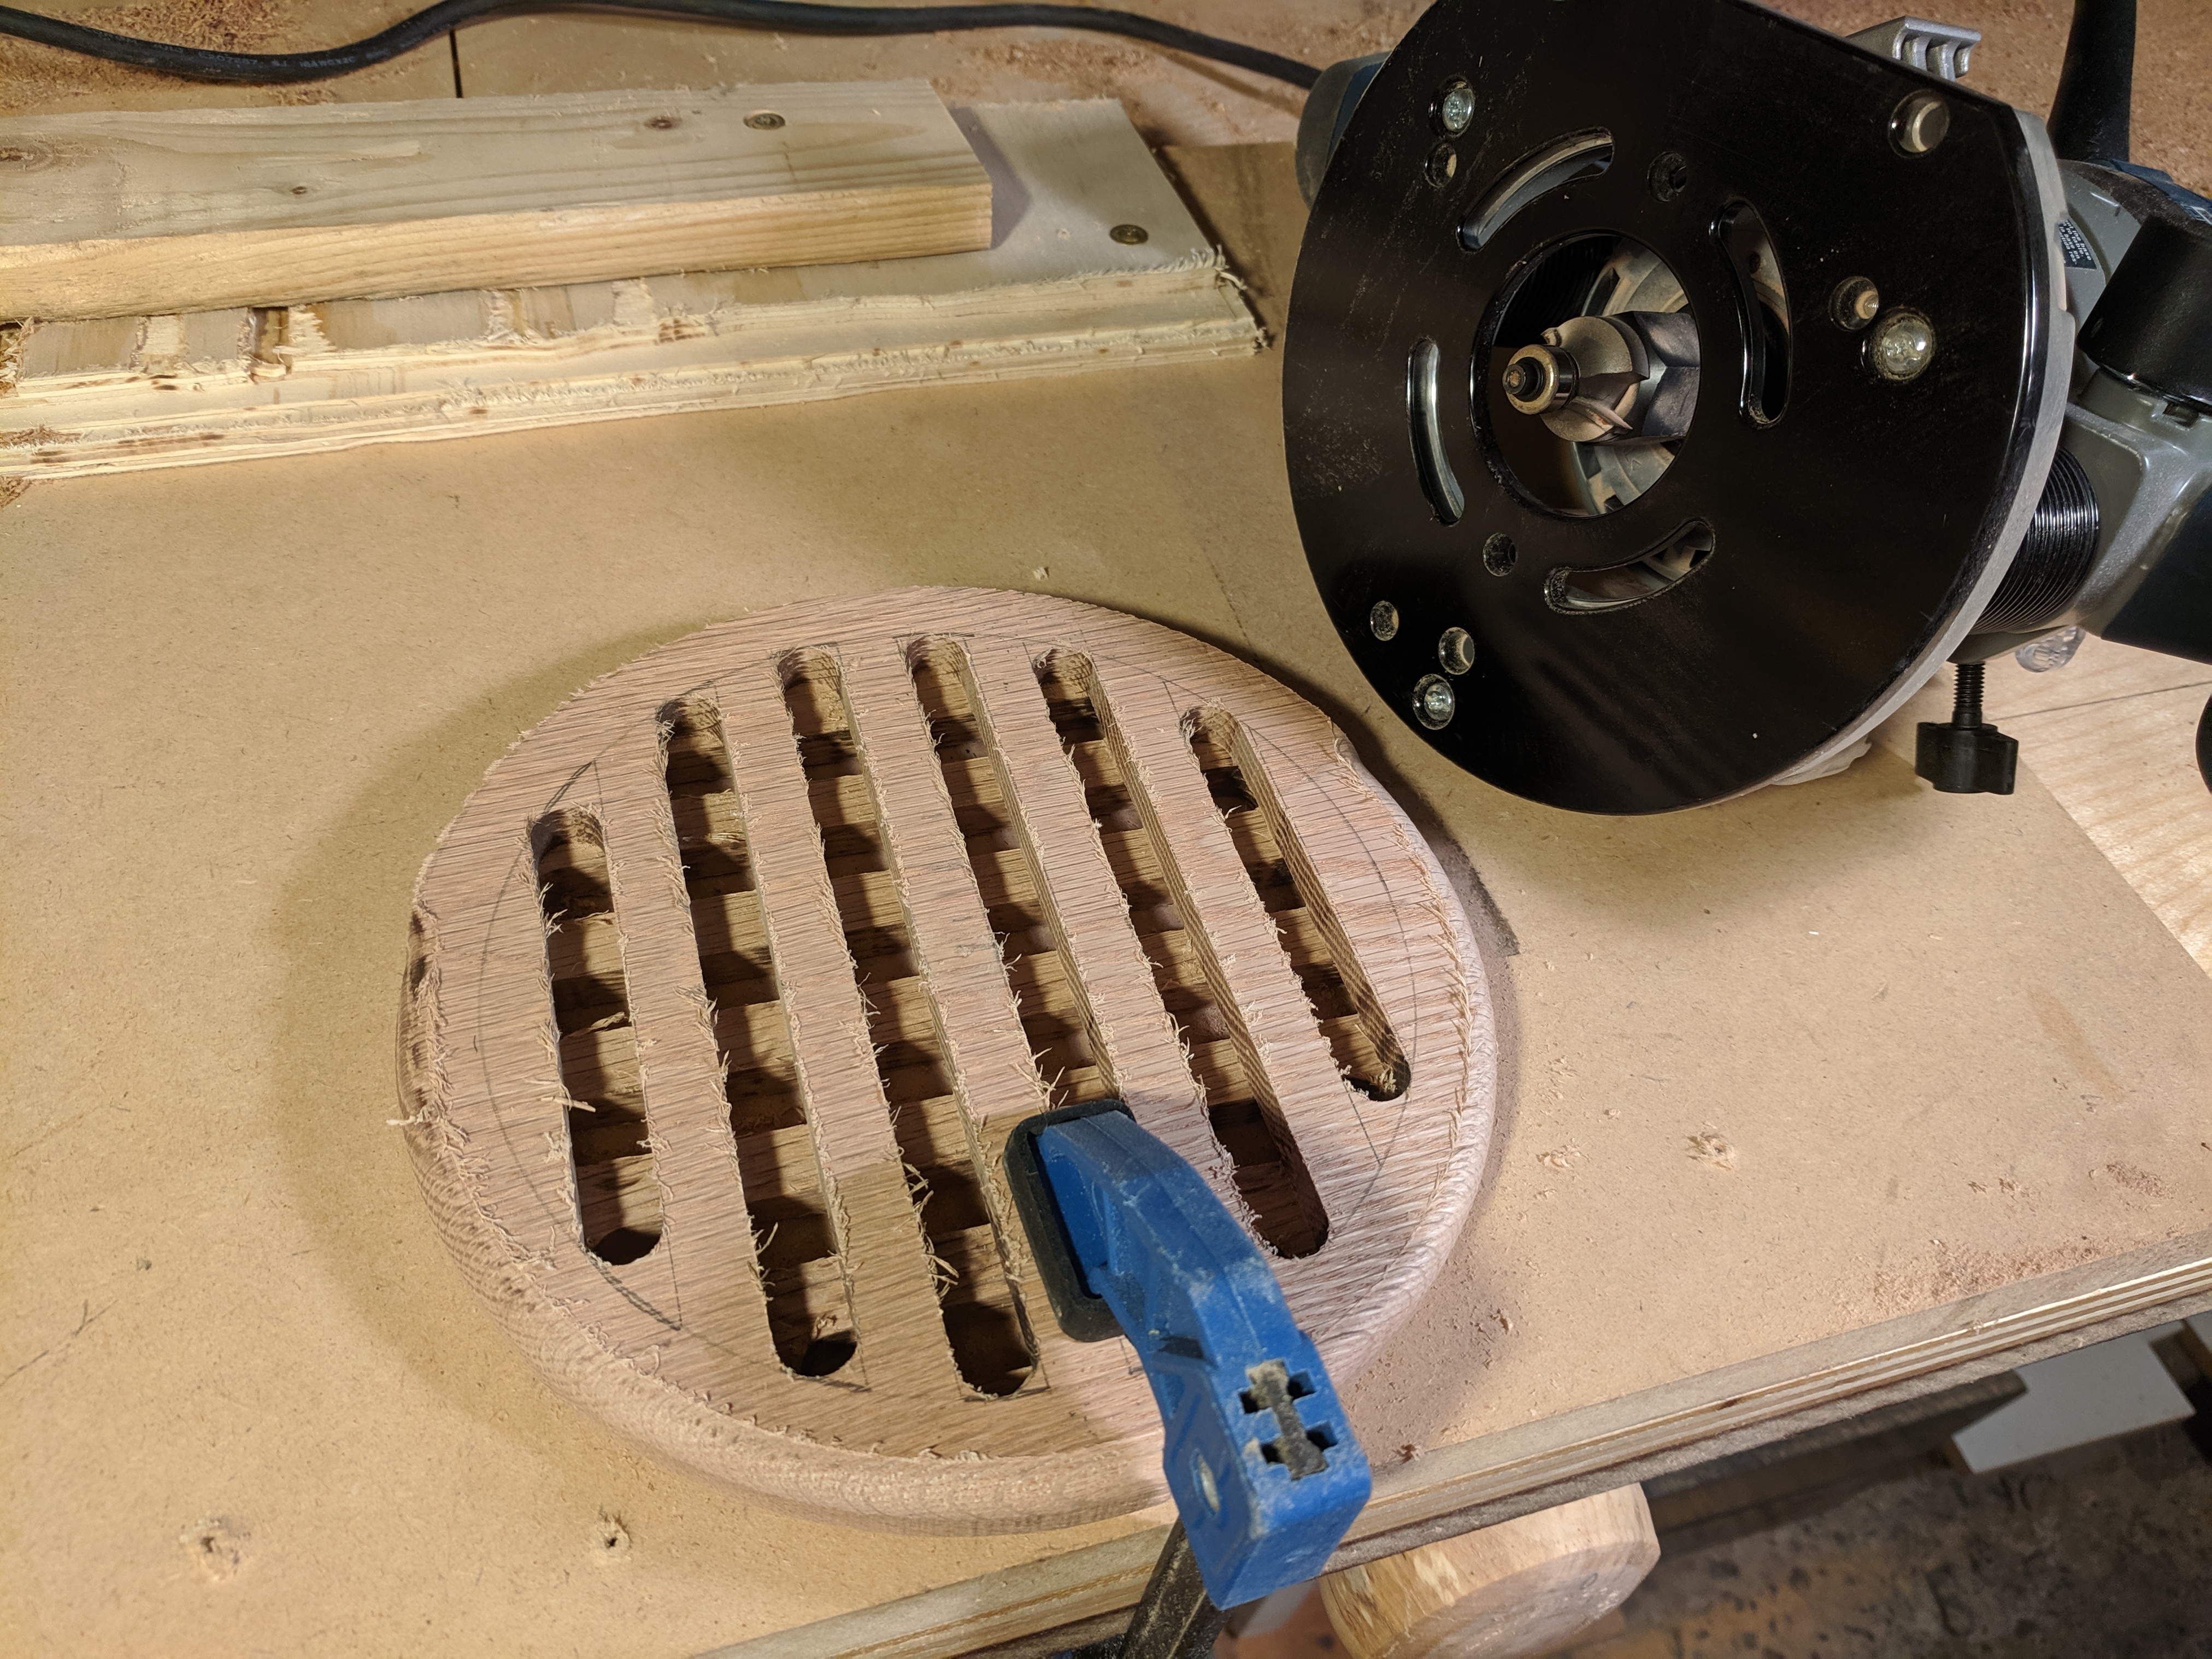
One of the channels on the bottom has a little deviation but otherwise they came out pretty much straight. And there's a fair amount of burning on the sides. I was moving very slowly at full depth, so I wouldn't have to try to get to the exact same endpoint multiple times at different depths. Curious if that's a likely source of burn and what a better way would be; it's not really a problem on the oak but would be on lighter wood (and I have an ash scrap waiting to be v2).
I started with a practice on a plywood scrap.
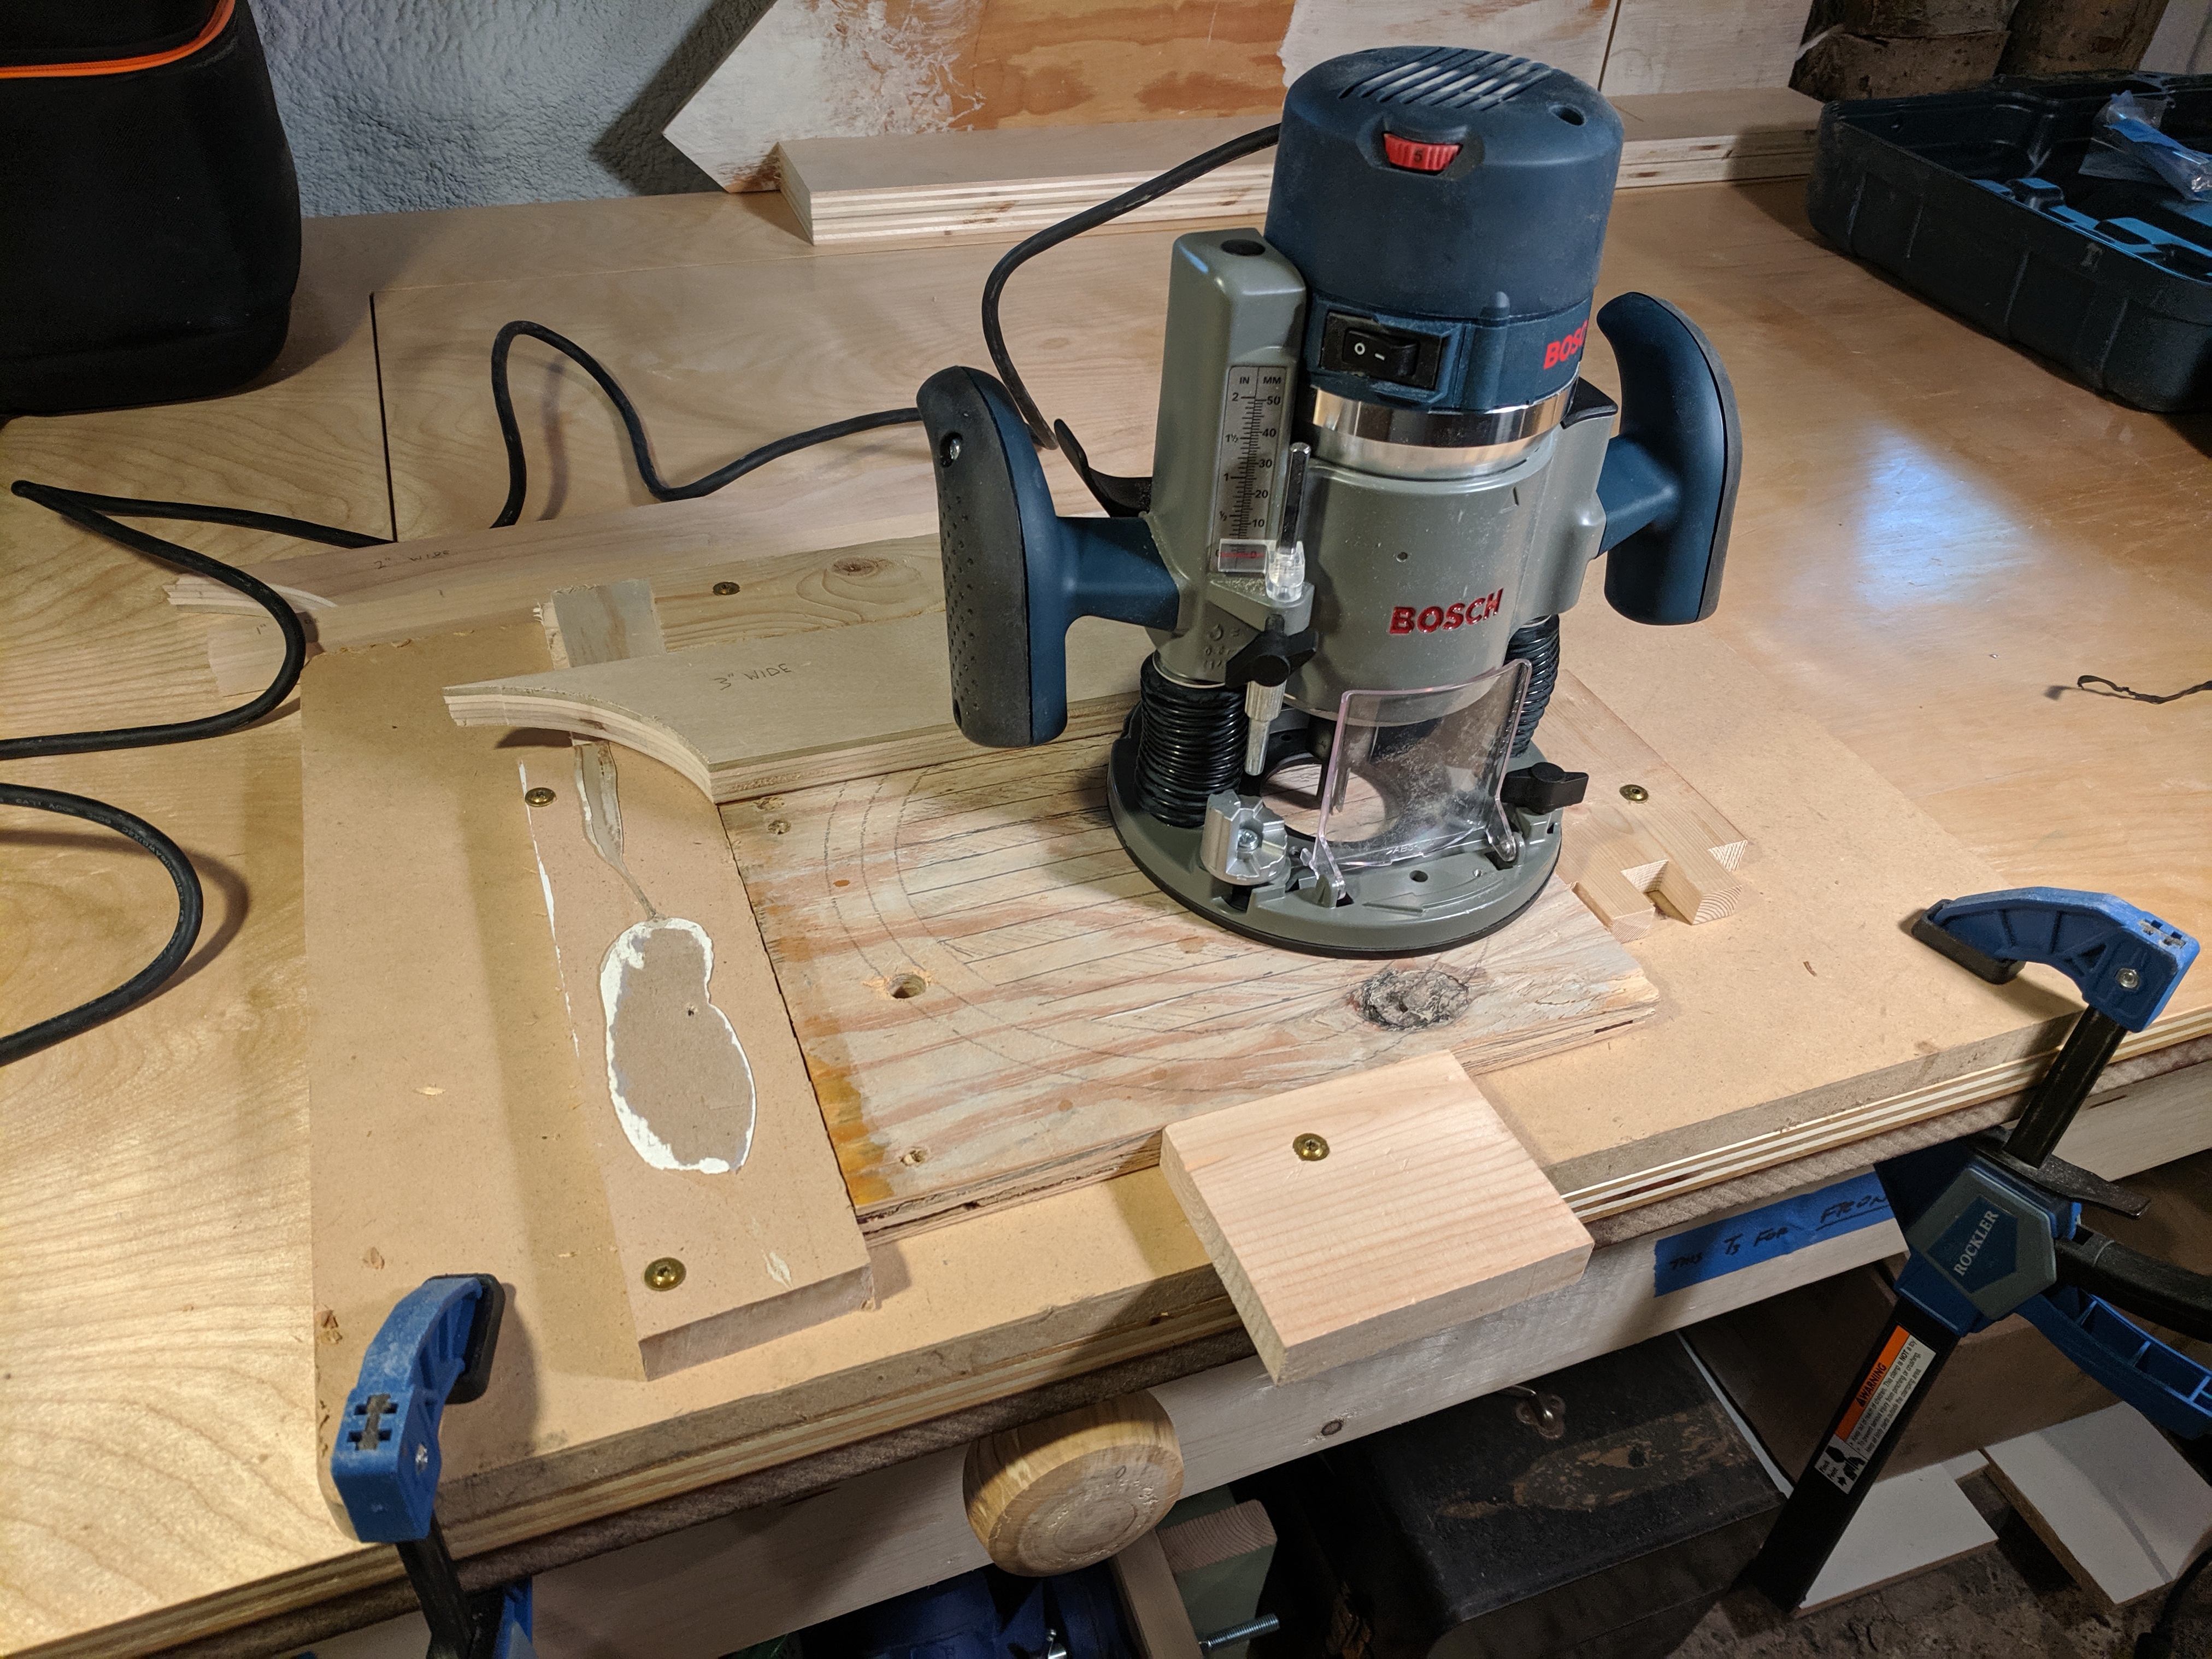
The jig mostly just holds it in place, with a fence along the back and 1", 2" and 3" spacers (then flip it around to work in from the other side).

For the real thing, I cut it out first on a bandsaw circle jig. That left a pinhole in the center, still slightly visible after a sawdust + glue patch, but it's on the bottom. Placing a channel in the center could avoid that.

After all the criss-cross cuts (routes?) I used a 1/4" roundover. The set of the bandsaw left the outside a little rough, so I'd probably smooth that out before doing the roundover next time.
Finally, 80 + 150 + 200 with the orbital sander (just holding the trivet in my hand to do the edge and rounded corner), and butcher block finish.

Yup. This right here.
This is the textbook source of burning on routed pieces, especially with a bit that's anything less than pristine. As mentioned, stop blacks are the best solution. Barring that, plunging at the beginning and end, maybe twice, will give you cushion to stop without needing millimeter-accuracy, but hell, the best way to get those plunges in just the right spot is stop blocks. :-) As an added bonus, you'll get less tearout doing multiple shallow passes. You sanded that down very nicely indeed, and the big open grain of red oak is actually quite good for masking that, but other materials might be less forgiving.