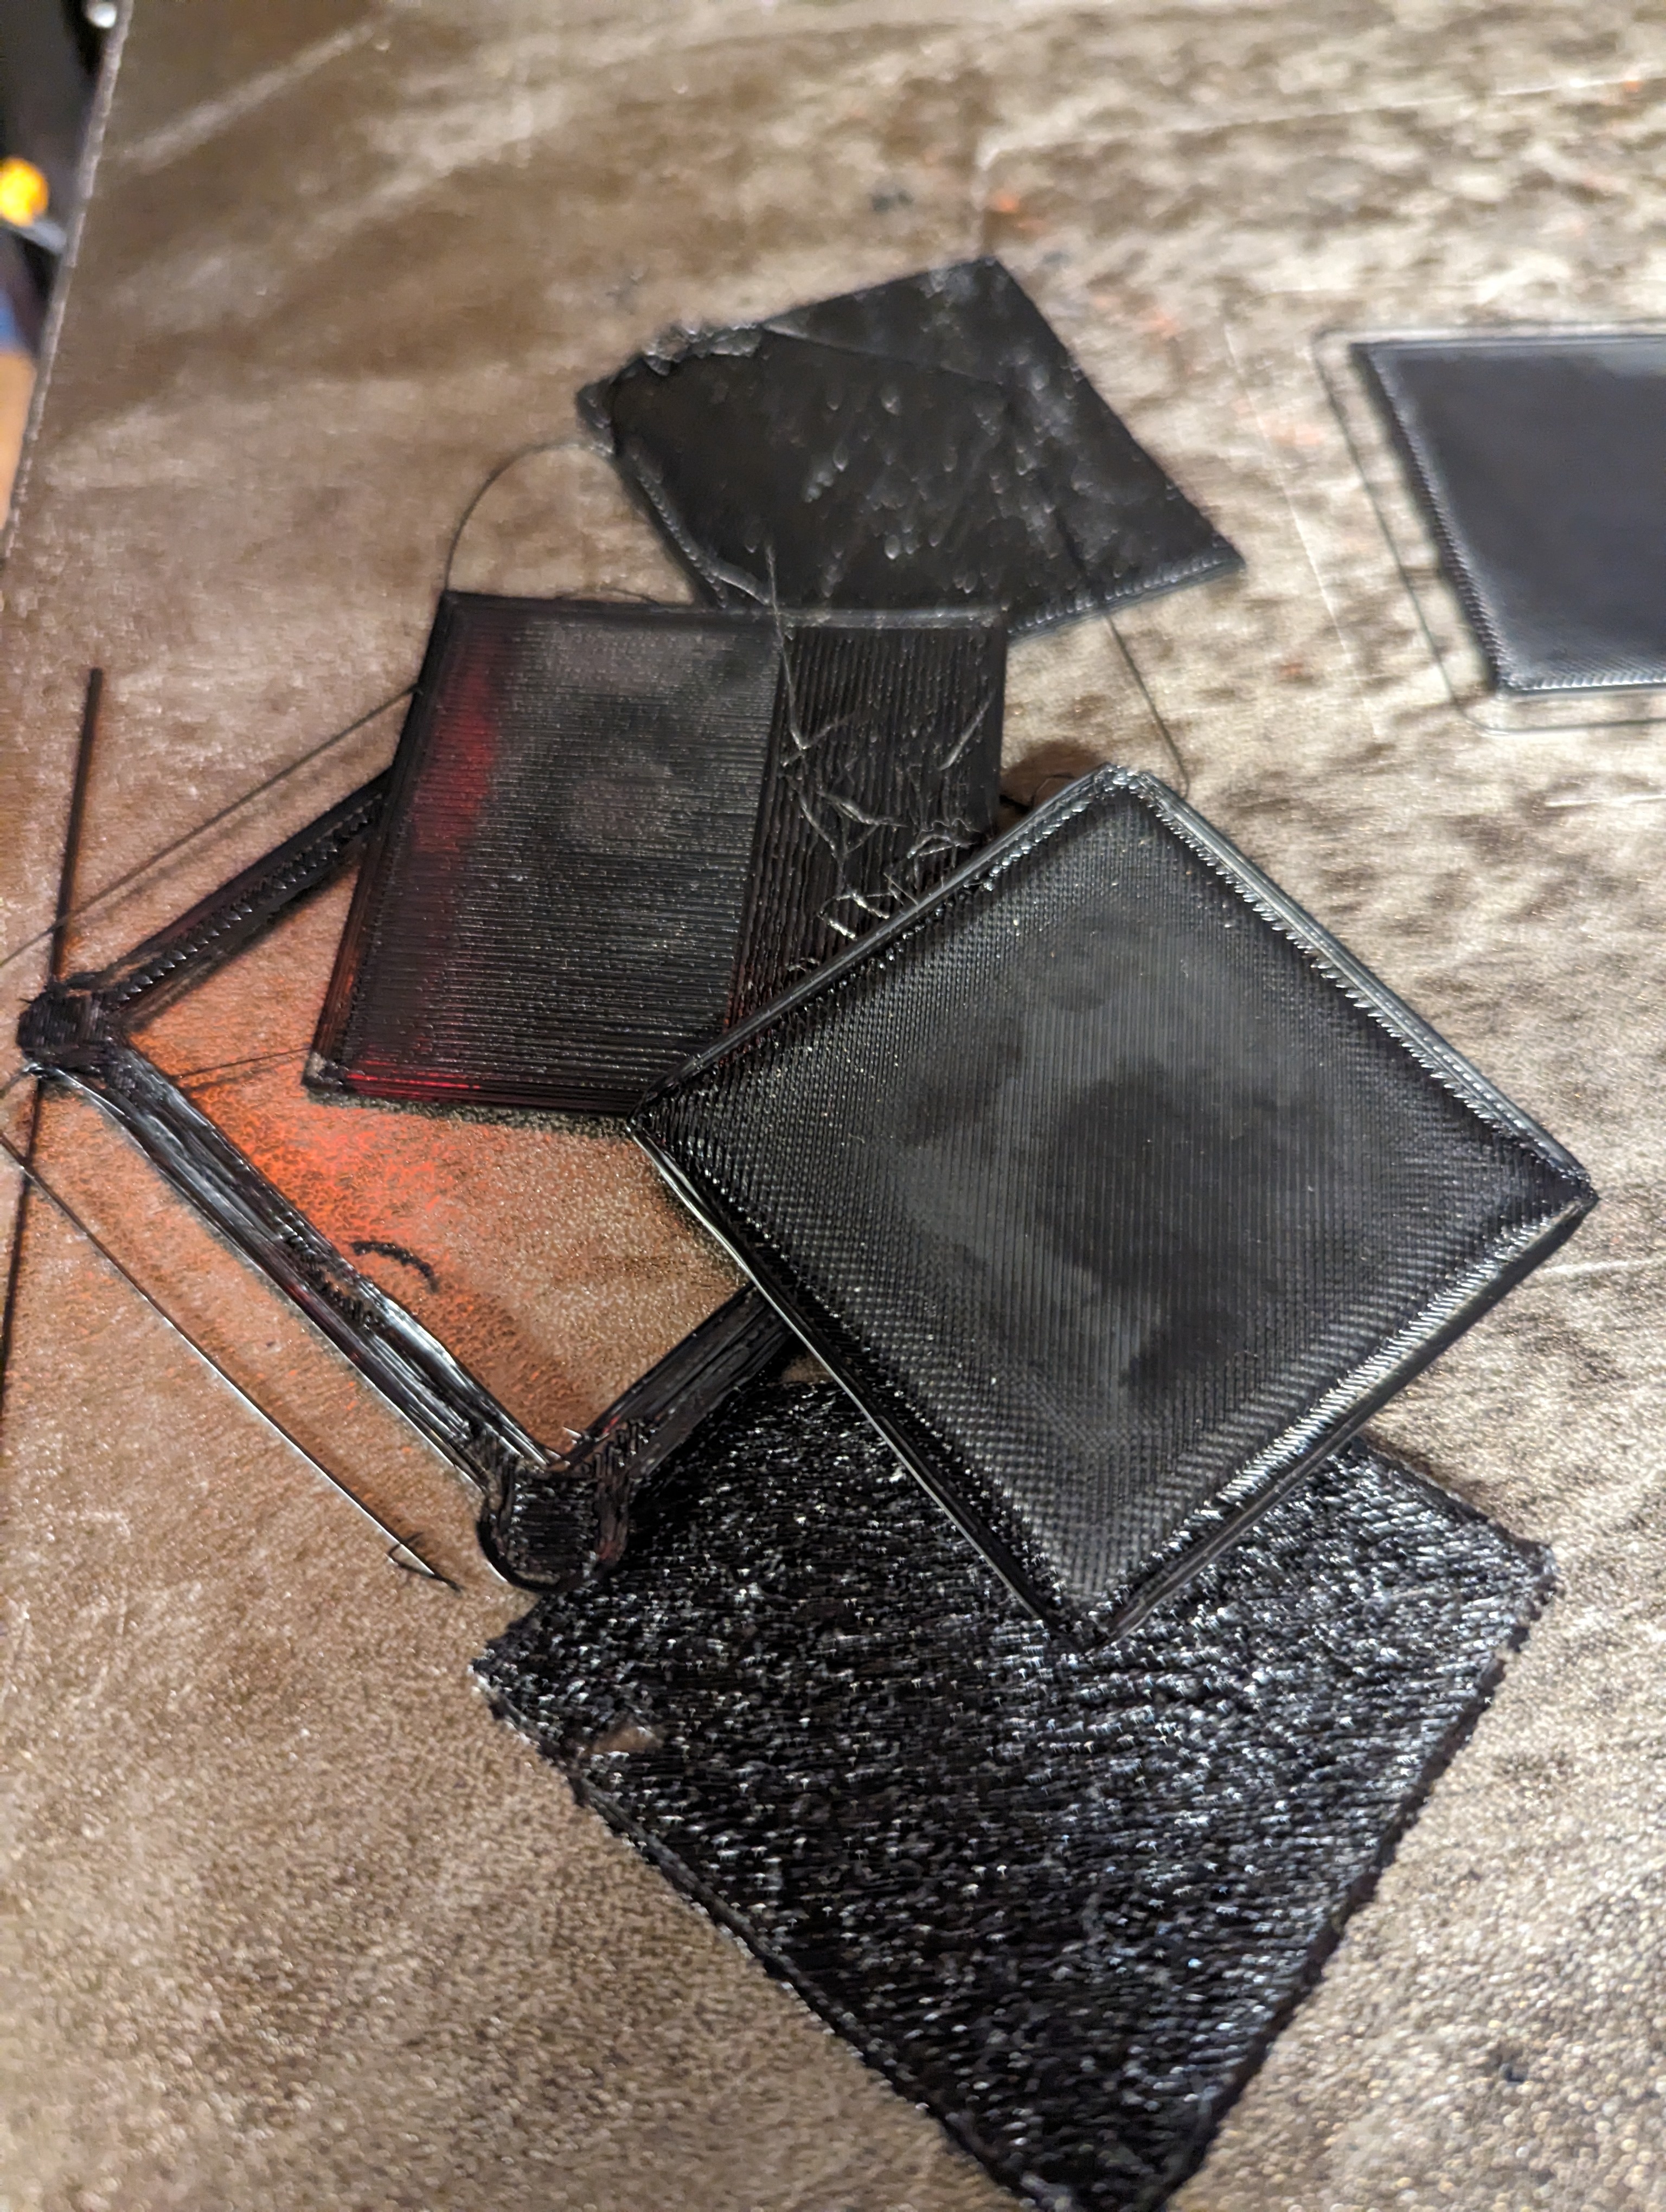
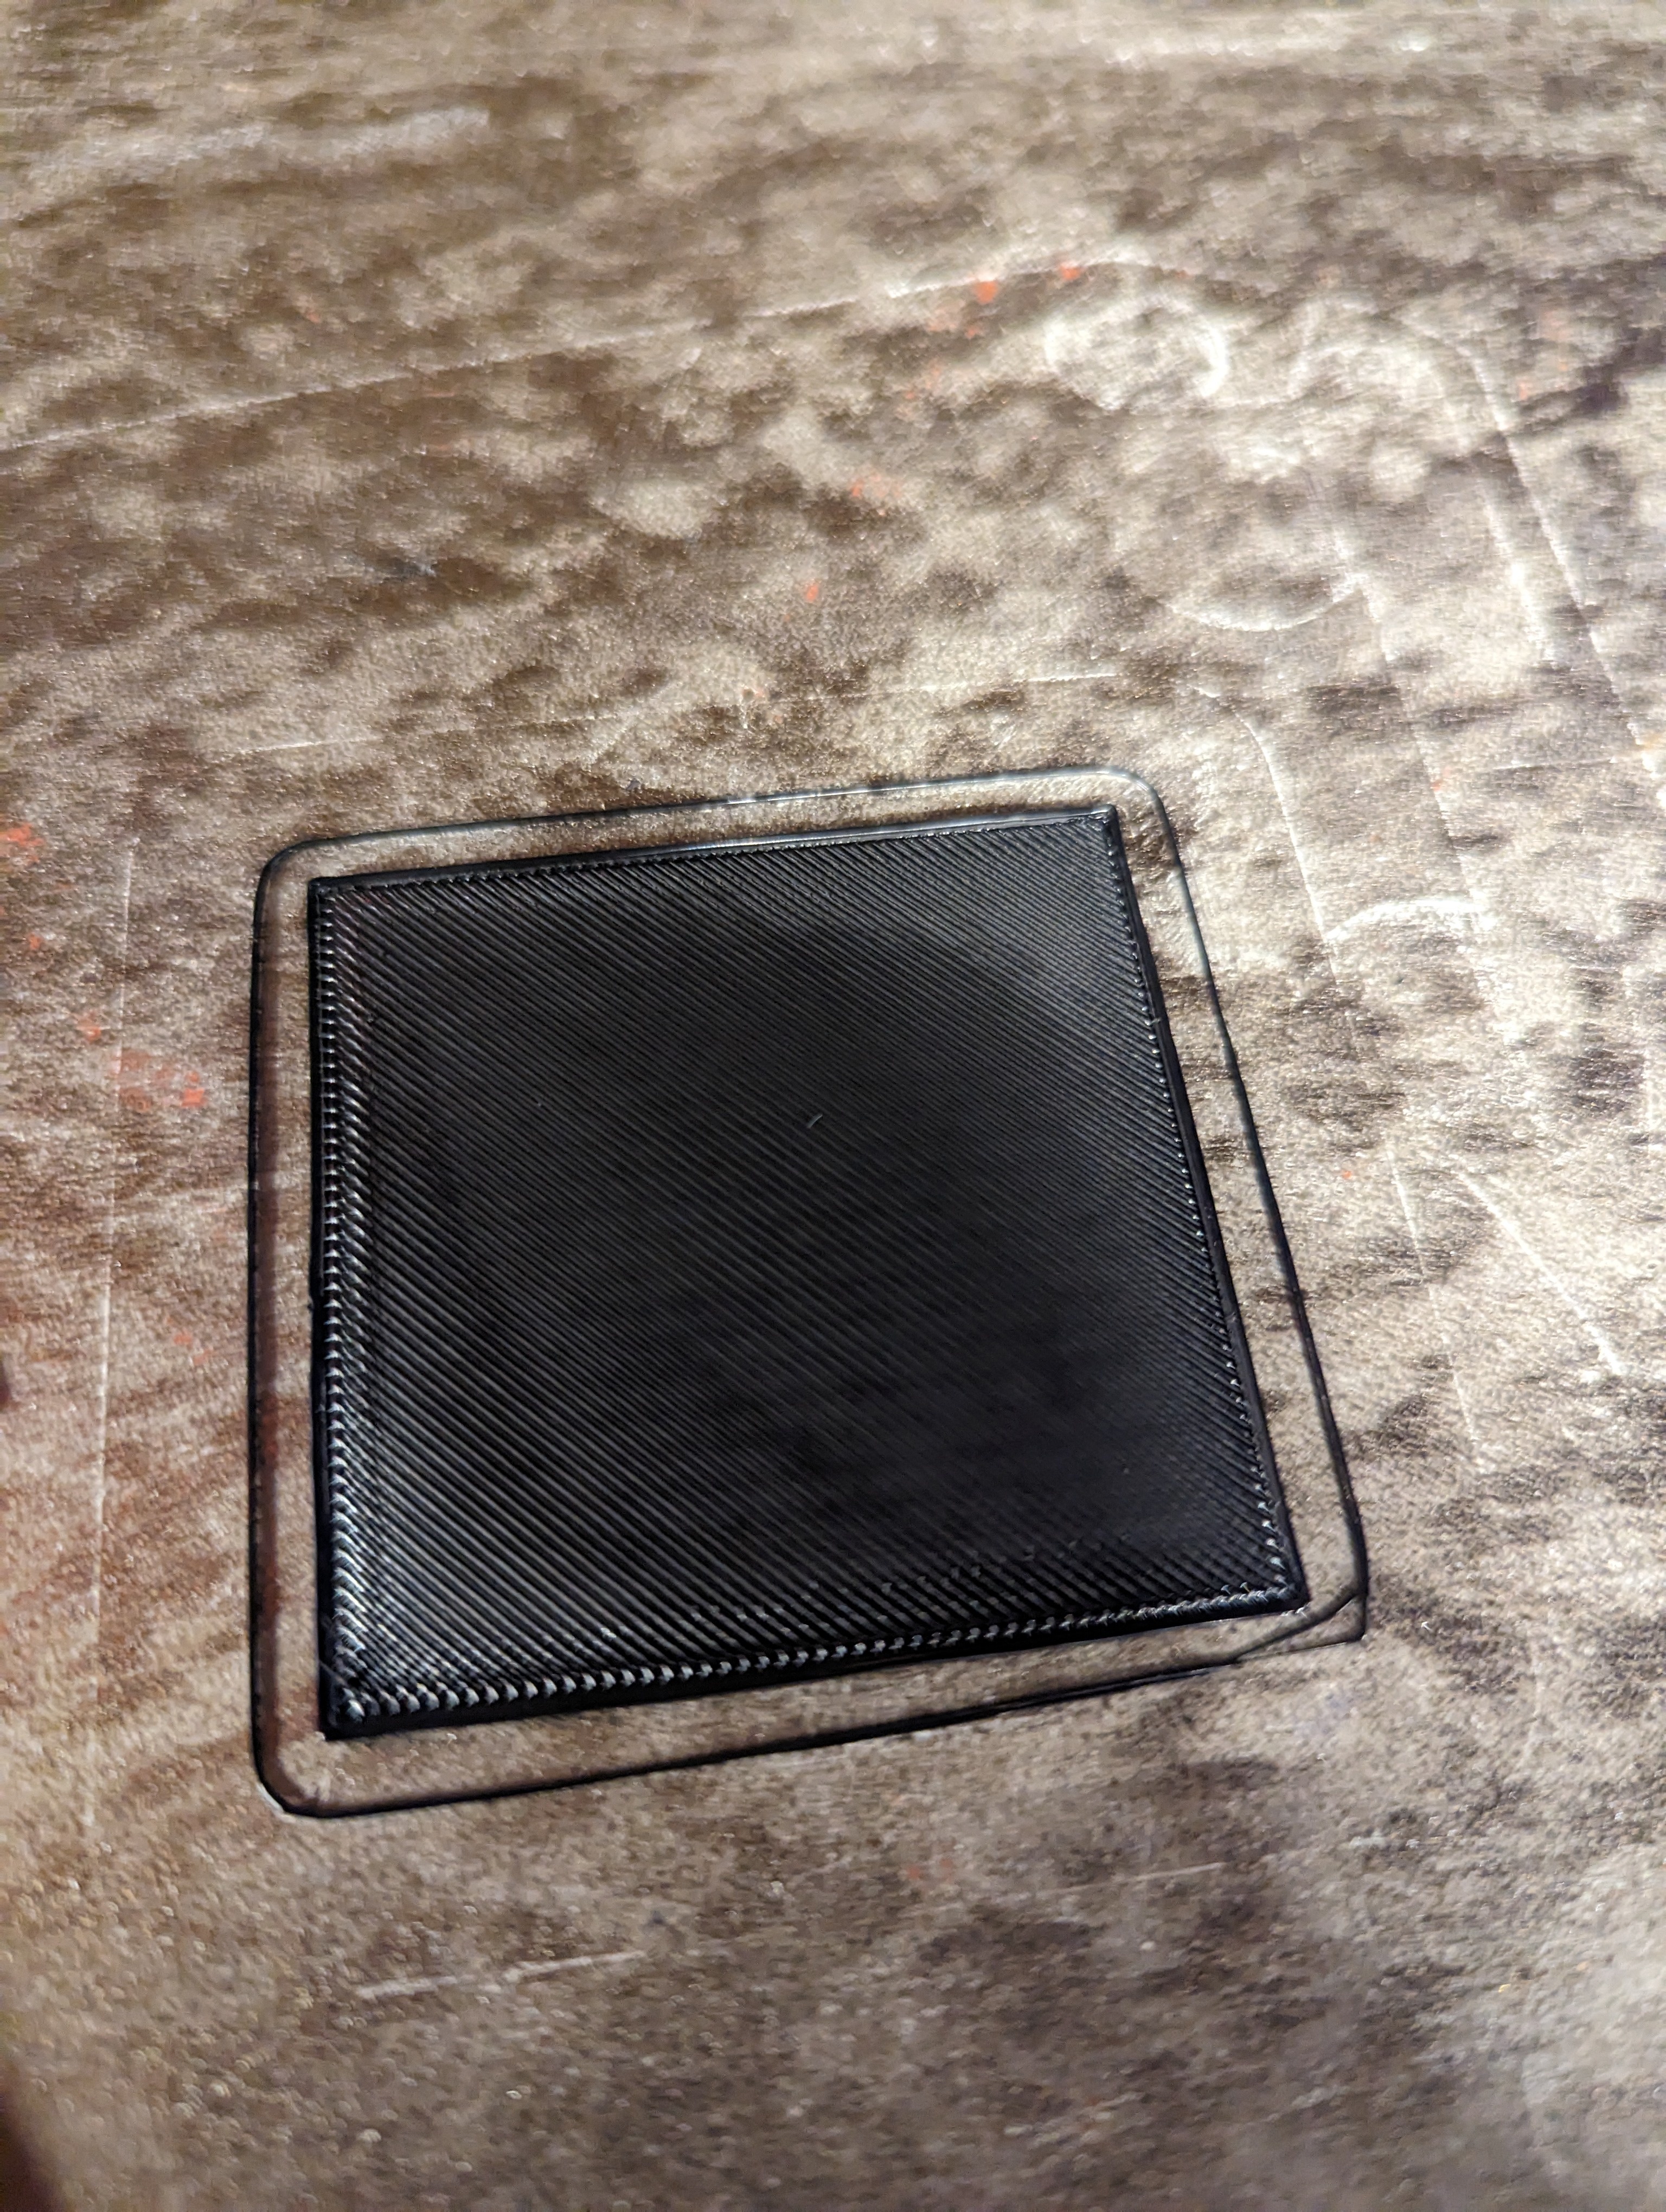
Pressure advance will solve some of your issues here. When reaching a corner, the head slows down but the filament is still pushed too fast and so it overflows. Pressure advance (in Klipper) can compensate for that.
3DPrinting
3DPrinting is a place where makers of all skill levels and walks of life can learn about and discuss 3D printing and development of 3D printed parts and devices.
The r/functionalprint community is now located at: [email protected] or [email protected]
There are CAD communities available at: [email protected] or [email protected]
Rules
-
No bigotry - including racism, sexism, ableism, homophobia, transphobia, or xenophobia. Code of Conduct.
-
Be respectful, especially when disagreeing. Everyone should feel welcome here.
-
No porn (NSFW prints are acceptable but must be marked NSFW)
-
No Ads / Spamming / Guerrilla Marketing
-
Do not create links to reddit
-
If you see an issue please flag it
-
No guns
-
No injury gore posts
If you need an easy way to host pictures, https://catbox.moe may be an option. Be ethical about what you post and donate if you are able or use this a lot. It is just an individual hosting content, not a company. The image embedding syntax for Lemmy is 
Moderation policy: Light, mostly invisible
I'll check that out. I installed klipper yesterday for S&G -- actually quite liking the flexibility it gives me. I see the guide.
Welcome to the deepest rabbit hole in 3D printing! Klipper is nice on the surface and absolutely mind blowing when you dig deeper. If you’re programming savvy, you can make it do basically anything. You can even install a script that runs shell scripts on the pi from the printer. You could make it control your coffee maker via home automation if you wanted. Lol. Anyways. Pressure advance is the key here.
Oh boy... Yes scripting comes easy to me. It's why my default is openscad for making 3d models. :). I'm printing the pressure advance cube model now.
So... I still have some tuning.
I learned that you need to adjust retraction and z offset again after implementing pressure advance.... But I'm close now. 

Seems like it's squishing when the printhead decelerates and accelerates again around the corner. Perhaps the temperature is too high so too much material oozes out when speed is decreases?
I agree, not just the perimeter but also when it's going back and forth to fill in the centre area. I'm not sure how to address it -- maybe the pressure advance settings LazaroFilm suggested. I've also tried printing at a series of different temperatures..
That's what I meant, have you tried just decreasing the printing temp by 10 degrees and then printing another square and comparing the result?
Yes. For this petg I've tried nozzle temps ranging from 210-240.
Have you tried swapping out the nozzle? Maybe it's worn down
It looks like overextrusion, but Im not sure. Did you change overlap settings?
I would try with taller cube to eliminate 1st layer error. You might be overextruding, but due to higher nozzle distance your first layer can still look perfect
No, overlap settings are default. Taller objects or objects with infill come out okay - workable but still show small signs of the issue. I've found the 5+ layer object with no infill showes the issue the most so I've been using that to tune.
You are absolutely correct that first layer tends not now show issues like zOffset to close to bed or over extrusion. The prints I've been using are 5+ solid layers to have any offset alignment or extrusion alignment issues increase with each added layer.
Looks like the edges are lifting from the bed a bit? What is the bed temp? Also, maybe lower the z offset? Doesn't seem to be geting enough squish maybe. Hard to tell from the pictures.
in those two cases, they are PETG and bed temp was 80. The curved edges were caused by me removing the print from the hot bed.. not lifting off during the print.
Thank you everybody for leading me on the right path.
As I had already installed Klipper, I decided to try the pressure advance calibration as suggested and it did take some tuning, but has improved quality immensely.
In the end, here are the settings I changed: Klipper printer.cfg pressure_advance: 0.120
PrusaSlicer:PrinterSettings:Extruder 1:Retraction Length: 0
I still think I can tweak my z-offset and temperature and maybe further refine pressure_advance, but the results are quite a bit better than before.
I used the Klipper guide for pressure advance: https://www.klipper3d.org/Pressure_Advance.html
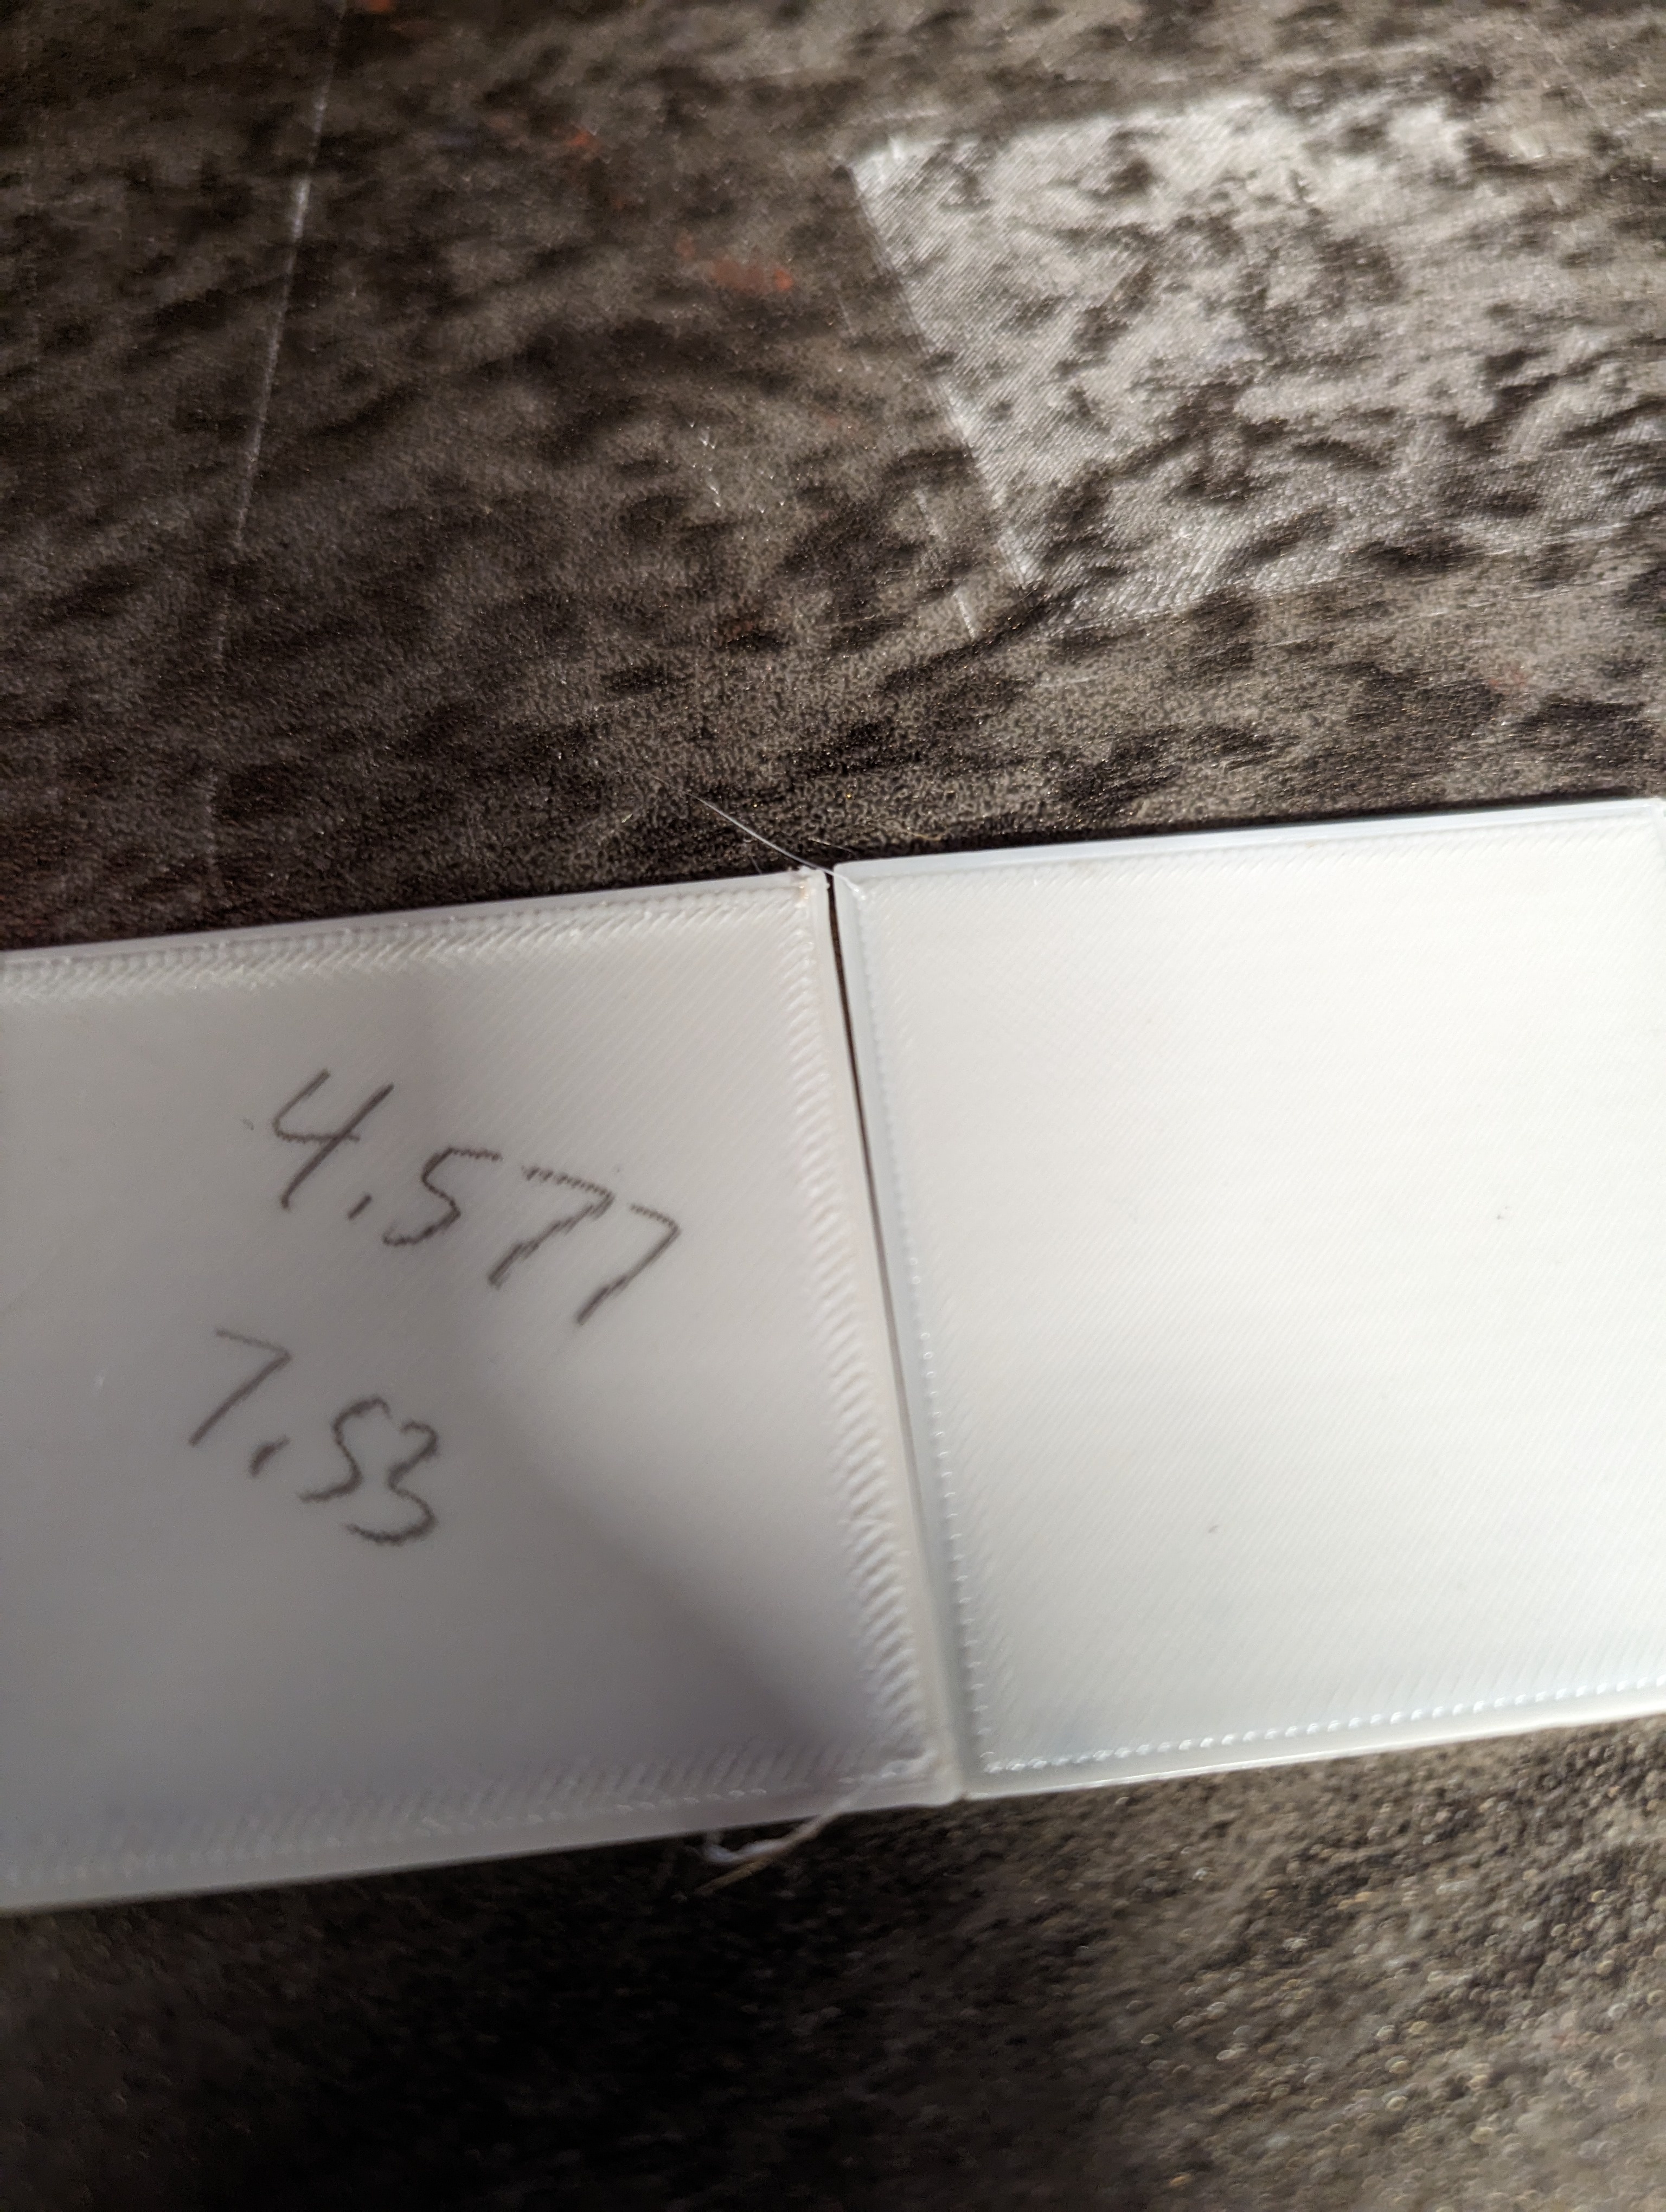
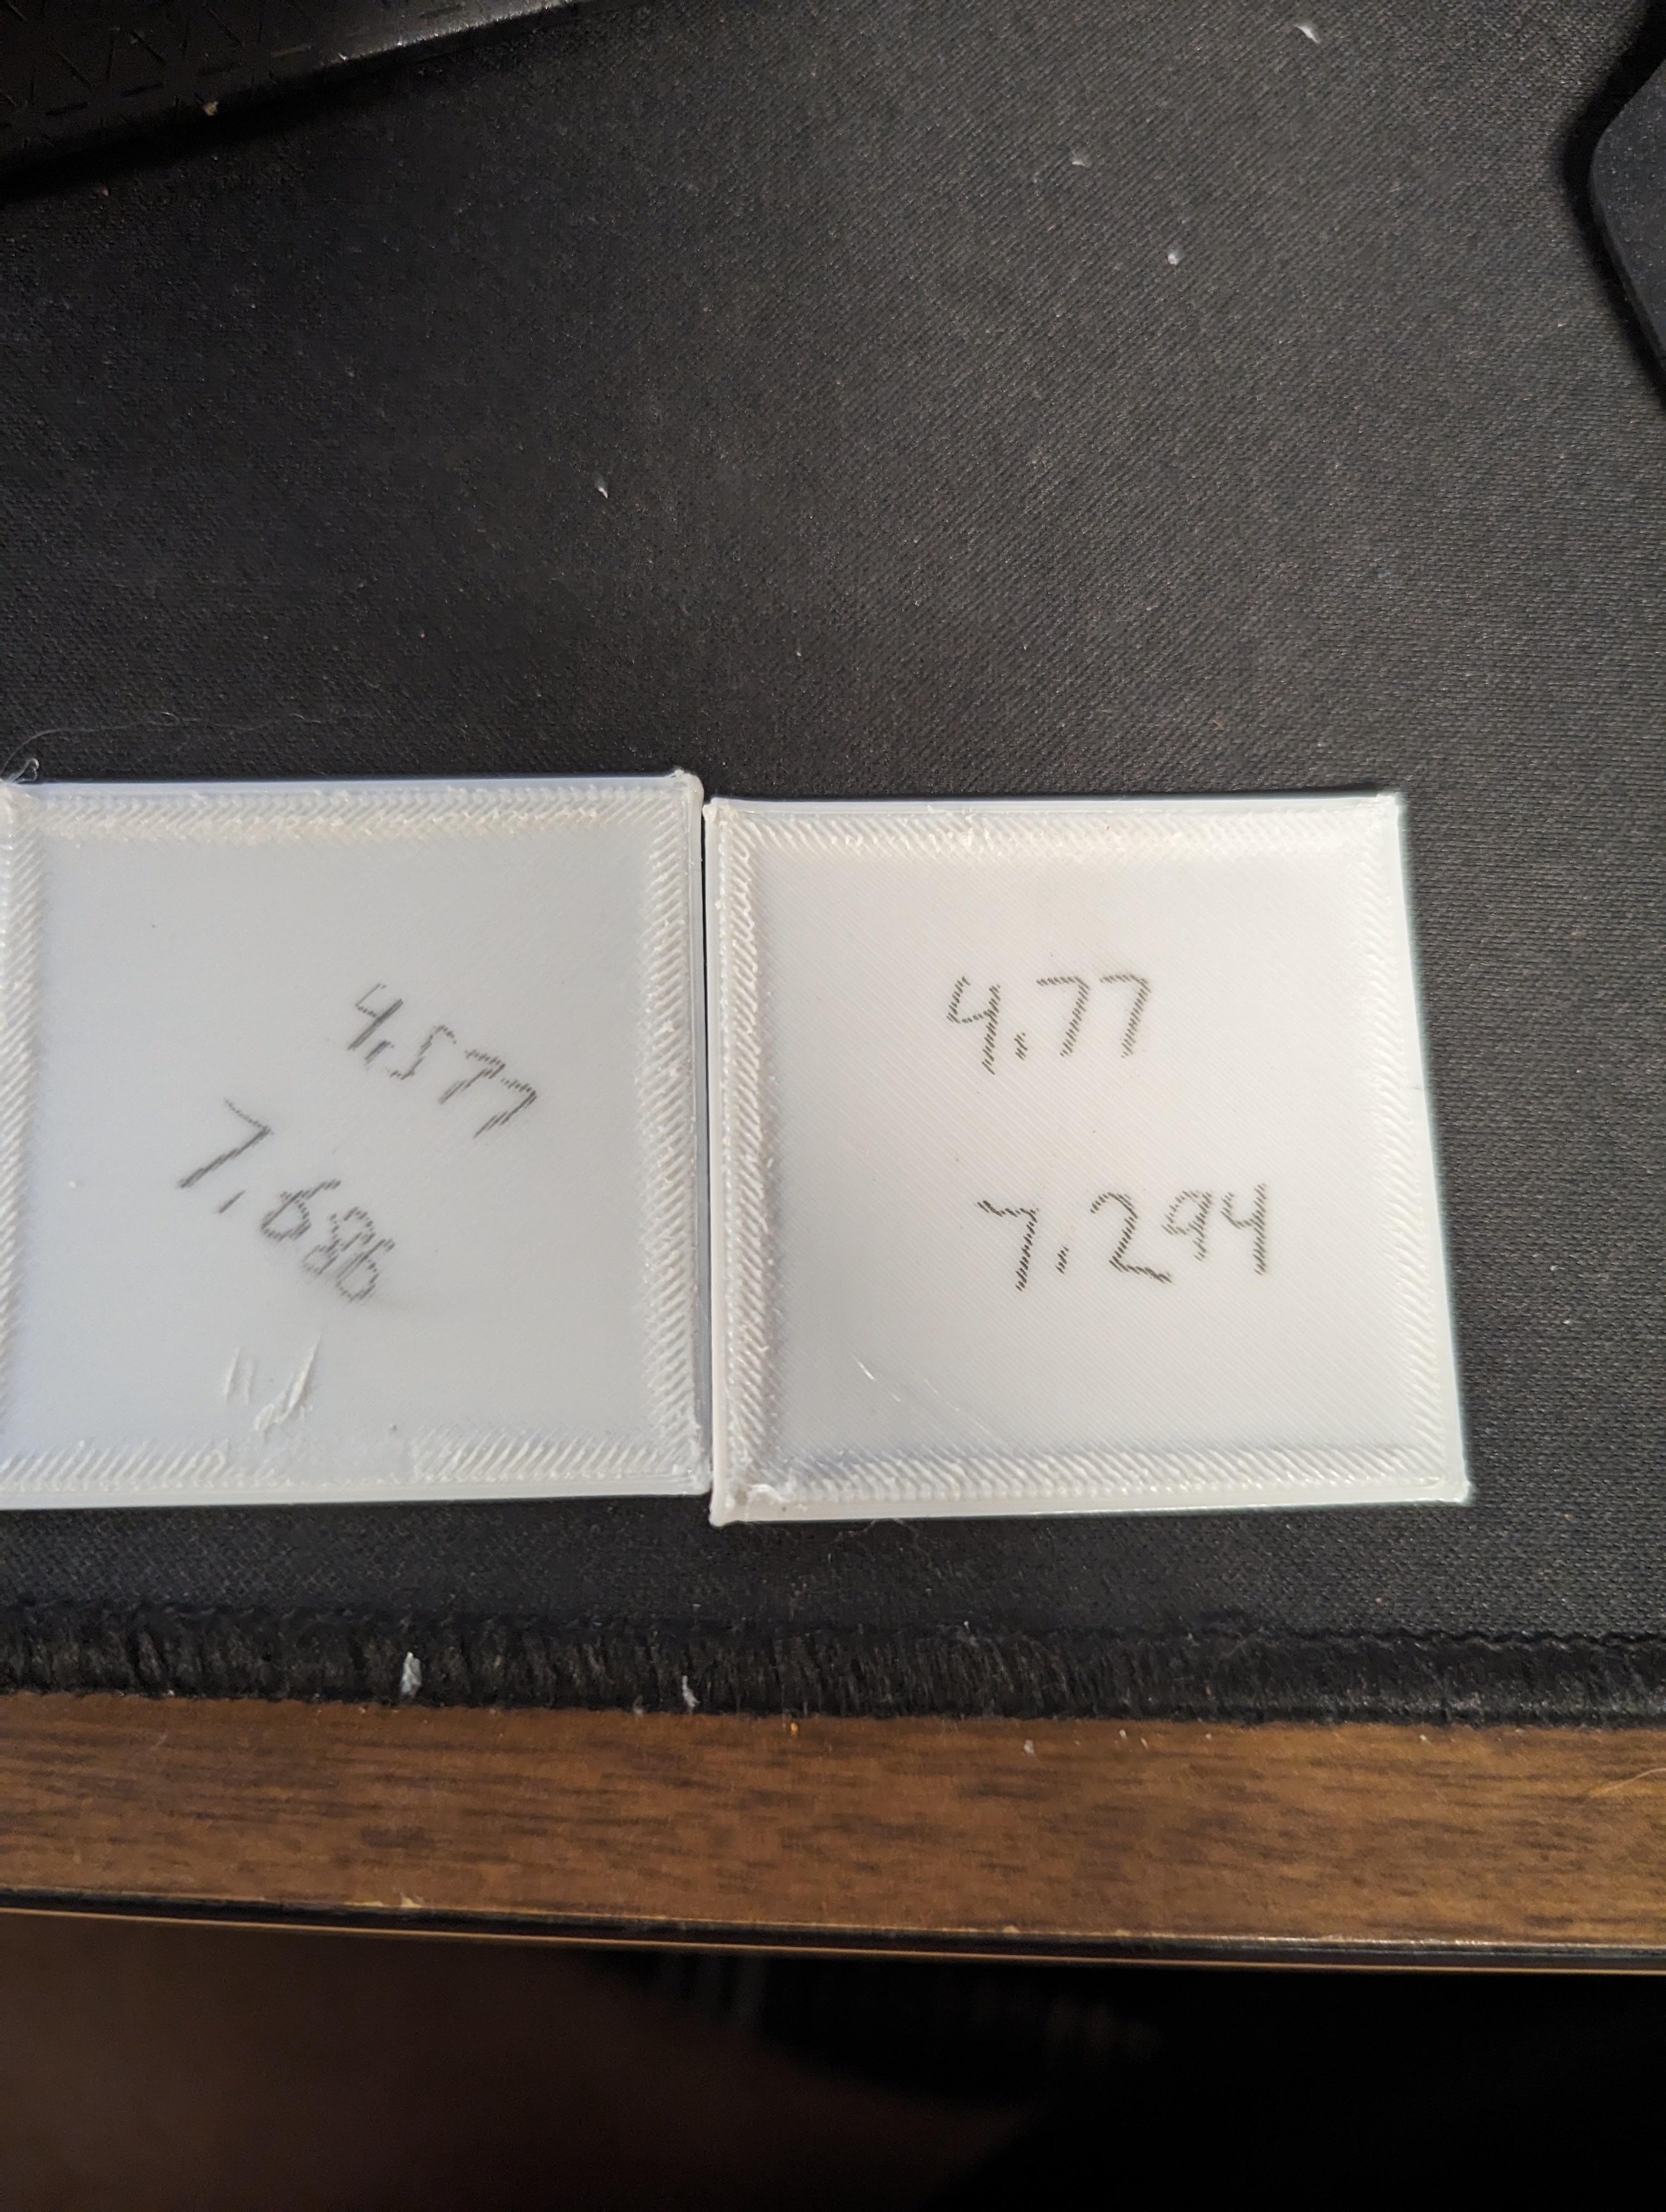
Original print on the left, print with the above changes on the right.

Having said that, I think I might have been able to improve the results using a marlin firmware and working with my retraction setup -- I use a non-default direct-drive extruder so the default settings of about 6mm are certainly incorrect.
Also, into the future, i'll check out the wear/maintenance on the nozzle -- it is a good point and I havent changed it in quite a few prints.
Thank you everybody!
