Sourdough baking

1283 readers
1 users here now

Sourdough baking

founded 1 year ago
MODERATORS
1


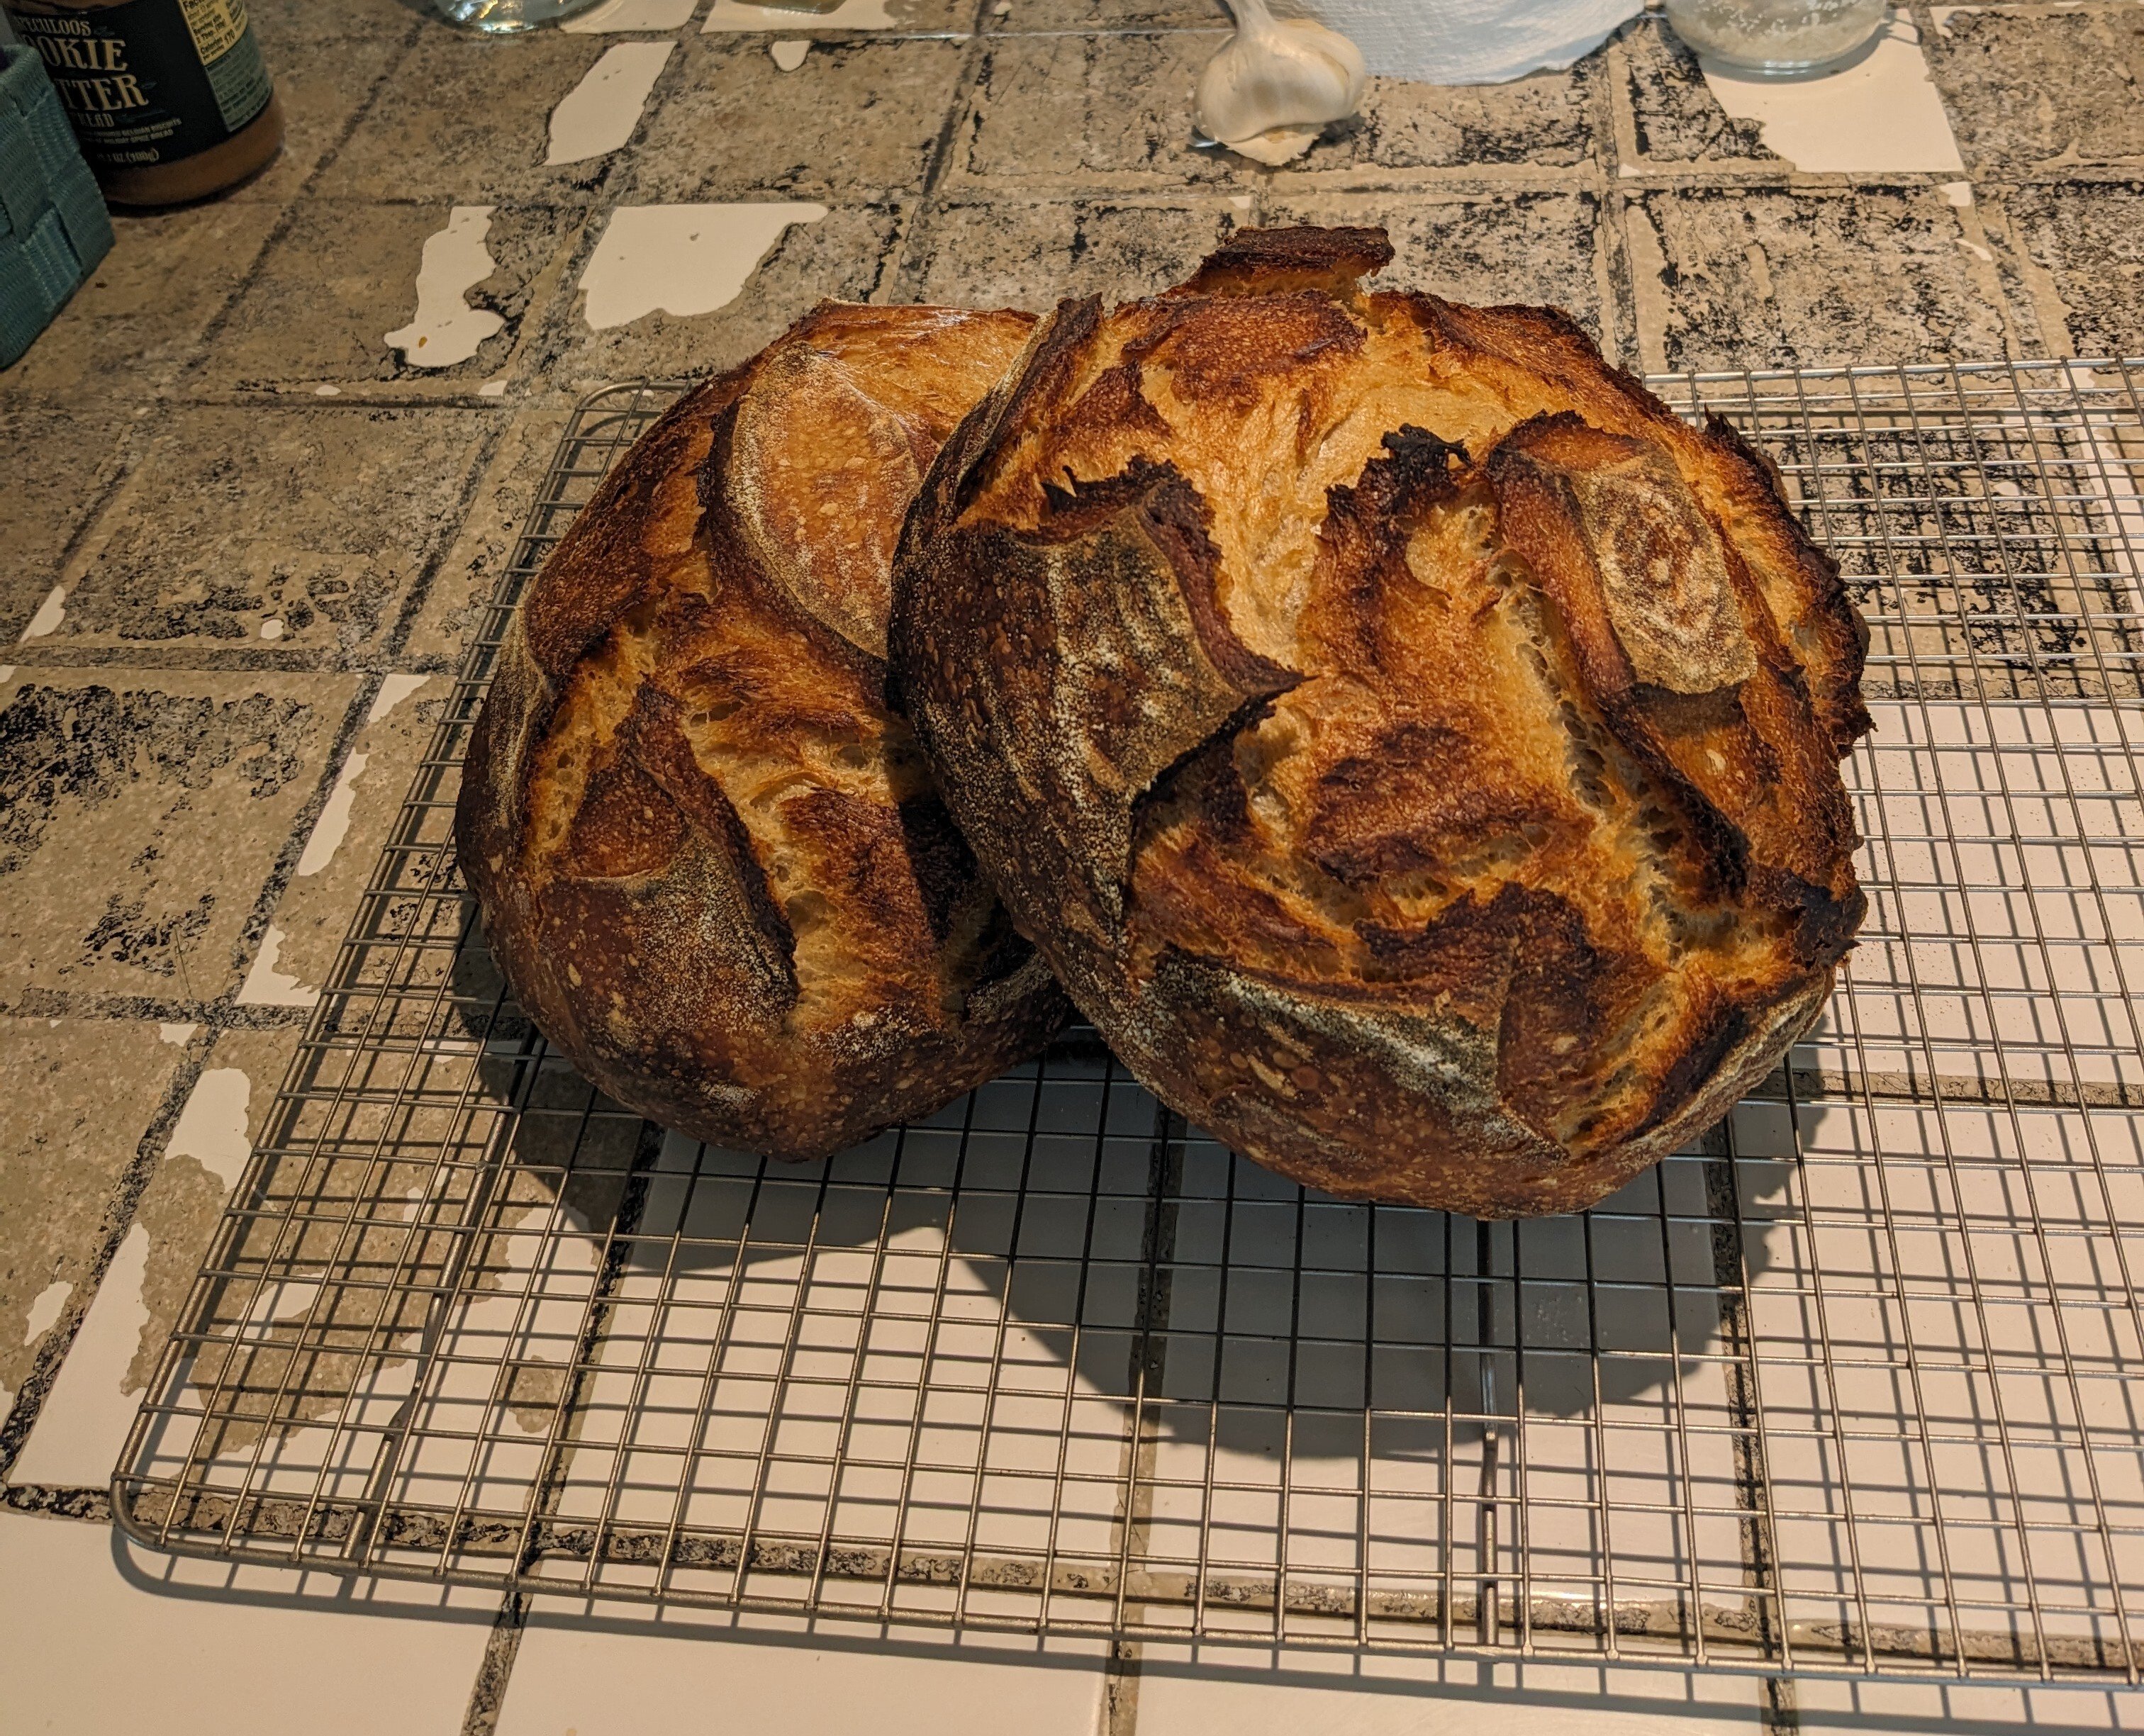
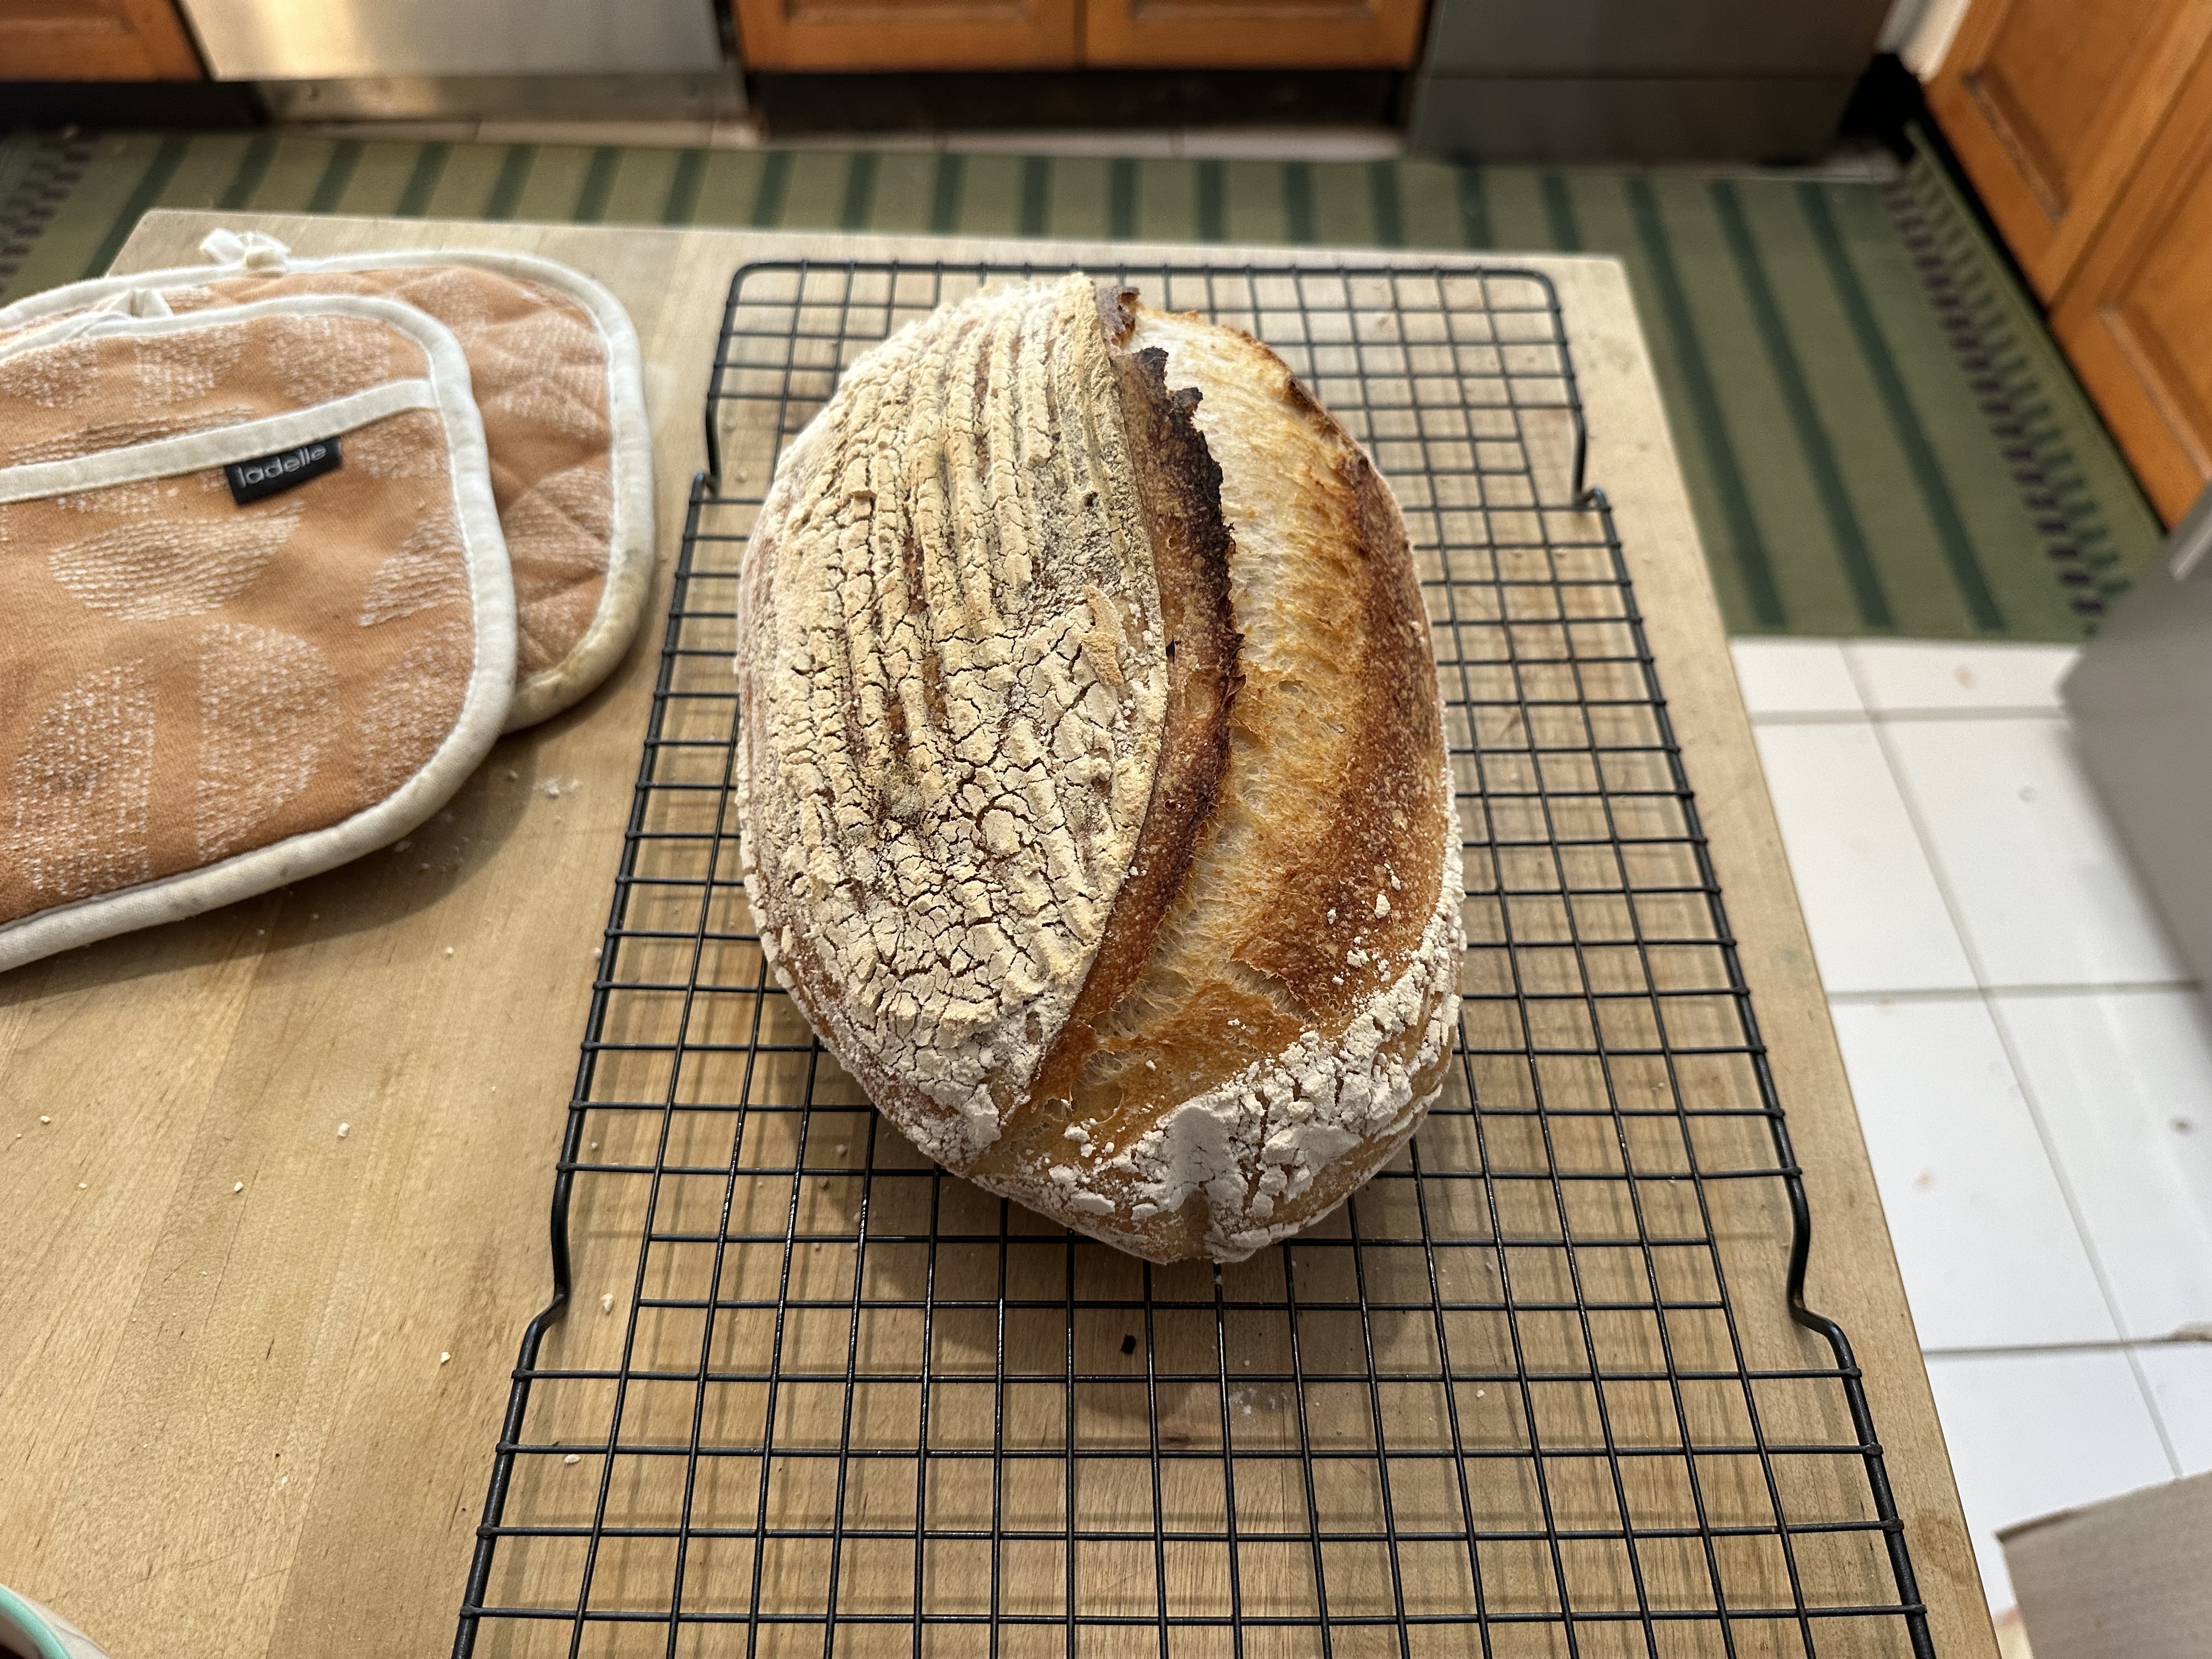
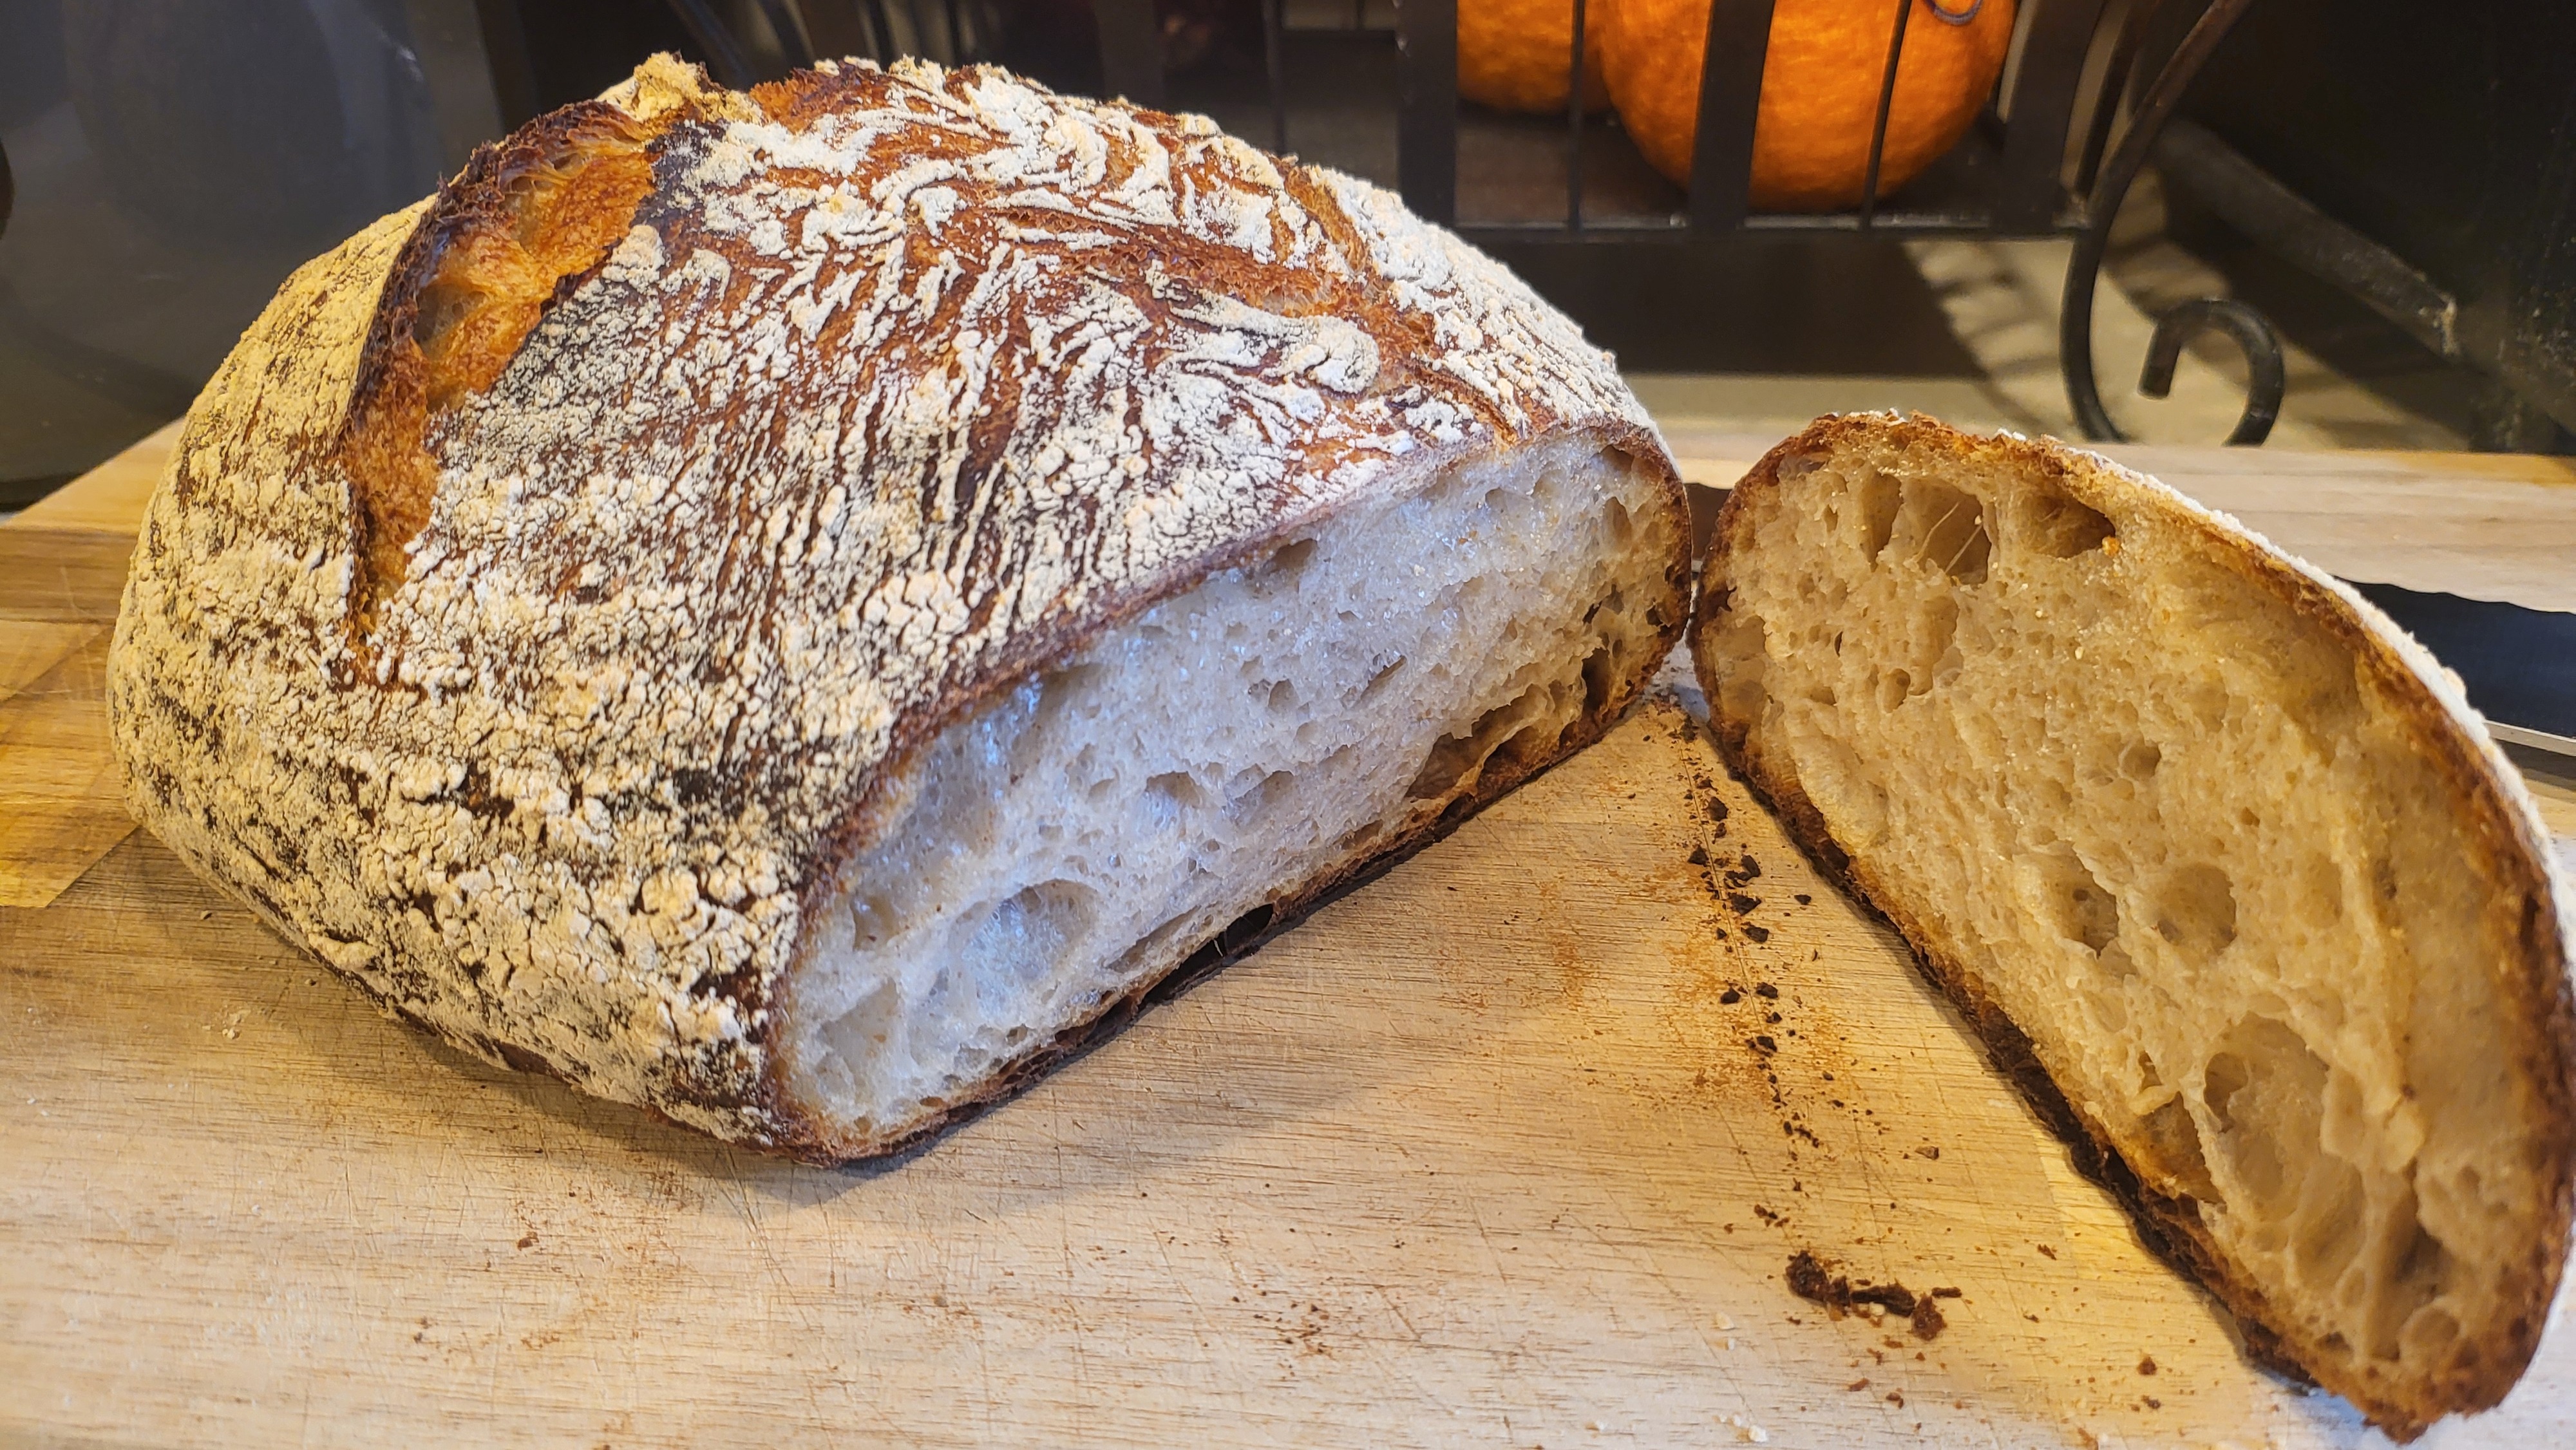
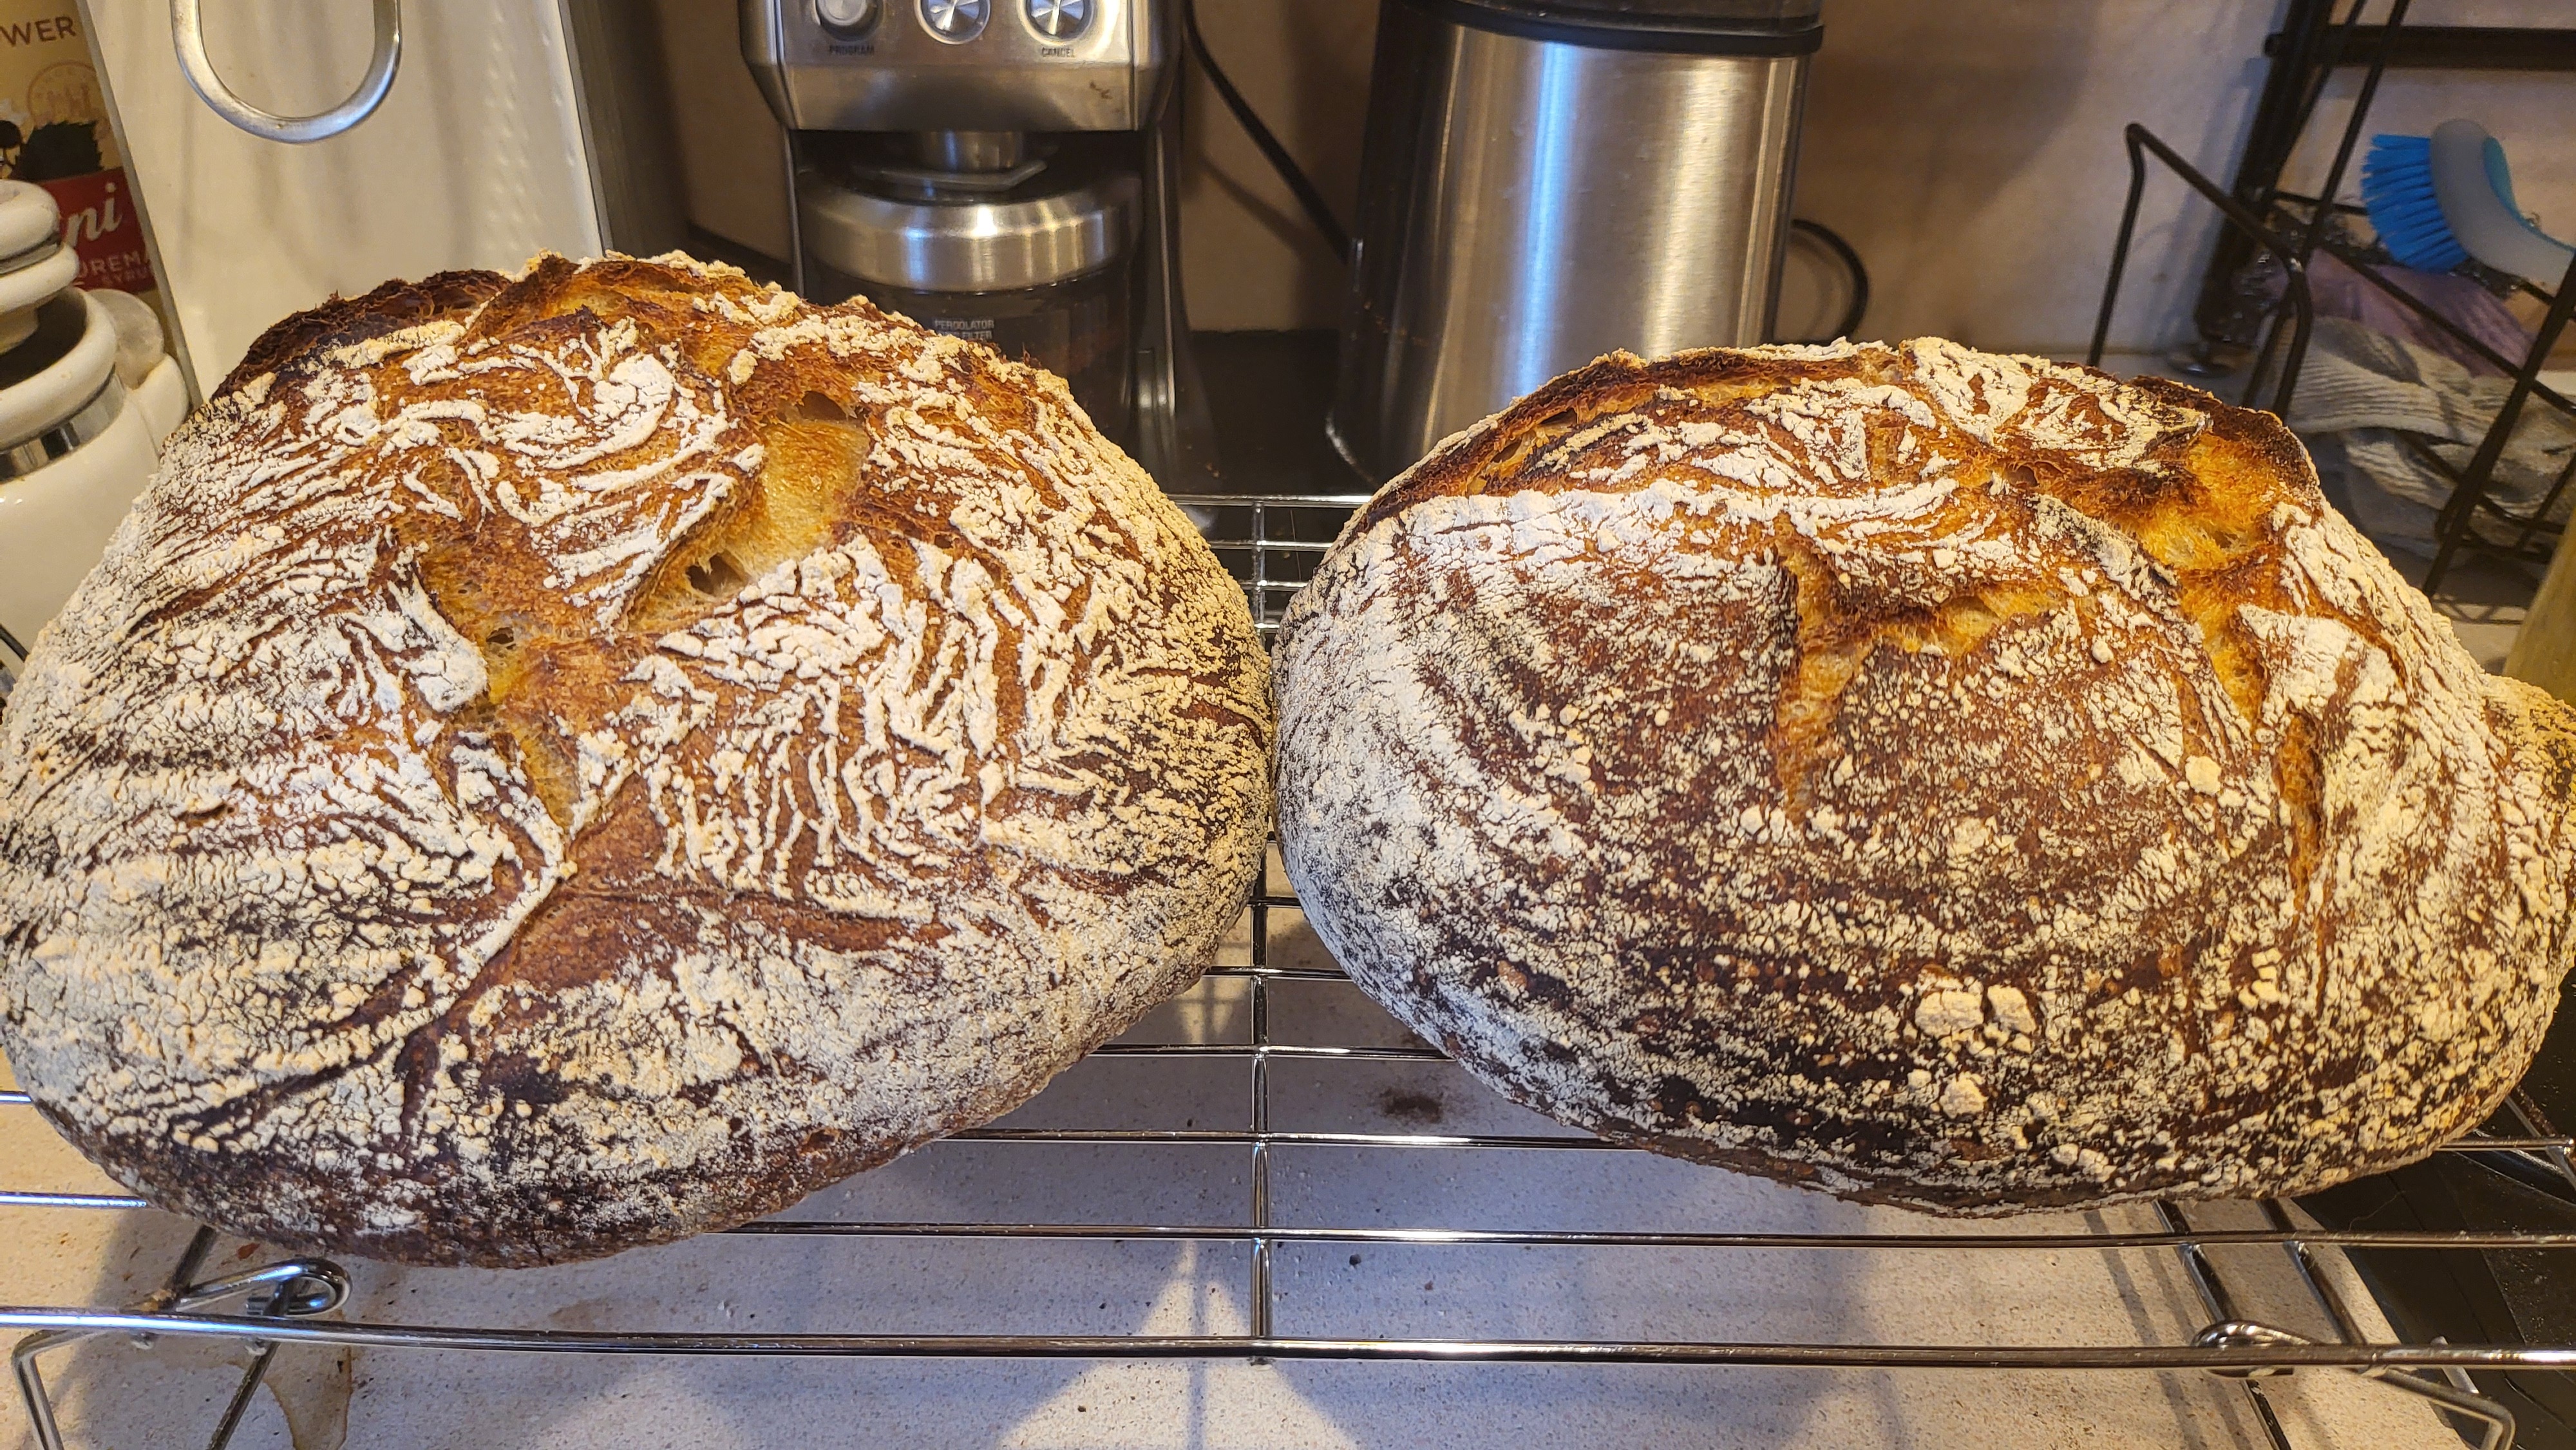
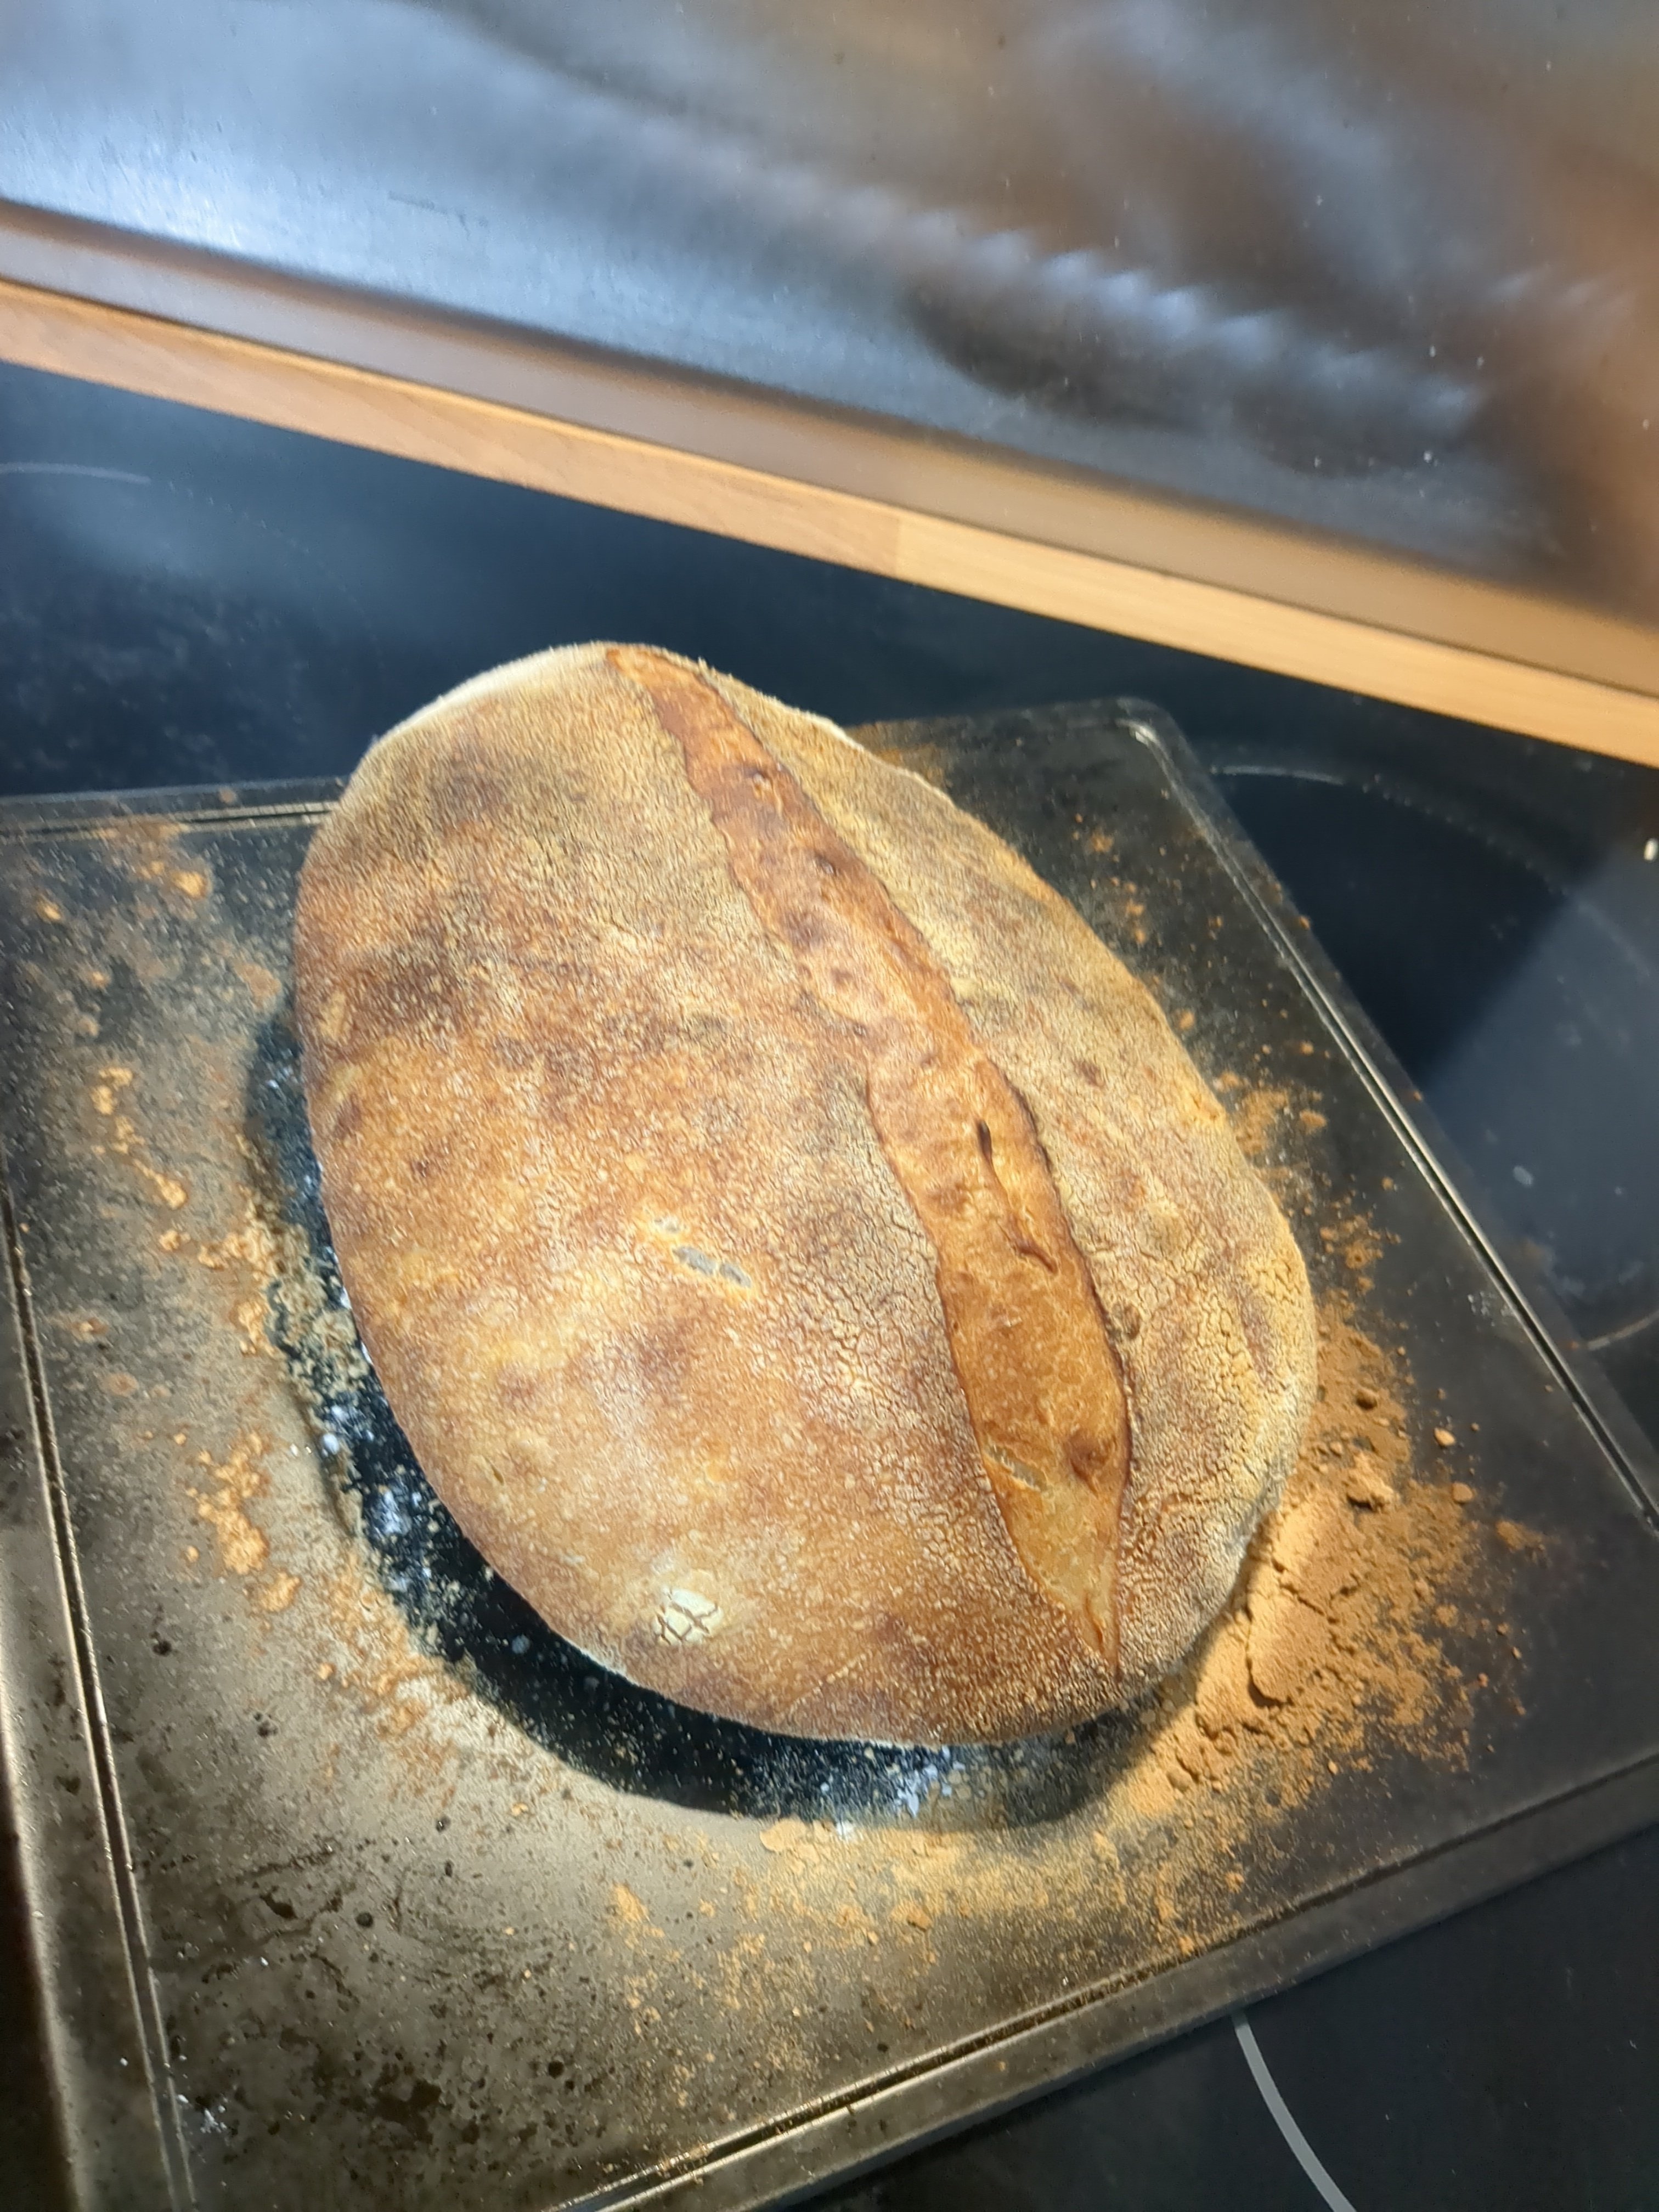
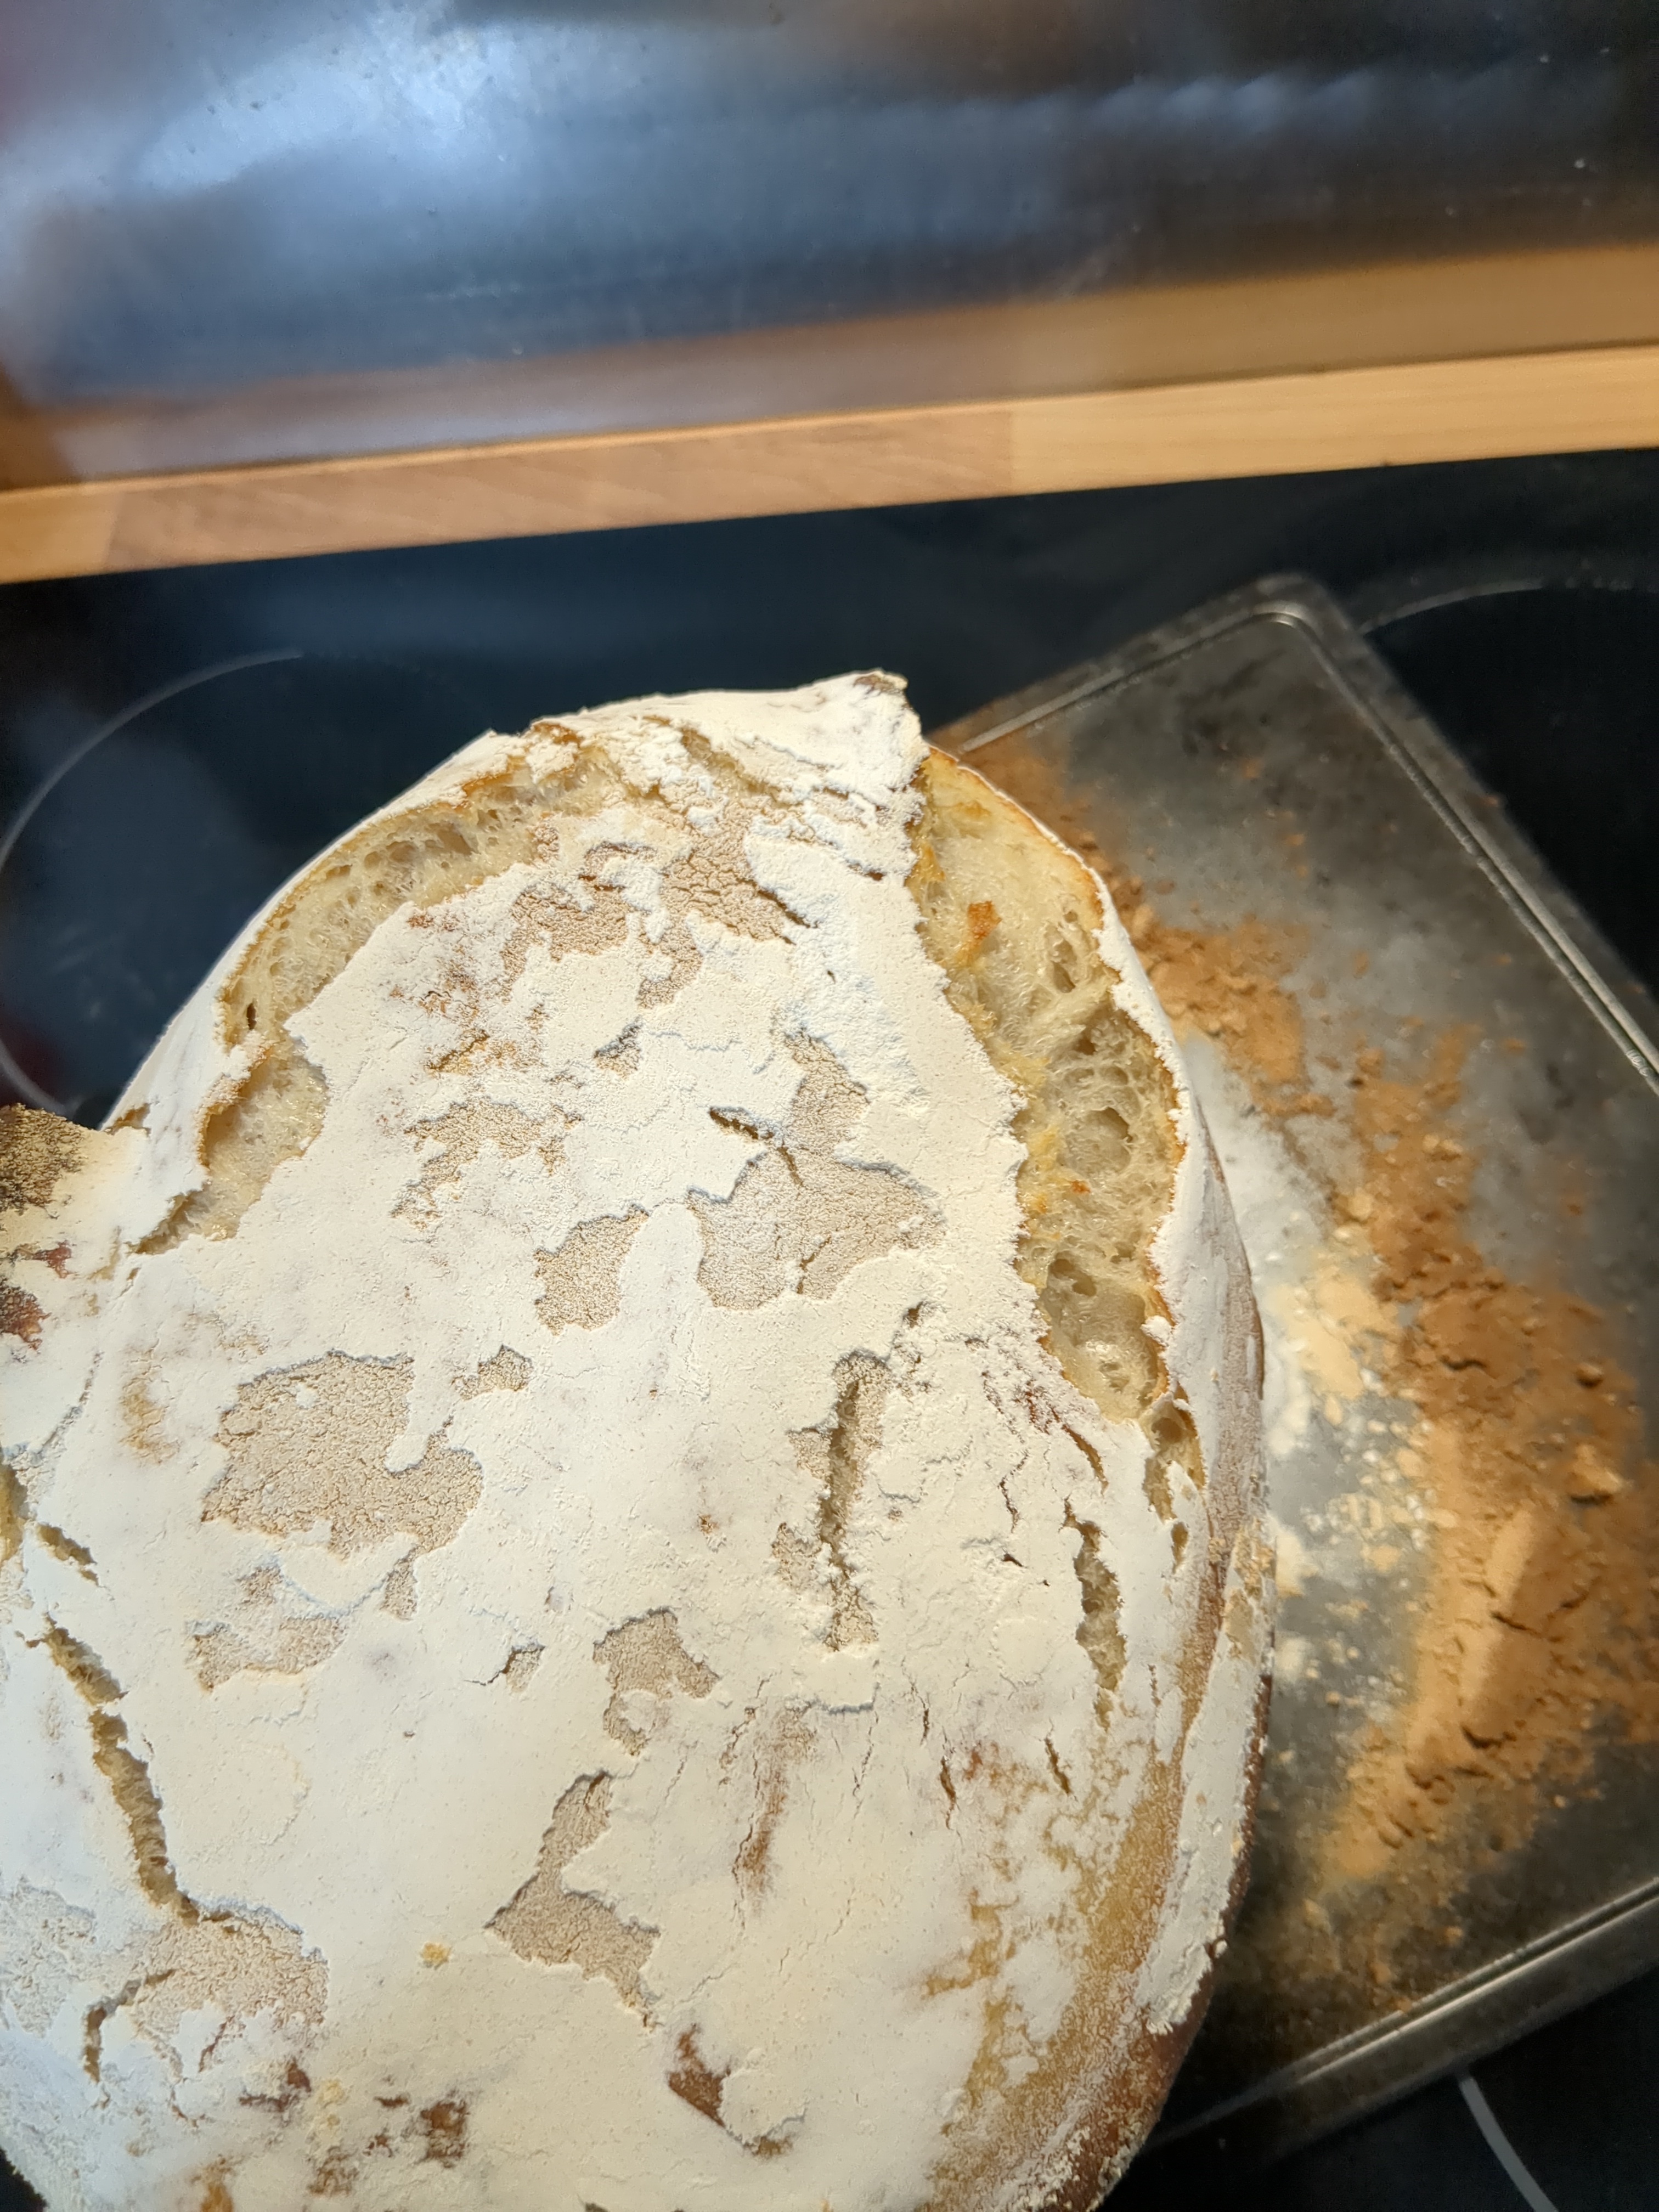
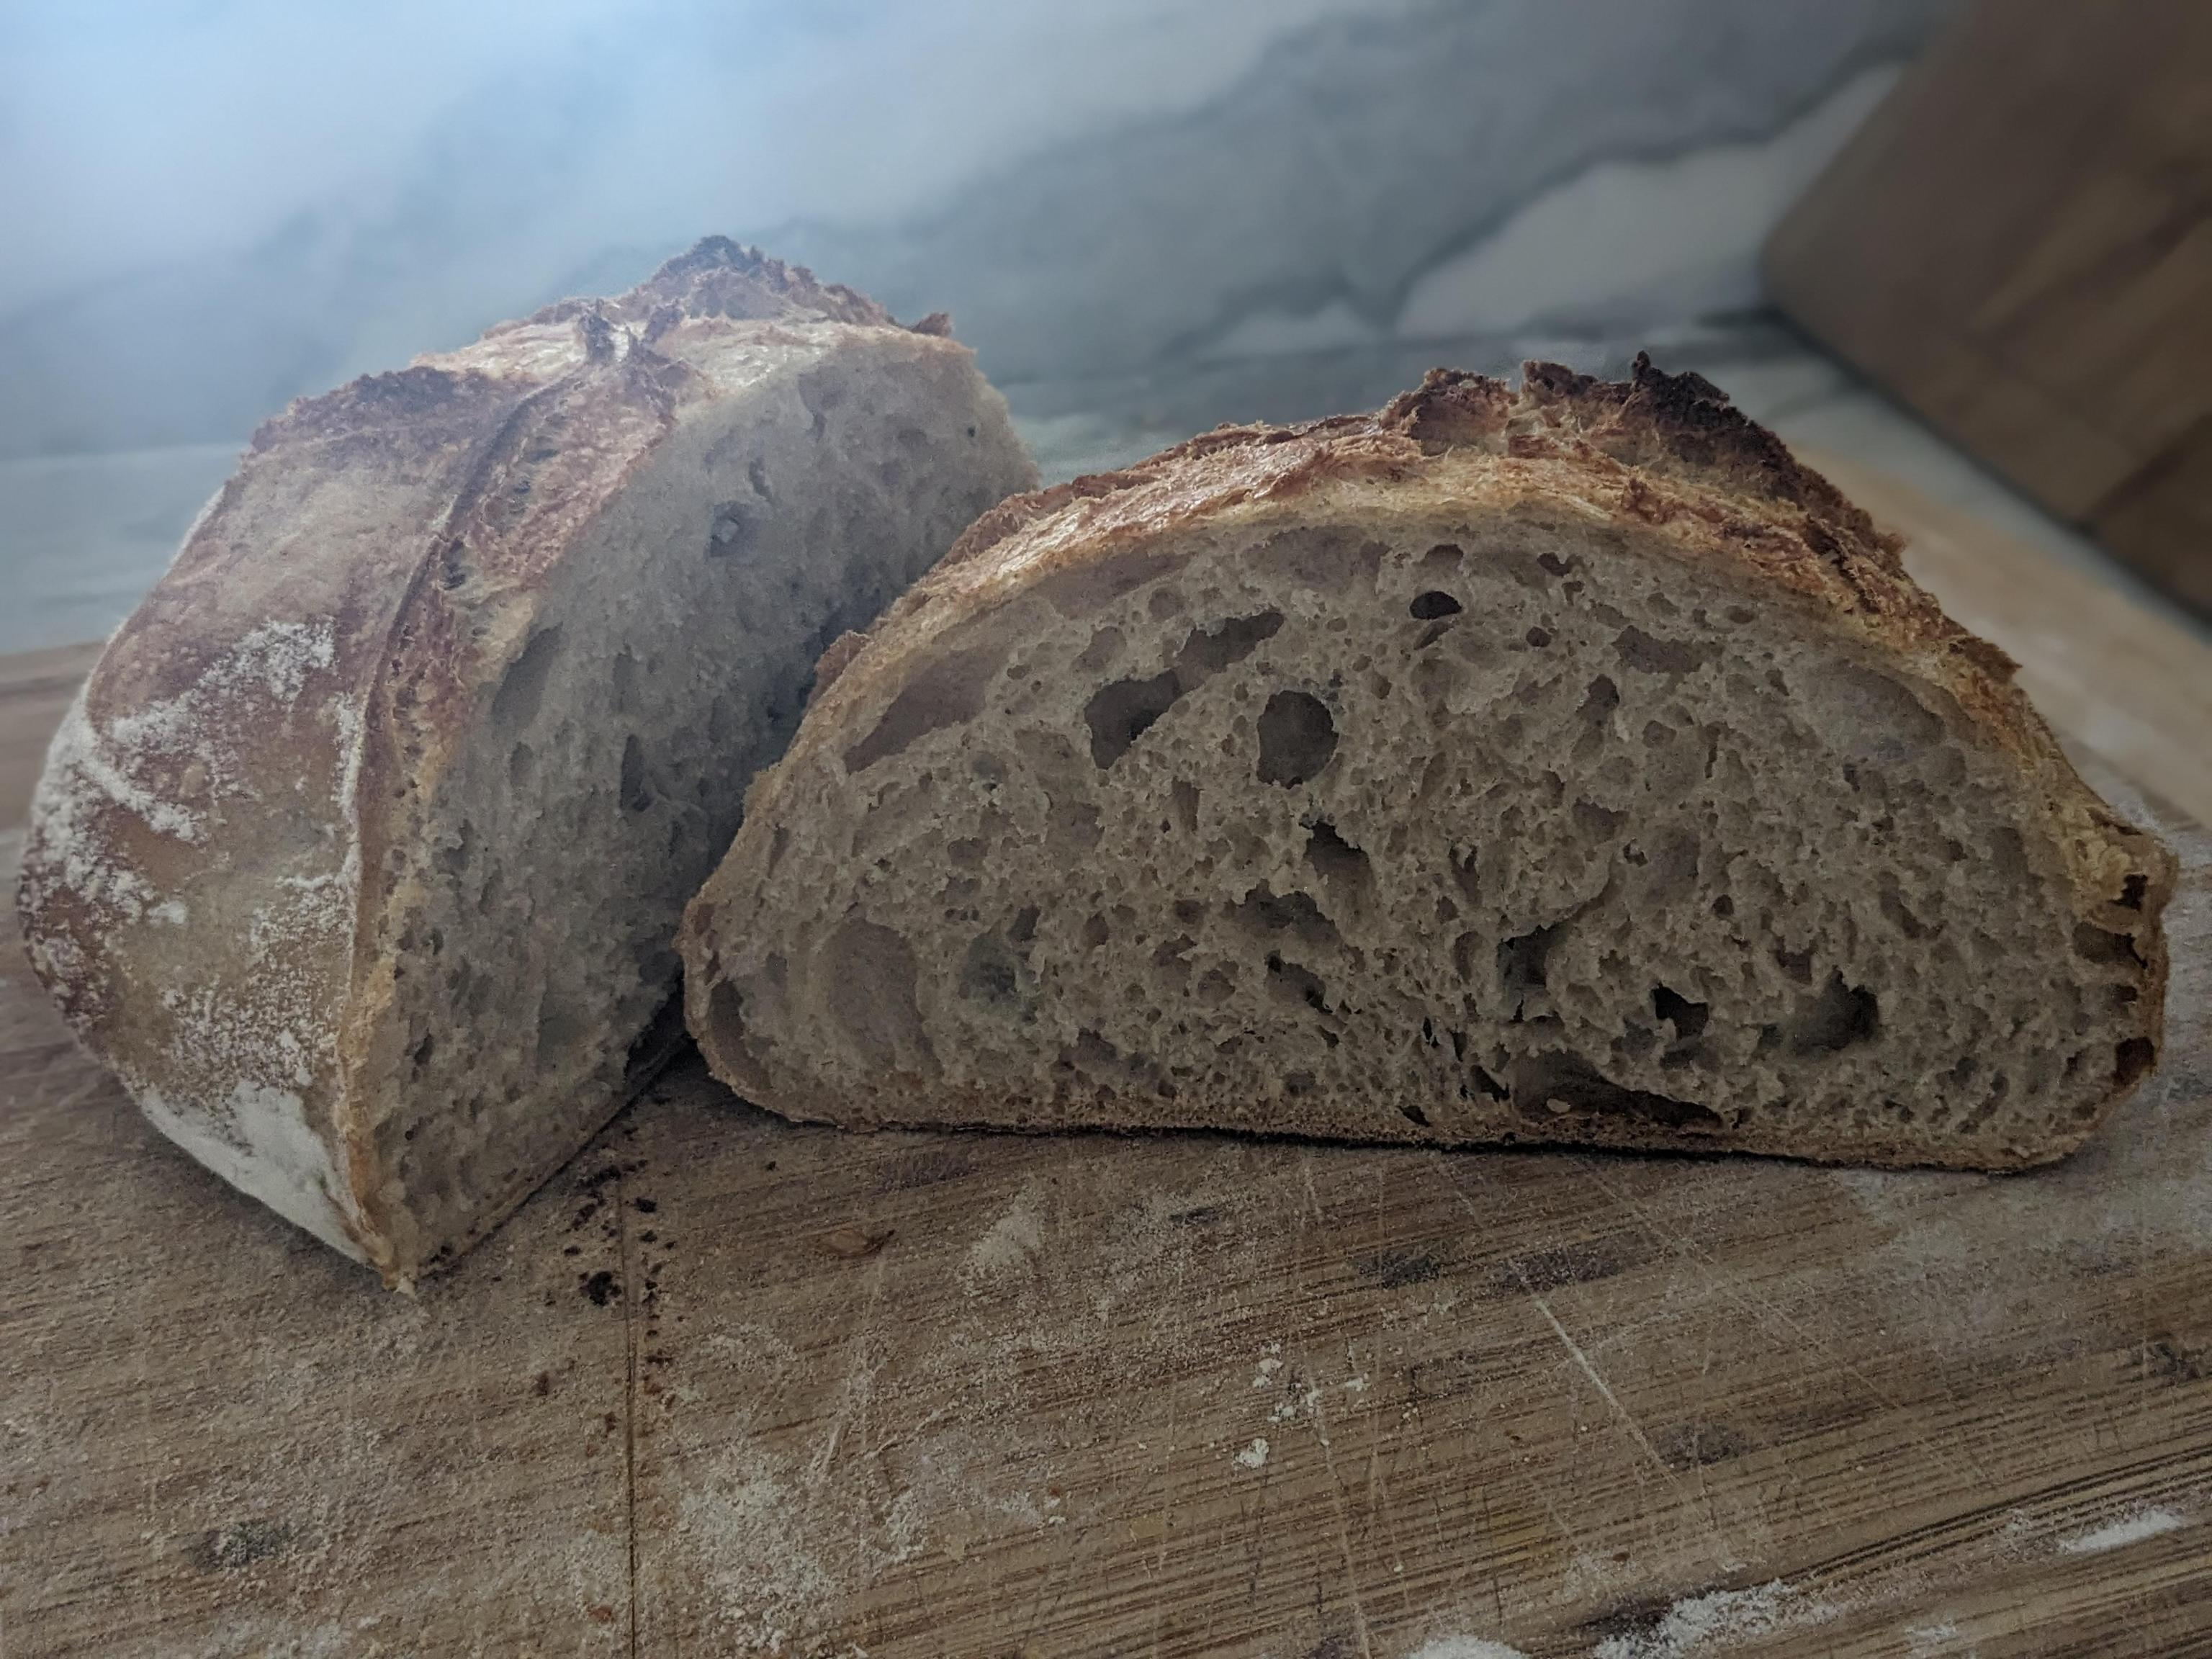
Made these loaves the other day. I thought you might enjoy looking at them. It’s a recipe that I came up with during the pandemic lockdown. If the hydration level is too challenging, I suggest bring it down 10%. It’s very soft. Makes great toast.

Enjoy.

https://mrfunkedude.wordpress.com/2023/10/17/sourdough-buttermilk-sandwich-bread/

2
 
 
  • 75% bread flour
  • 25% khorasan flour
  • 80% hydration
3


Trying to improve my pizza making skills. I've been enjoying making these. Recipe is from the bag of KAF 00. I substitute 100 gm starter for 50/50 of the water.

4
34
Smores Sourdough (lemmy.world)
submitted 2 months ago* (last edited 2 months ago) by [email protected] to c/[email protected]


So freaking delicious. Recipe. I use a mix of dark and milk chocolate morsels.

5


Or that it doesn’t make much difference in quality for the difference in price?

6


Or is it forever transformed?

After uneventful years, I thought I could let it live outside of the refrigerator. I’m nursing it back to health and it’s rising again, but it still has somewhat of a sharp smell at this point.

The bread that I made when I didn’t realize the starter was in distress, I really liked the unaccustomed strong sour flavor, actually, although the nearly complete absence of rising was a problem.

7


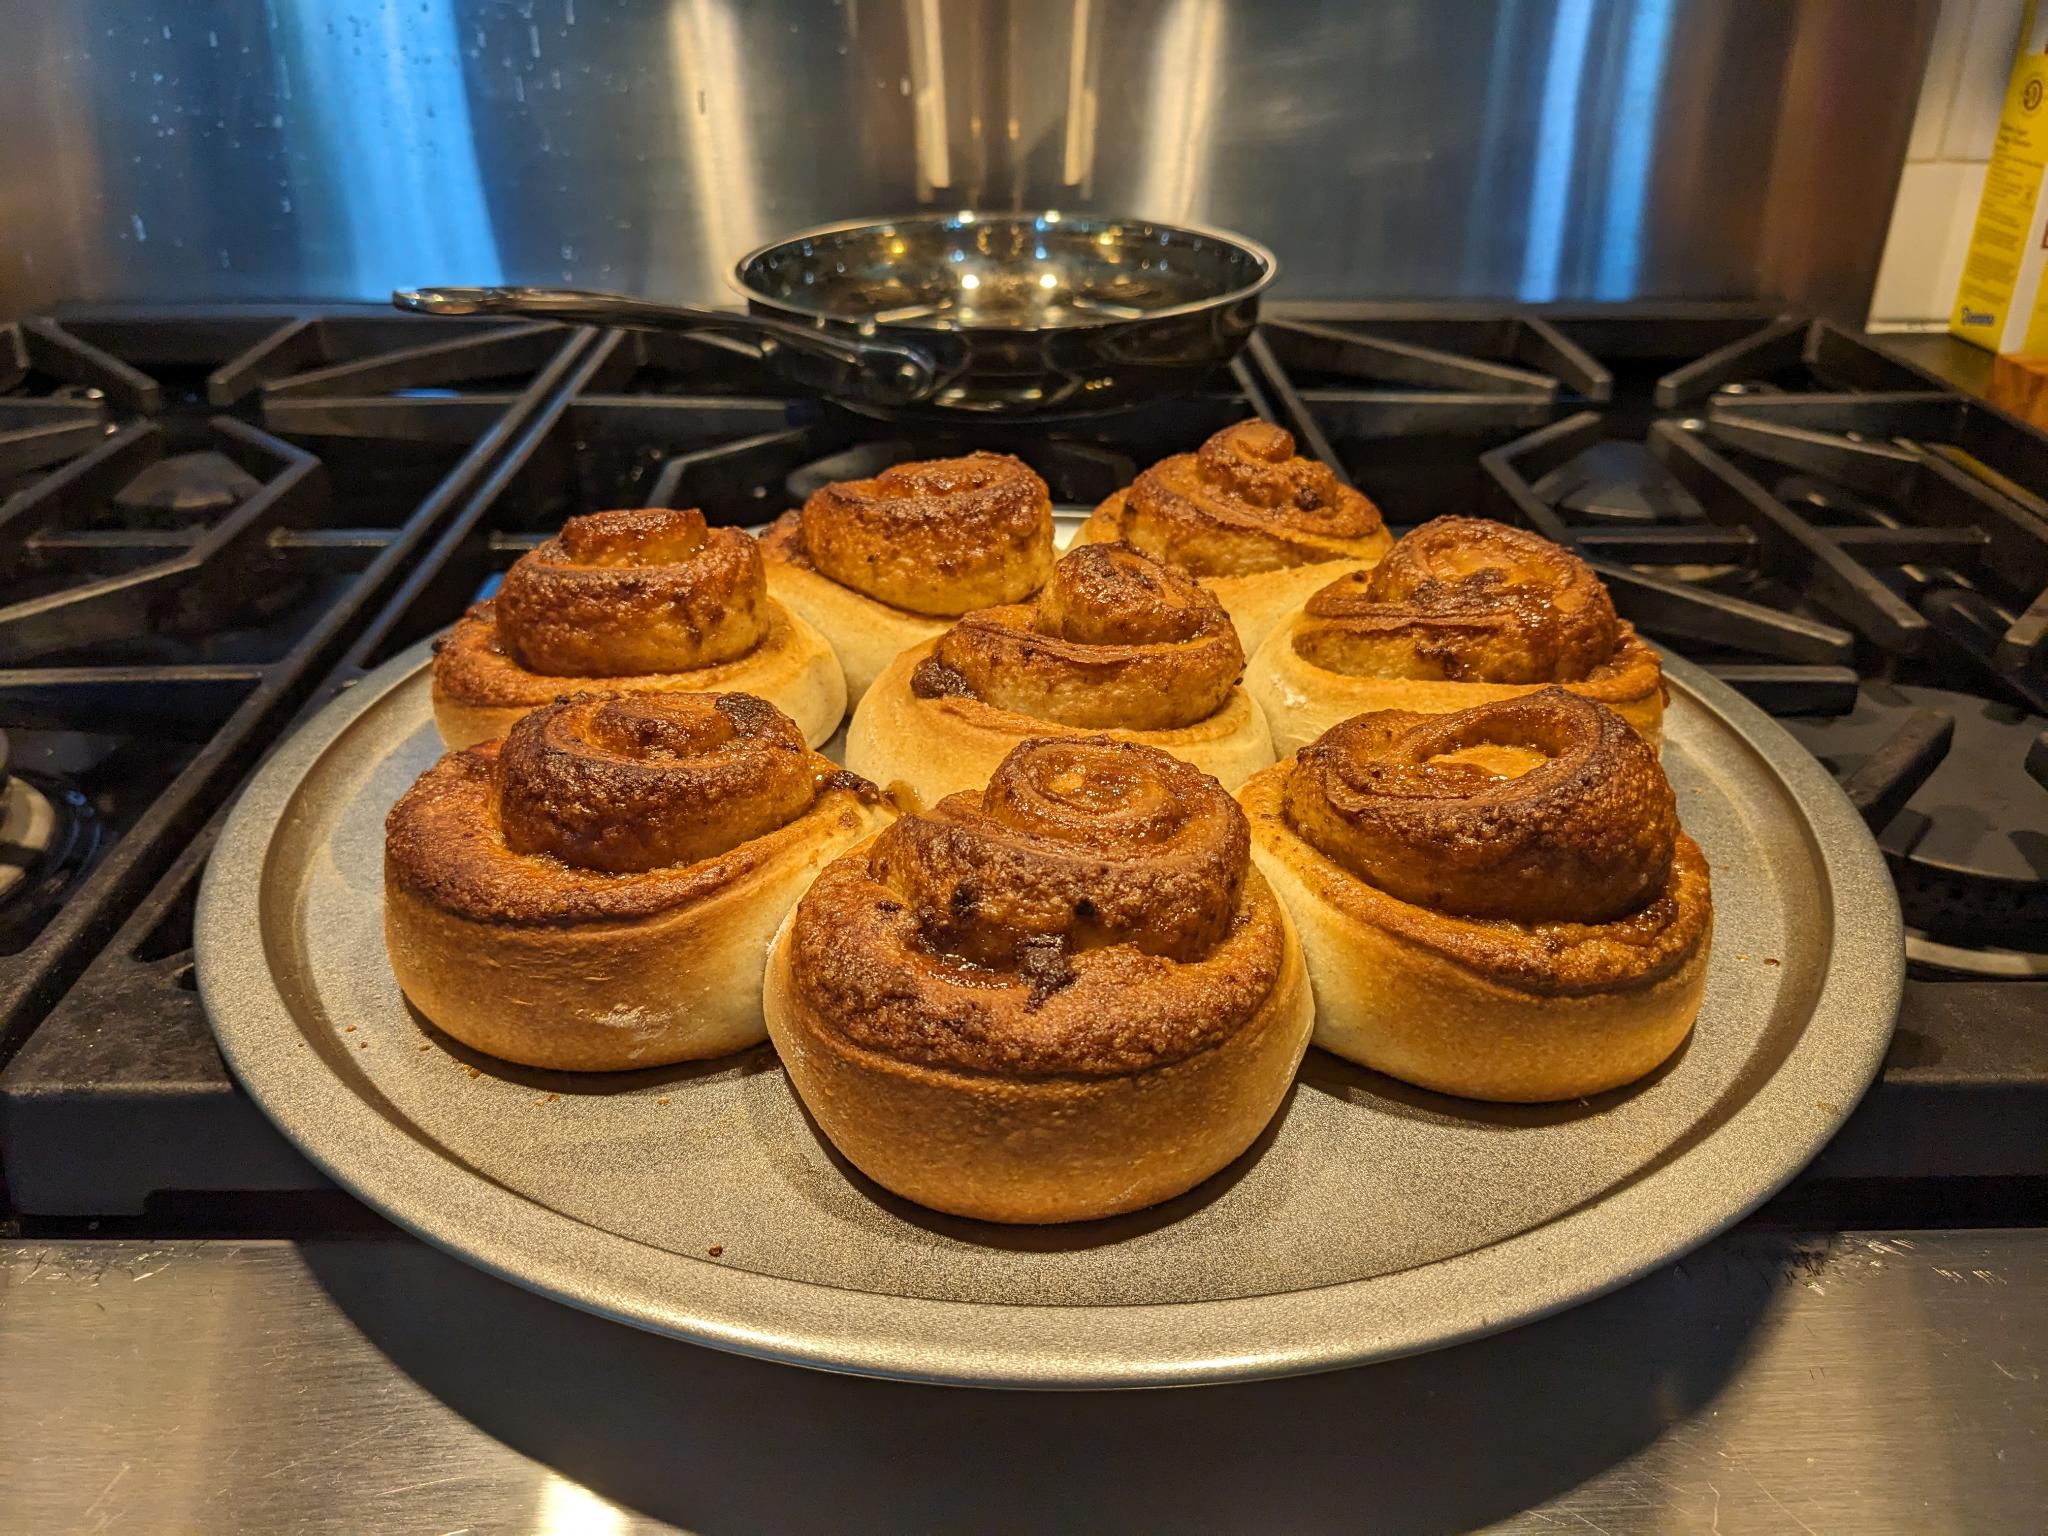
Recipe from The Perfect Loaf

I halved the batch, used bread flour instead of AP flour, subbed in about 20% whole wheat, and kneaded by hand instead of with a mixer. They came out well.

8


I bake exclusively with sourdough starter for any bread but this is the simple one my kids call "the sourdough". For two loaves:

300 grams whole wheat flour

700 grams strong white flour

700 grams water

200 grams refreshed starter at about 100% hydration

20 grams nice sel gris

I don't knead it, just stretch and fold 4 times over 2 hours, bulk rise another 2-3 hours, split and bench rest half an hour, shape and refrigerate it overnight in bannetons covered with plastic bags. In the morning (or whenever you are ready the next day) heat oven to 475 F (about 245 for you civilized folk) with the two big cast iron dutch ovens inside, so that they get really hot. Remove dough from fridge, tip it onto parchment (so the bottom is now the top) and score, cold dough is so easy to score! Carefully move into pans, close them up and bake 25 minutes closed then 20-25 minutes open.

So it doesn't look well risen in the morning but putting cold dough into a hot closed cast iron pot generates steam, which is pretty much a slam dunk for good looking bread.

Absolute magic, I still don't understand how something so delicious is created from literally just flour, water, and a little salt.

9
 
 
10


cross-posted from: https://lemmy.world/post/18774813

For some reason KA AP wasn't doing it for her anymore, but KA WW did the trick

11


I noticed this community hasn’t been active in a while so I thought I’d chime in with my most recent pair of loaves.

I’ve been baking sourdough regularly since the beginning of the year and have managed to land on a recipe I really like. I first tried adding olives to my loaves a couple of months ago and really enjoyed it so I figured I’d do it again; it’s a mix of mostly Castelvetrano and Kalamata olives with some nondescript garlic stuffed olives I wanted to use up. I really like the resulting loaves; I still need to work on my shaping though…

In case anyone is interested, here’s the recipe (for two loaves):

Stats
- Hydration: ~82%
- Dough mass: 908g
Ingredients
- (80%)  720g bread flour
- (10%)  90g sifted whole wheat flour
- (10%)  90g scalded whole wheat flour (2:1 water to flour)
- (80%)  720g water (180g reserved for scalding)
- (20%)  180g starter (1:1, fed with whole wheat or dark rye)
- (1.8%) 16g salt

I came up with the ratios after a lot of trial and error. The hydration is fairly high but the scald makes it surprisingly workable for being above 80%.

The method I use for the scald is I sift all of the bran out of the whole wheat flour, divide the remaining sifted flour in half, then re-add the bran to the half that I’m going to scald. I have never actually tested it but I’ve heard that the bran can interfere with gluten development and scalding it may help in that regard. It might not make a difference, but at this point I’m hesitant to rock the boat since I’m so pleased with the results I’ve been getting.

The rest of the process I go through is pretty standard procedure for sourdough: I feed my starter out of the fridge a couple of times prior to the day I make the dough, do a short autolyse, combine the starter and salt, do some stretch and folds, bulk ferment, preshape, and shape. One thing that makes a huge difference for me is the cold proof - I’ve tried both ways and every time I get better oven spring and better flavor when I let the dough sit covered in the fridge anywhere from overnight to 24 hours.

A few other thoughts…

I probably do more sets of stretch and folds than normal (maybe 5 or 6 spaced 30 minutes apart). I’m guessing here but I think that might be leaving me with a more uniform crumb by better distributing the fermentation sites (which I prefer). Also, I find that I have to go longer in bulk than a lot of people seem to (maybe 7 hours with an ambient temperature of 78F).

My biggest blunders at the beginning of my sourdough journey were not fermenting the dough long enough. My rule of thumb at this point is to let the dough ferment until it has gained 50 to 70 percent in volume, and when you gently shake the container the dough “wobbles.” I always give the final shaped loaves another hour or so at room temp before putting them in the fridge to extend the ferment a bit longer.

One of the best things about the resulting bread is how stable it is just sitting out at room temperature. I’ve made regular white bread with active dry yeast in the past and by day 2 it’s already a shadow of its former self, and day 3 or 4 it’s hard and/or moldy. I actually made these loaves 9 days ago at this point and they are still holding up pretty well. They aren’t as soft and nice as they were on day 1 (obviously) but they are still pleasant and showing no signs of mold. I imagine the acidity of the bread helps with the mold, and from my own tests the scald seems to be what really helps the bread maintain its freshness over time and not dry out. If you’ve never tried a scald before, I’d absolutely recommend it.

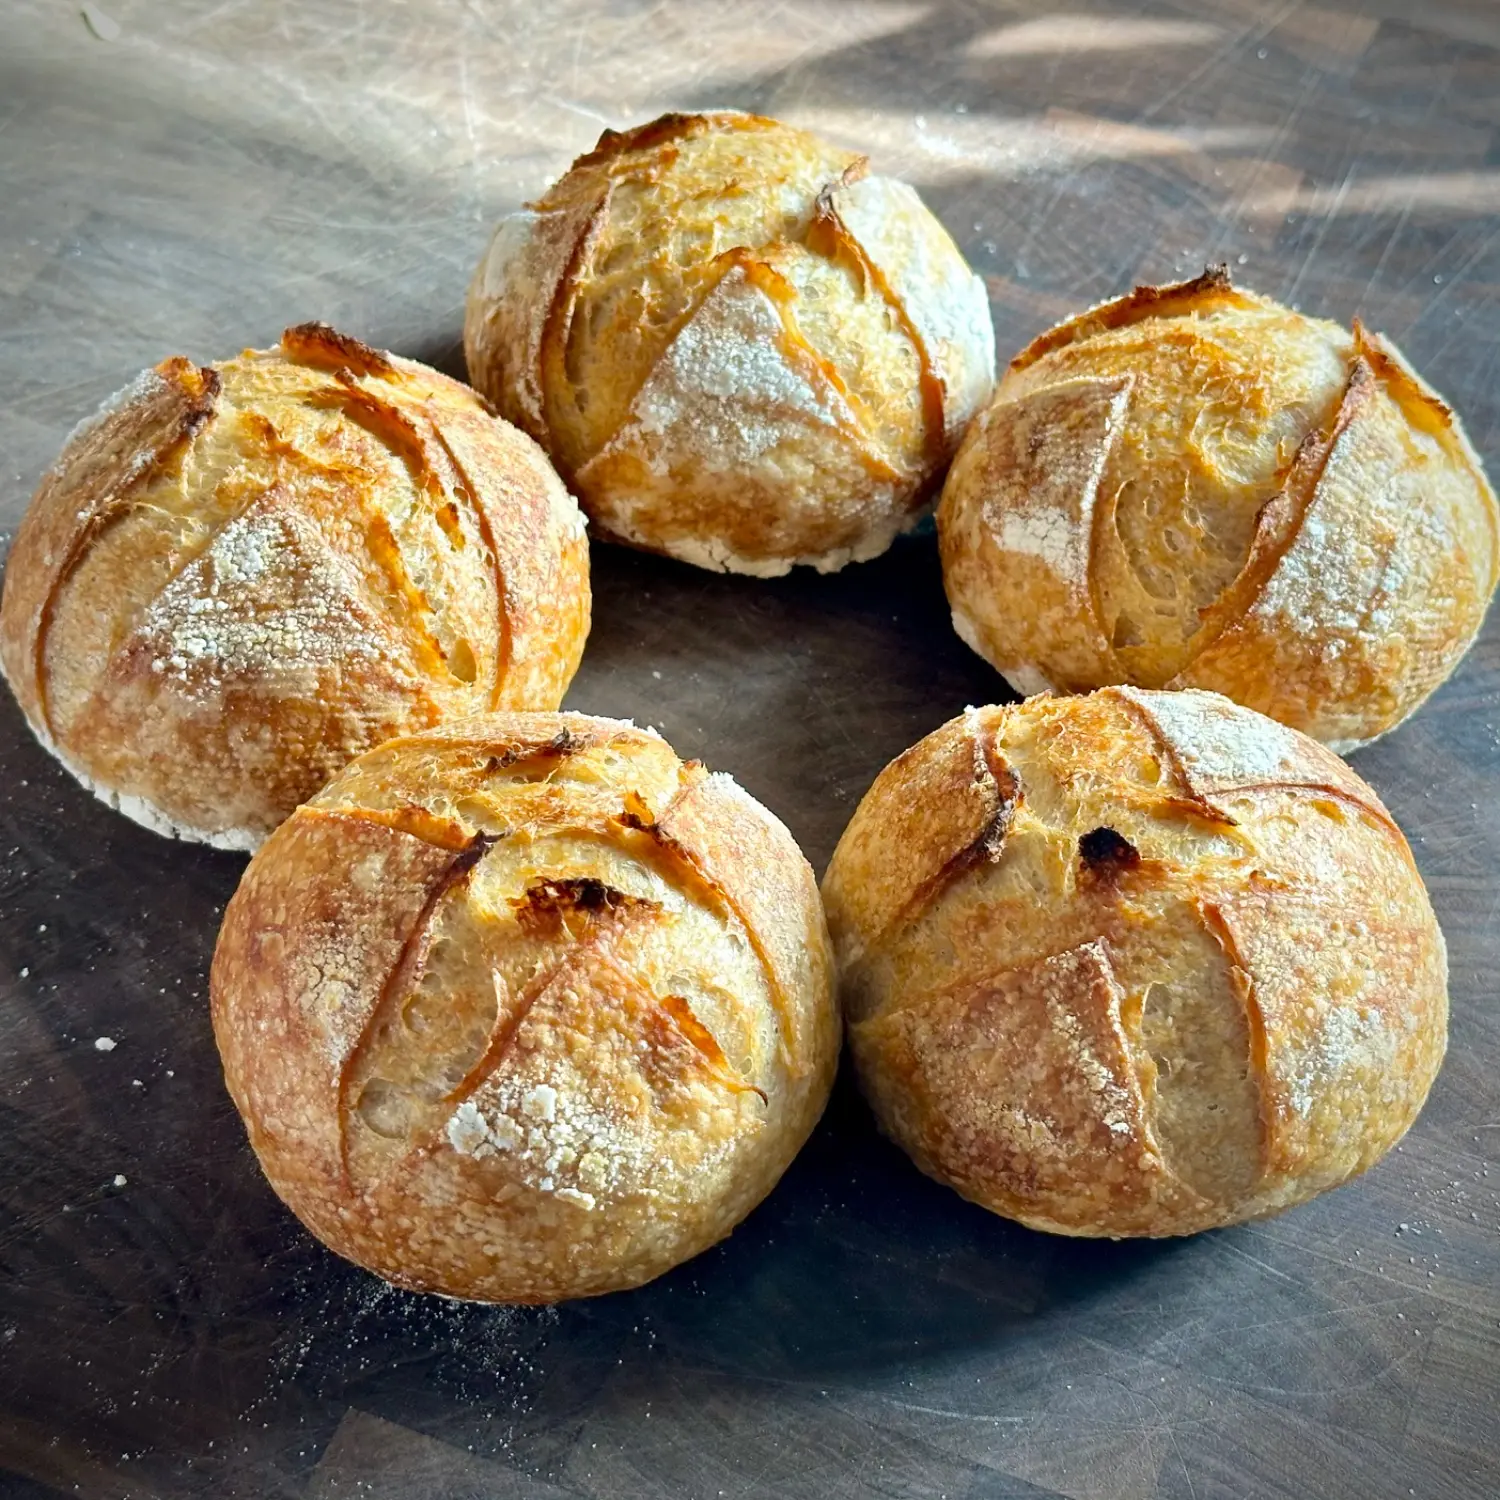
12


I attended a sourdough baking course yesterday, and this is the result - hot out of the cast iron pot.

I'm usually on the consuming side of things, so it was nice to get a chance to learn the process and make it along a proper baker (although kneading by hand was a tough workout!).

I'll let it cool off a bit, and then get a slice with some cold salty butter :)

13


Yes, longer raise time at room temperature was needed. Not sure what else I can or should improve 🥰 Thanks for all the input on my last post - comments very welcome!

14
 
 
15


I tried my hand at making a starter years ago and it went poorly. I was gifted some starter earlier this week and have been bulking it up in order to bake some bread this weekend. The starter is MUCH better than any of the ones I've ever made, so Ive had high hopes all week that my sourdough will actually come out decent this time.

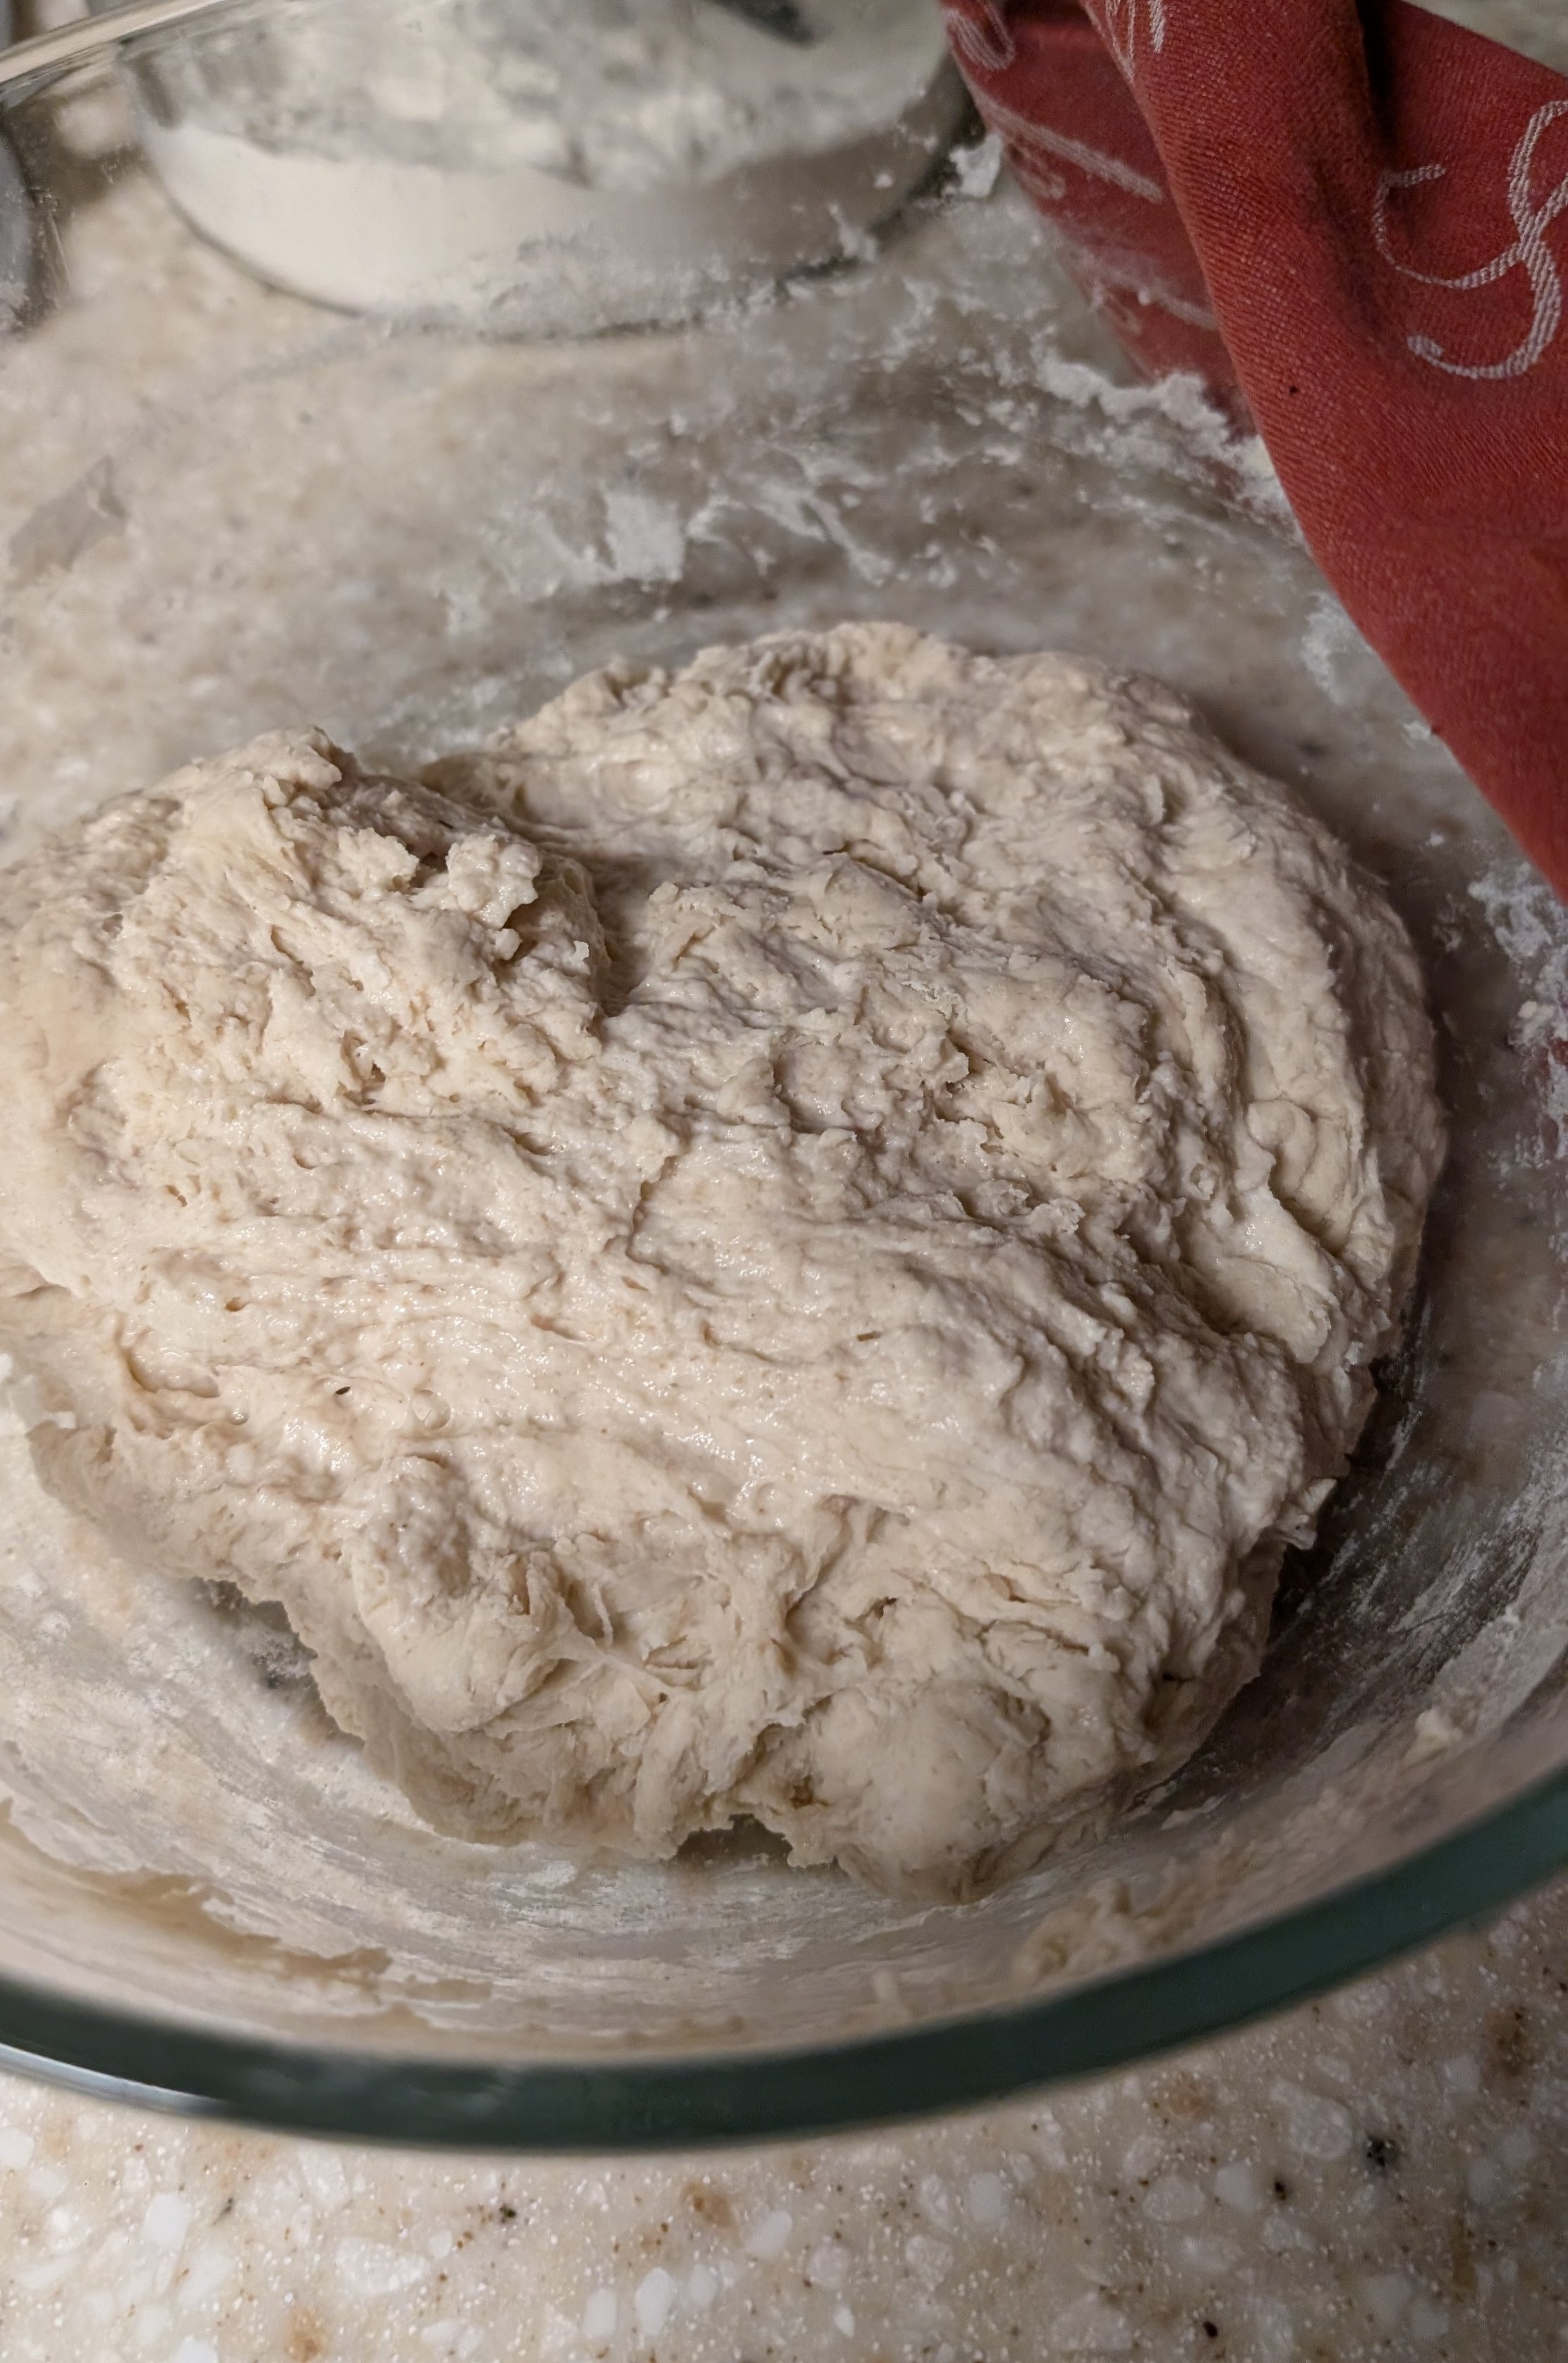
I've been following this recipe, and it's been going....not well. Everything was weighed to the gram, including the starter, and "lukewarm" water was about 80ish degrees. The dough is so unbelievably sticky that I can barely scrape it off the sides of the bowl.

Is this normal? It's been years since I've done this so I'm back to questioning everything. I'm planning to just drop the whole thing into a Dutch oven and cook it, but I understand that I'm deviating from the recipe. My Dutch oven cooks were just so much better.

Cna anyone provide a better recipe for just a basic sourdough boule that you've had decent success with? I'd really like to continue baking bread, but I know for a fact that I'll wind up giving up again if I have too many failures (I think I baked 8 different times a few years ago, and I gave up because they were always so dense, and flat.). Really want something with a good, fluffy, stretchy crumb.

Any advice or questions would be greatly appreciated. Thanks!

16


I’ve been getting back into backing sourdough. Looks quite good but I suspect possibly slightly under proofed

17


Took y'all's advice to heart and it's looks like it's working well!

18
43
Weekend boules (programming.dev)
submitted 8 months ago by the_artic_one to c/[email protected]


Crumb:

19
19
submitted 8 months ago* (last edited 8 months ago) by [email protected] to c/[email protected]


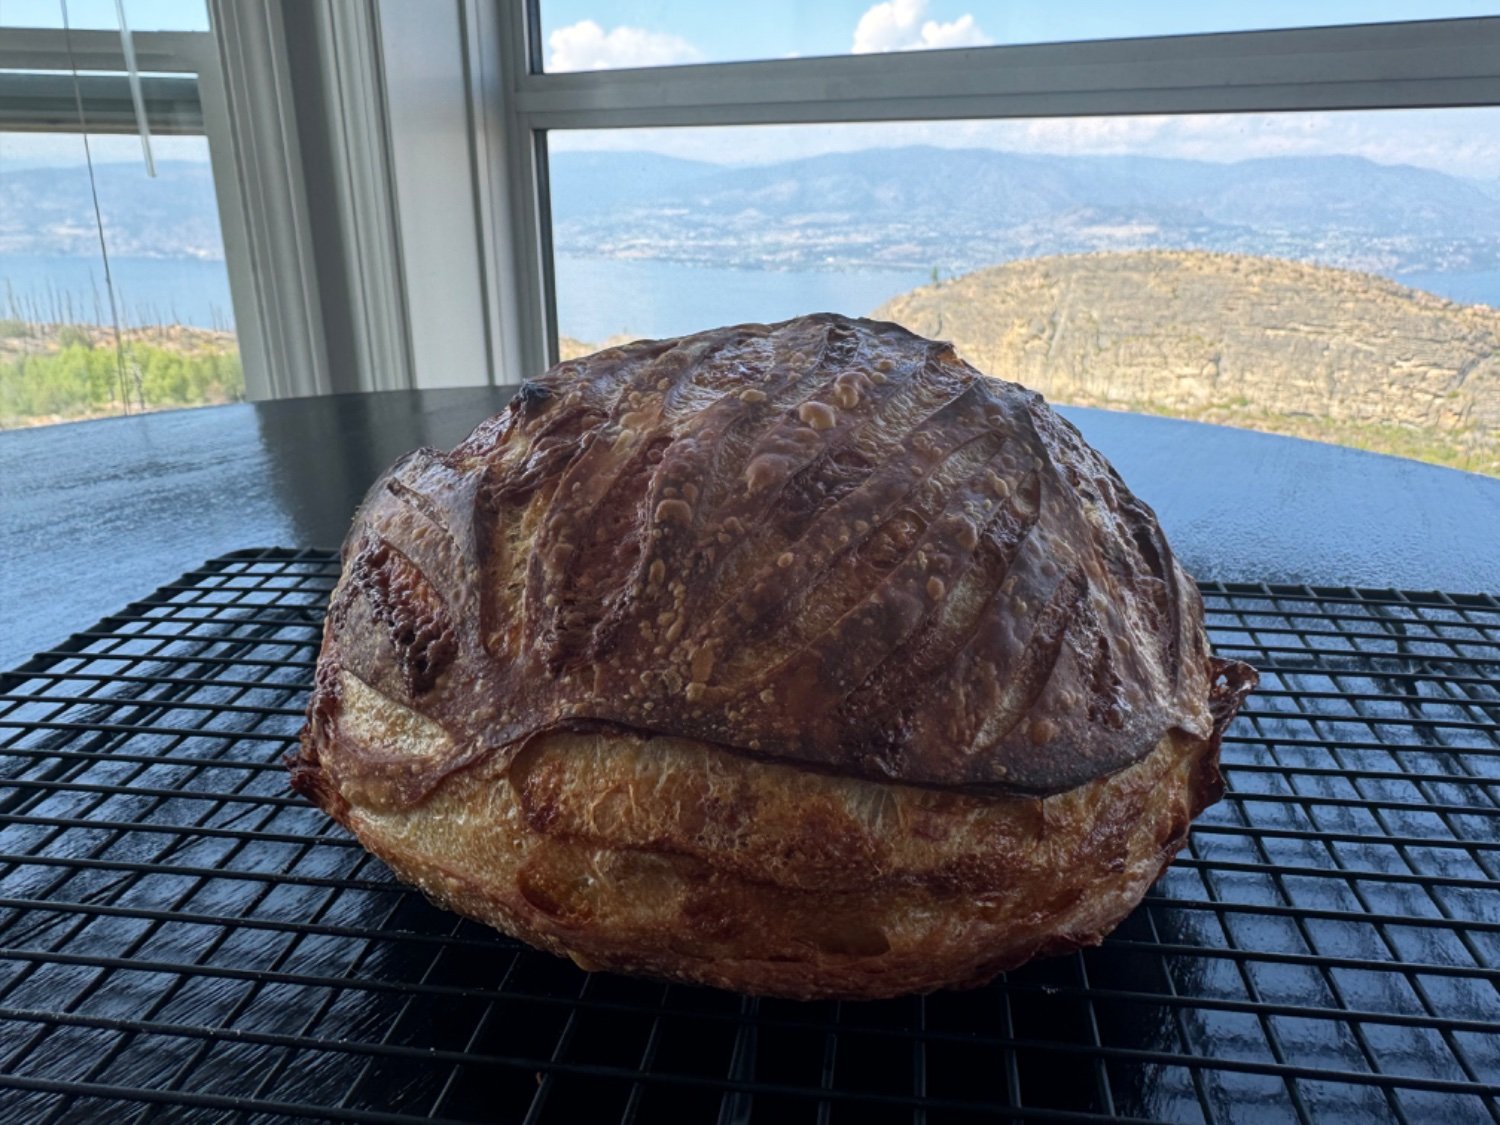
Not my best bread ever but this is pretty normal issue. I totally over proofed it because I fell asleep during the proof xD

20


And here's the crumb The bread's crumb

21


Today's loaf. ~350g water ~45g starter (I didn't feed it enough Thursday lol) ~350g Strong Multigrain (Matthews Cotswold) Flour ~100g Very Strong White (Allinson's) Flour ~50g Very Strong Wholemeal (Allinson's) Flour ~10g salt -added in that order and mixed all at once.

I don't autolyse without starter cause I can't be arsed with the extra steps and the few times I've done it I didn't find any difference.

This was the first time I used the multigrain flour (normally I'd use all white, recently with the 50g wholemeal) - dough was much wetter/stickier than usual, so I didn't get as many stretch and folds in as I normally do.

Mixed approx. 9pm, as many stretch and folds as I could get in considering tackiness of dough before midnight.

Preshaped, rested for about 30 minutes, shaped and baked straight away at 240°C fan oven in a Dutch oven (steel pot with lid) for 30 minutes, uncovered at 220°C for 20 minutes.

I've found pre-shaping makes a humongous difference to the shape of the boule - normally my loves would sink out to the sides a bit.

22
35
submitted 8 months ago* (last edited 8 months ago) by [email protected] to c/[email protected]


Recipe from "Homemade Sourdough: Easy, At-Home Artisan Breadmaking" by Jane Mason with Ed Wood et al.

I halved the below recipe, but used the same amounts for the levain.

100g starter 850g bread flour 550g water 15g salt

  1. Make a 100g/100g/100g starter/flour/water levain, let sit for ~8 hours/overnight until peak activity.

  2. Add remaining ingredients, knead until passing the windowpane test, then bulk proof on counter for 4 hours.

  3. Shape into baguettes and set on a heavily floured dish towel with pleats between the loaves. Cover with plastic wrap and let proof again until it passes the poke test. The recipe estimated 3 hours, but I let it go for closer to 6, as mine weren't really passing the poke test, but that may be because I'm bad at loaf shaping and didn't get a tightly shaped surface.

  4. Transfer to a parchment lined baking sheet, score the tops, and bake at 450 F for 20-25 mins. I also added a tray of water to the bottom rack of the oven to try and steam the crust a bit.

They aren't perfect loaves visually, and they may be slightly overproofed, but not disastrously so, and they taste delicious!

23


They're an all sourdough bakery.

24


King Arthur recipe, I used Miyokos plant butter for these and they came out great!

25


Hello friends!

I'm keen to start baking sourdough and want to create my own starter. There are a slew of recipes online, but I'm keen to know your tips/tricks/ratios/steps to begin this journey.

Much love from this UK loaf lover 🥖

view more: next ›