this post was submitted on 16 Nov 2023
10 points (100.0% liked)

Do-It-Yourself, Repairs and Fixes

2655 readers
1 users here now

Share tips and tricks to keep people from throwing out that broken item. Repair before replace!

founded 5 years ago
MODERATORS
 

I just got this keyboard for free because a few parts on the PCB need to be replaced.

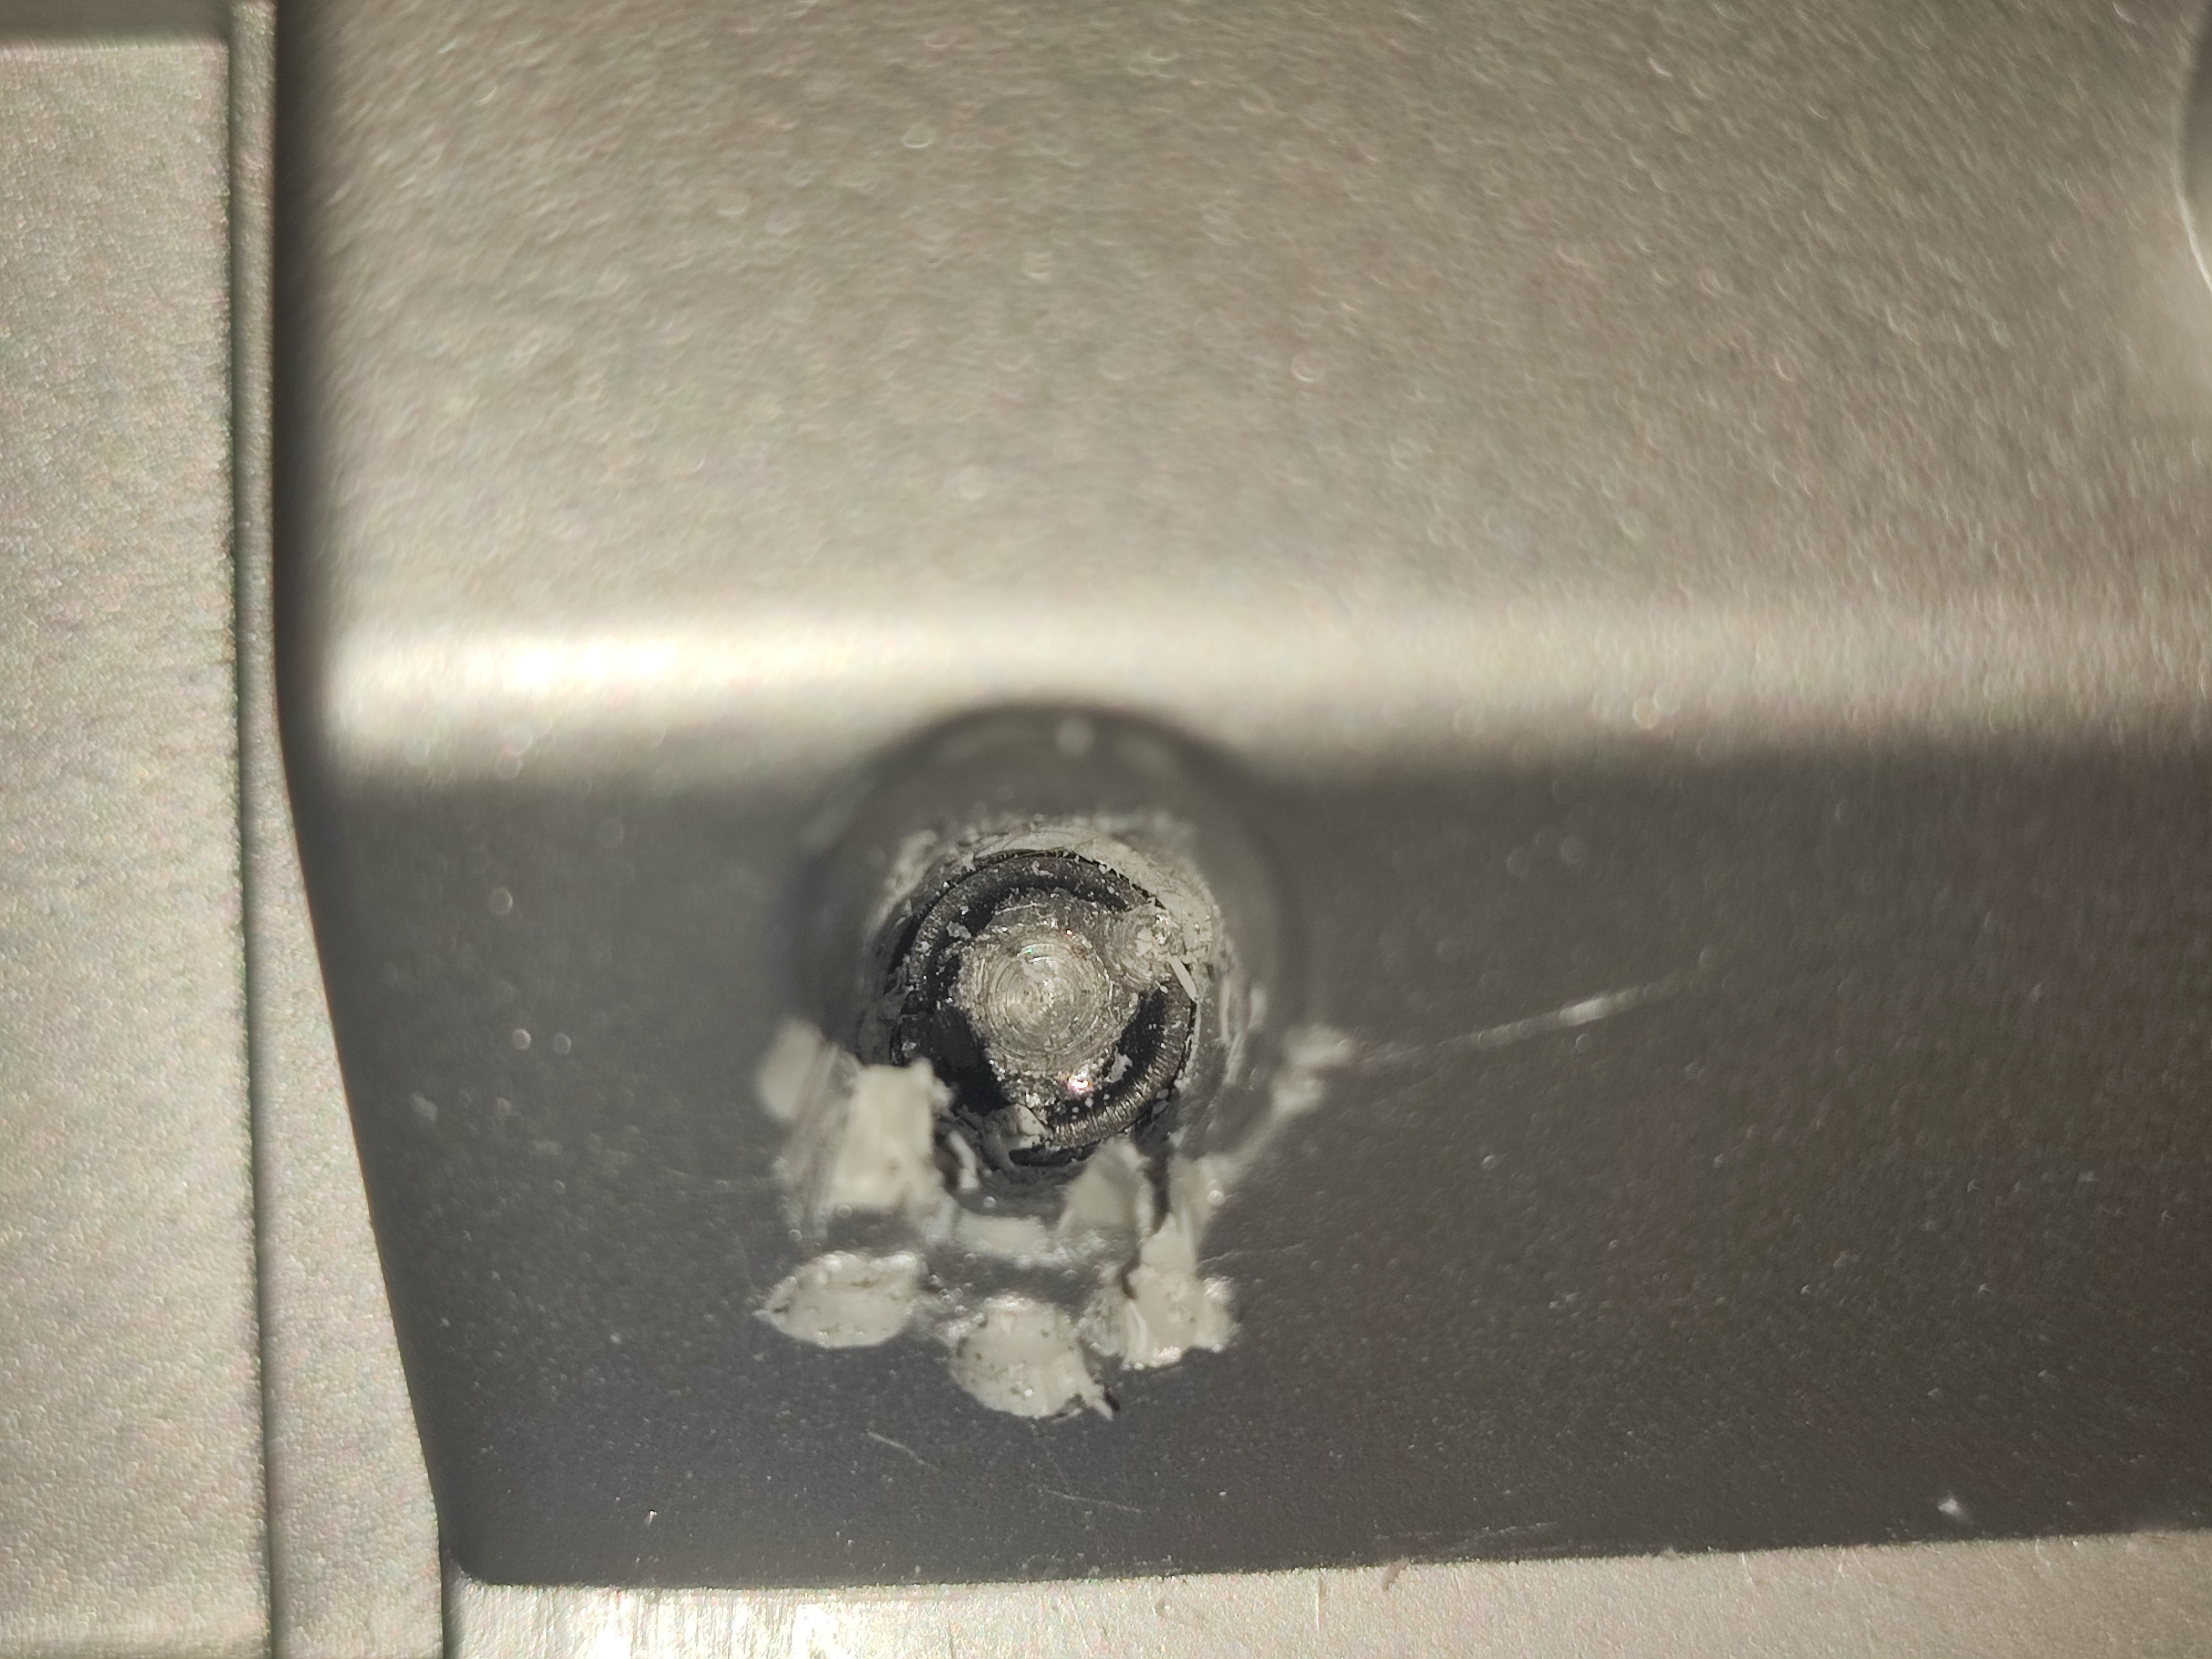
But I have trouble getting it open because one of the screws has been completely mangled:

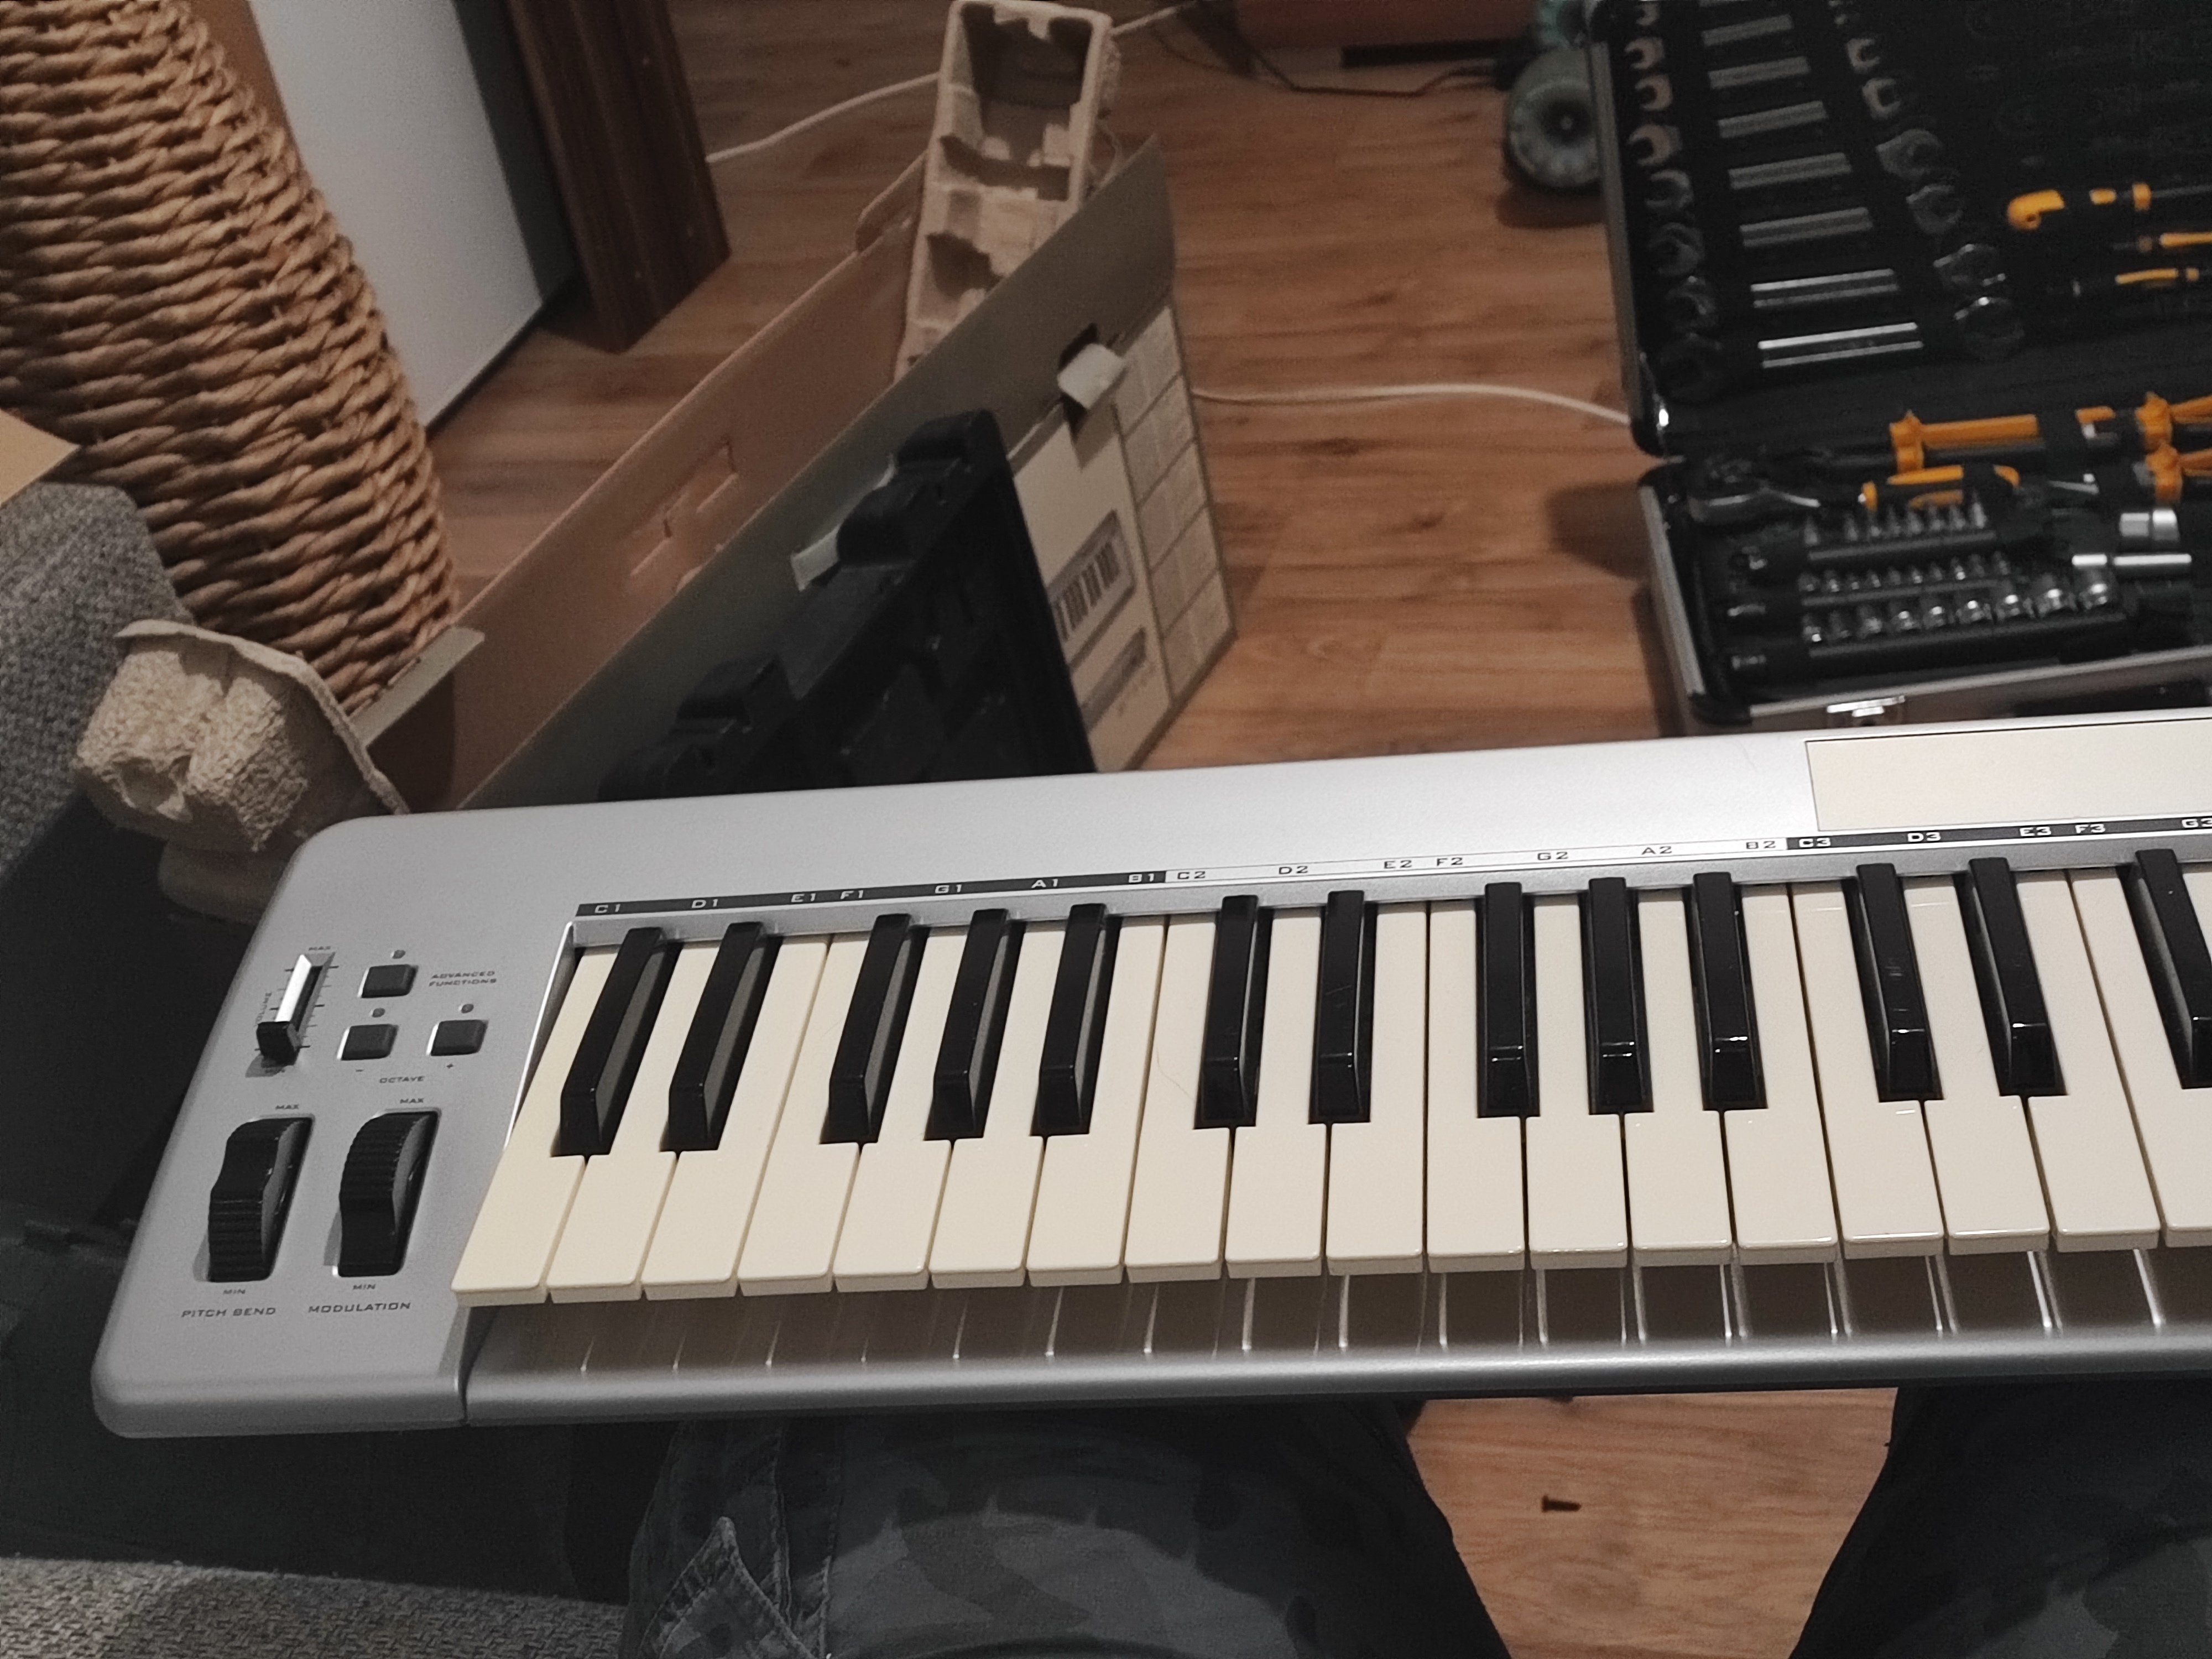
The screw sits directly under this spot:

But that's also exactly where there is a PCB inside that I don't want to ruin by not being careful.

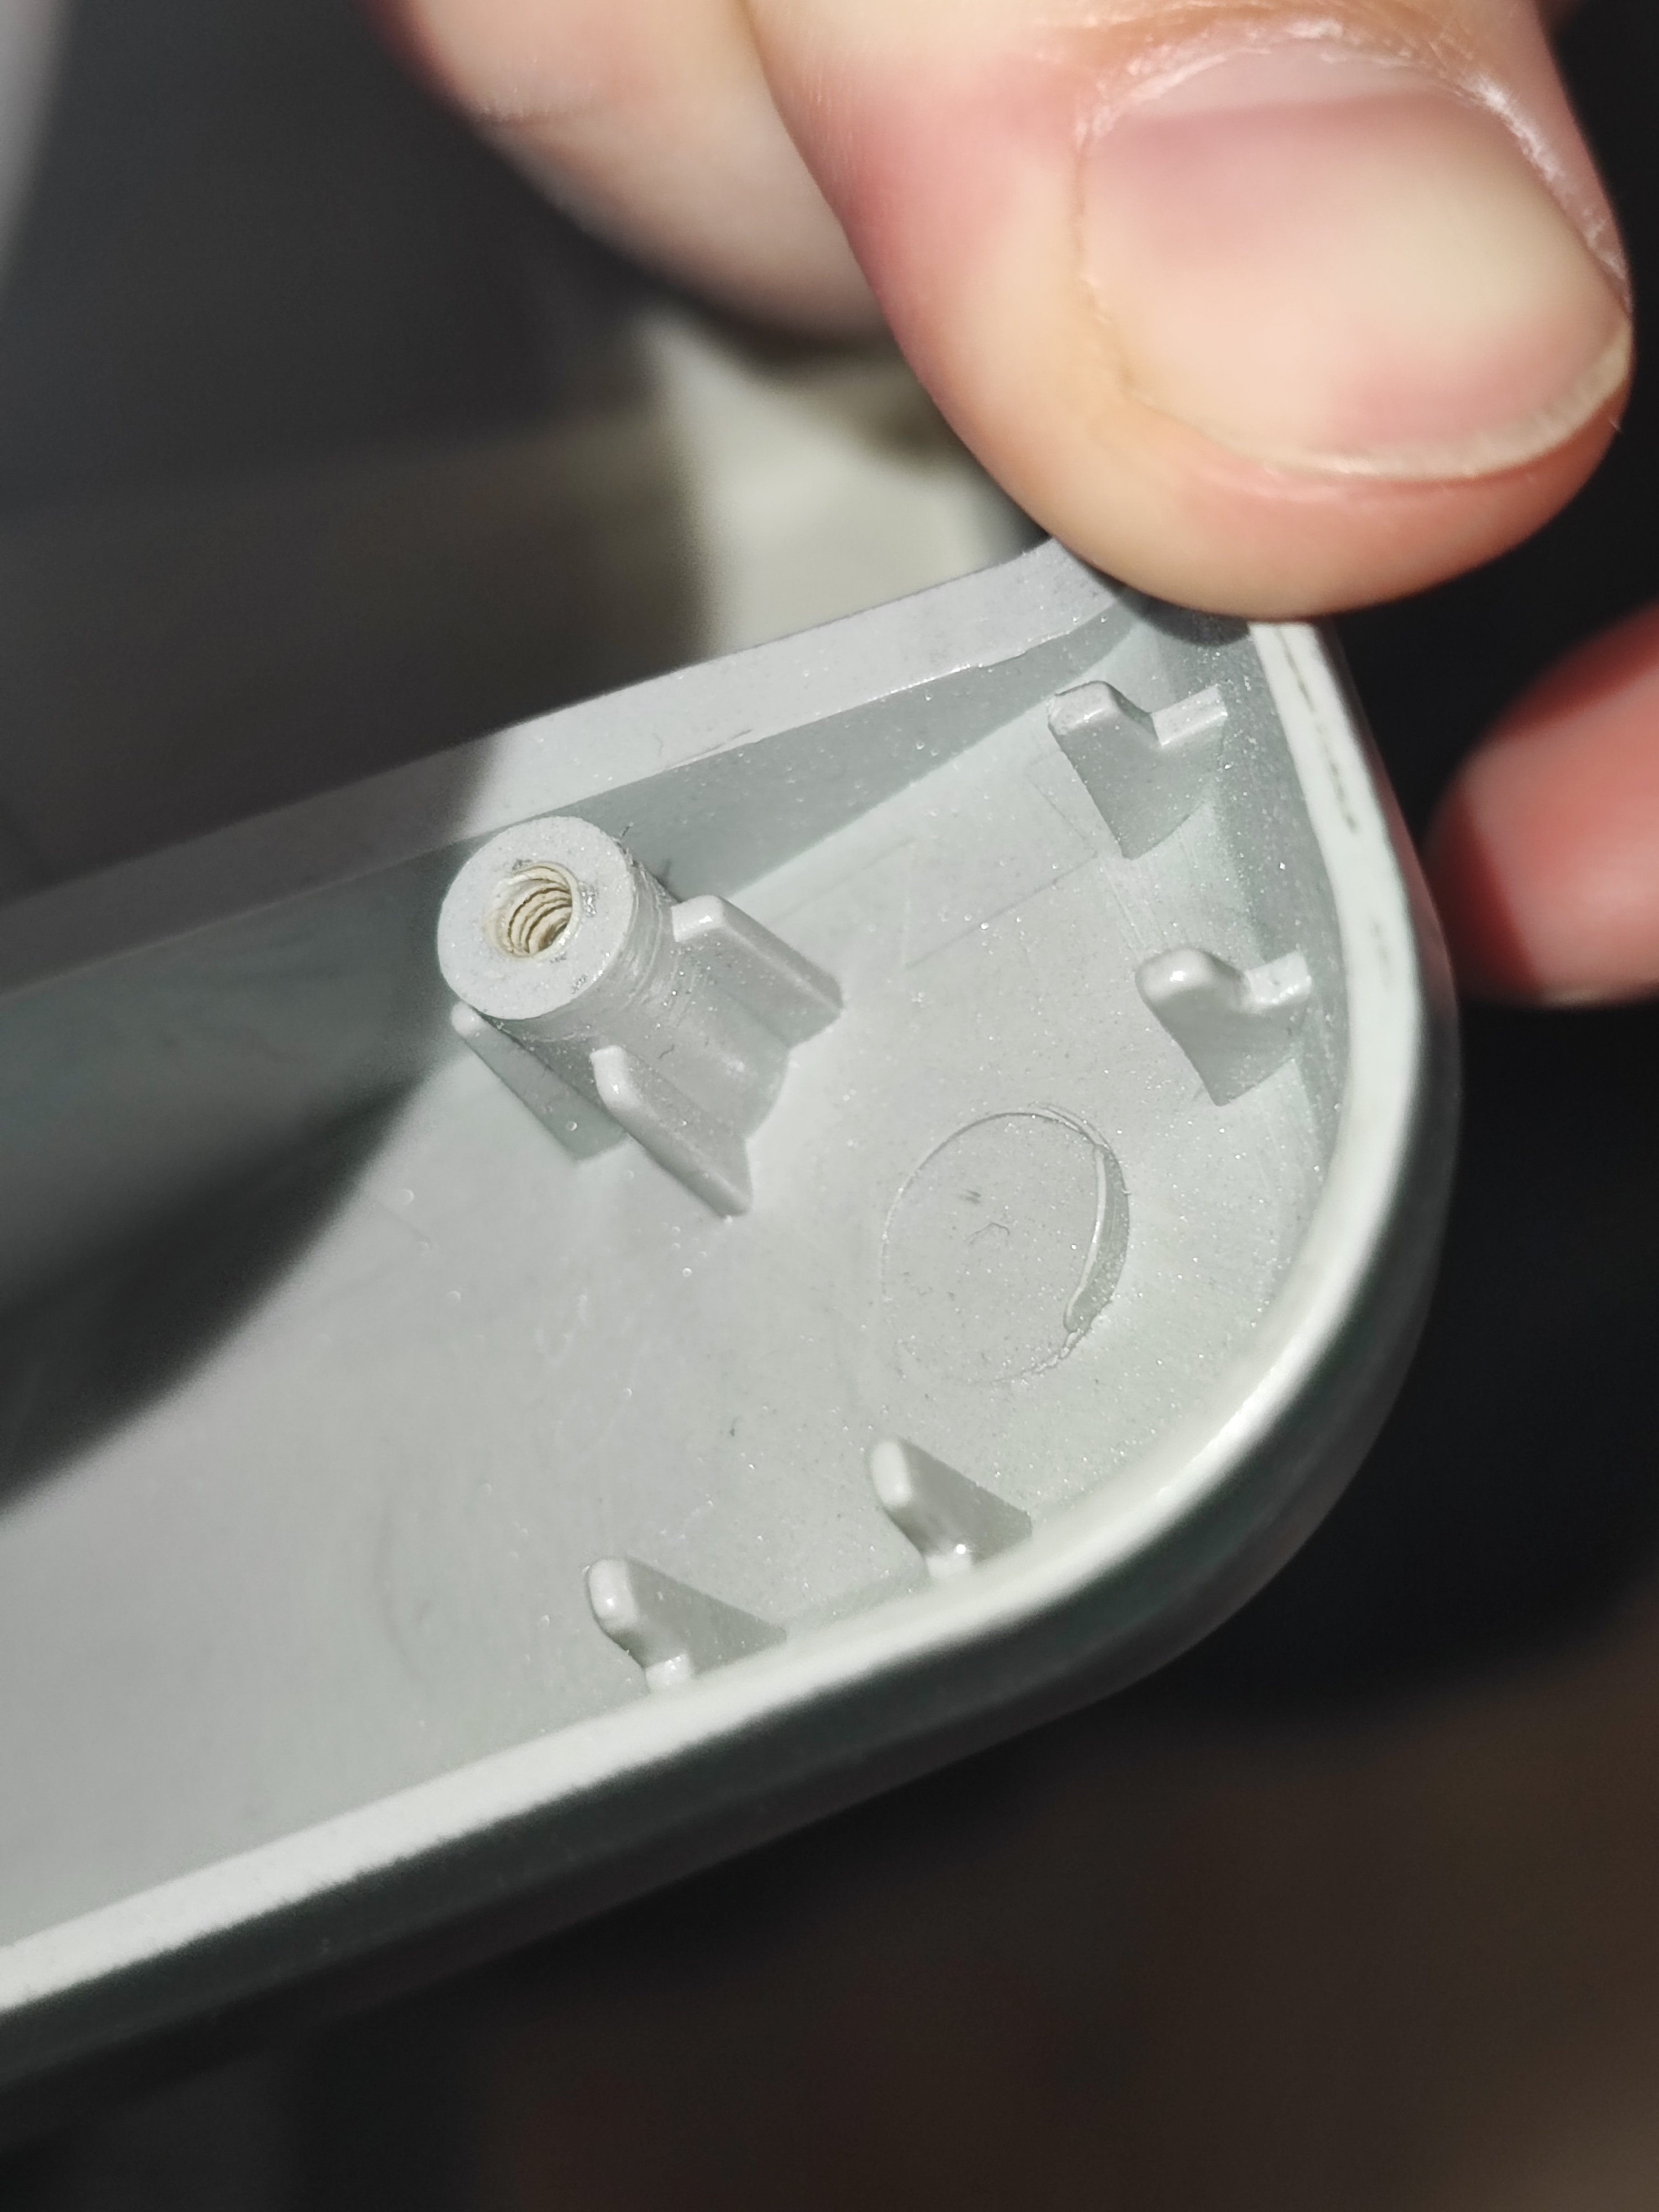
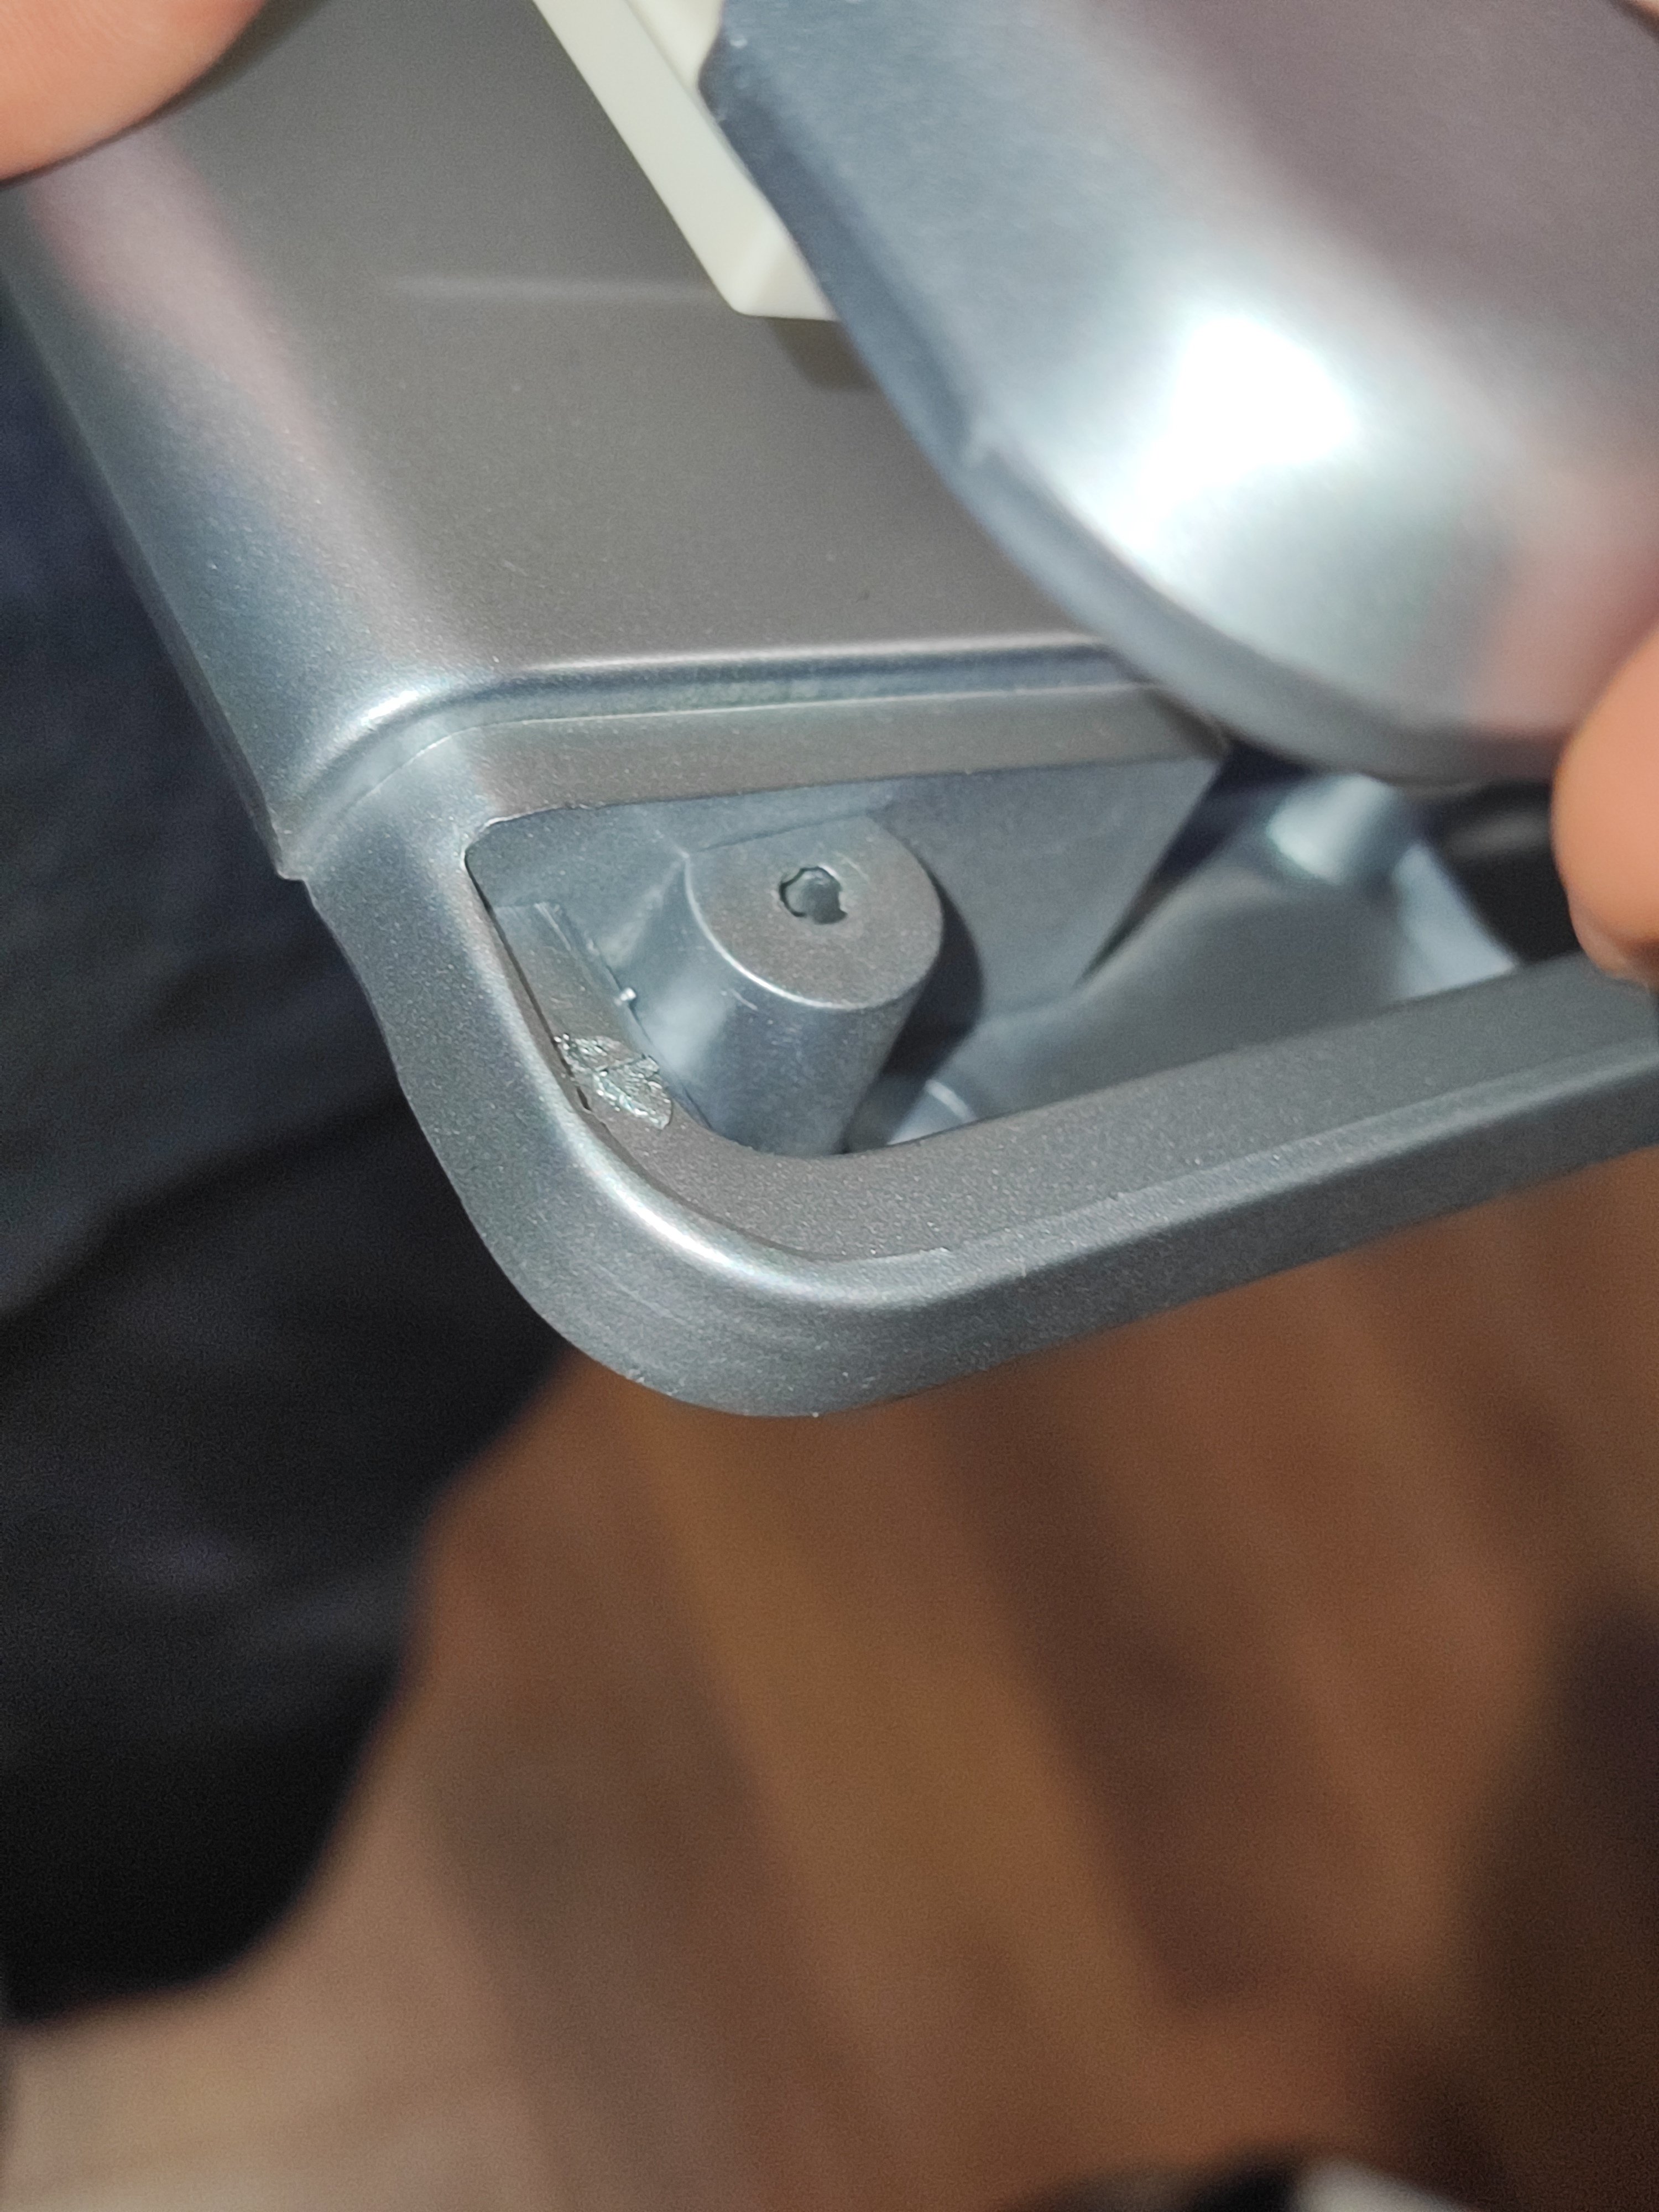
The things where the screw is in looks like this: Bottom: Top:

I hope maybe someone has an idea how to get it open without destroying the PCB which is very close to it.

top 8 comments
sorted by: hot top controversial new old
[–] [email protected] 5 points 1 year ago* (last edited 1 year ago) (1 children)

Hope I have interpreted the photo correctly and this is just a metal screw, that has become to round to be screwed out with a hex wrench.

In such case, I use a drilling machine to carefully drill a small metal-suited drill a few millimeters into the screw. Then I remove the drilling machine and hold the drill (still in the screw) with combination pliers (or similar pliers) and unscrew the metal screw (again carefully).

I hope my translation of the tool names are close enough to understand what I mean :)

In German it would be: Einen Metallbohrer mit Bohrmaschine einige mm in die Schraube bohren, dann mit Kombizange den Bohrer festhalten und zusammen mir Schraube herausdrehen.

EDIT: also please be careful when opening up the keyboard and document your steps with photos. When I repaired a 80s Korg some years ago, there where many parts that could spring out of place, e.g. when lifting the keys.
[–] [email protected] 3 points 1 year ago (1 children)

Das war mal eine Kreuz-Schraube, die der Vorbesitzer schon versucht hat zu entfernen, nachdem er die mit dem Akkuschrauber volle Kanne reingerammt hat.

Habe leider keine Metallbohrer in dieser kleinen Größe, die kleinsten sind irgendwo 7mm im Durchmesser. Ich werde mal das mit dem Lötkolben erhitzen ausprobieren und falls das nicht funktionert kaufe ich mir ein Set kleiner Metallbohrer.

Das mit dem Dokumentieren ist definitiv eine gute Idee, sonst ist das am Ende noch ein Puzzle bei dem ich raten darf wo was wohl hingehören könnte.

[–] [email protected] 3 points 1 year ago

Genaus so ein "Puzzle" hatte ich damals vor mir liegen, aber dank der Photos und ein bisschen Ausprobieren fanden alle Teile (auch gehüpfte Federn) wieder ihren korrekten Platz.

Bei mir hat die Bohrer-Methode immer gut mit meinen normalen Metallbohrern funktioniert. Es gibt anscheinend aber auch spezielle "Schraubenausdreh"bohrer, die u.a. sich beim Auf-/Linksdrehen nicht aus der Schraube drehen.

Mein Vater würde übrigens einfach eine Schraube auf die Schaube schweißen (wenn die Schraube geeignet ist) und dann mit Zange oder Schraubendreher herausdrehen. Damit habe ich aber nur Erfahrung als Zuschauer 😆

[–] [email protected] 2 points 1 year ago (1 children)

Are you able to contact the manufacturer for replacement parts? If so, maybe you could use a dremmel tool to split the removable piece of plastic casing, then use pliers to unthread the remaining screw?

Might work if you’re delicate & able to get a replacement plastic casing piece.

[–] [email protected] 2 points 1 year ago

I don't have a dremel and the company doesn't even sell this keyboard model anymore so I don't think that I would have any luck there. But thanks for the suggestion :)

[–] [email protected] 2 points 1 year ago (1 children)

Those deep holes in plastic parts are always the worst. If you have a dremel you have 2 options. Either cut away enough of the top plastic that you can get at the screw to dremel a slot into the top, and unscrew it with a flathead screwdriver. Alternatively you could try dremel just below the head of the screw to cut the screw in half.

if you have a soldering iron you could also try heating the screw to melt the boss it's screwed into. You might have to cut/melt away plastic to access the screw and then apply light rension while heating so that it opens once the screw is hot enough.

[–] [email protected] 2 points 1 year ago (1 children)

I don't have a dremel, but I have a soldering iron. Just melting the plastic around the screw by heating it might really work. I will definitely try that!

[–] [email protected] 2 points 1 year ago

You could try soldering a bit to the screw and hope the solder is stronger than the grip of the plastic?