3DPrinting
3DPrinting is a place where makers of all skill levels and walks of life can learn about and discuss 3D printing and development of 3D printed parts and devices.
The r/functionalprint community is now located at: [email protected] or [email protected]
There are CAD communities available at: [email protected] or [email protected]
Rules
-
No bigotry - including racism, sexism, ableism, homophobia, transphobia, or xenophobia. Code of Conduct.
-
Be respectful, especially when disagreeing. Everyone should feel welcome here.
-
No porn (NSFW prints are acceptable but must be marked NSFW)
-
No Ads / Spamming / Guerrilla Marketing
-
Do not create links to reddit
-
If you see an issue please flag it
-
No guns
-
No injury gore posts
If you need an easy way to host pictures, https://catbox.moe may be an option. Be ethical about what you post and donate if you are able or use this a lot. It is just an individual hosting content, not a company. The image embedding syntax for Lemmy is 
Moderation policy: Light, mostly invisible
view the rest of the comments


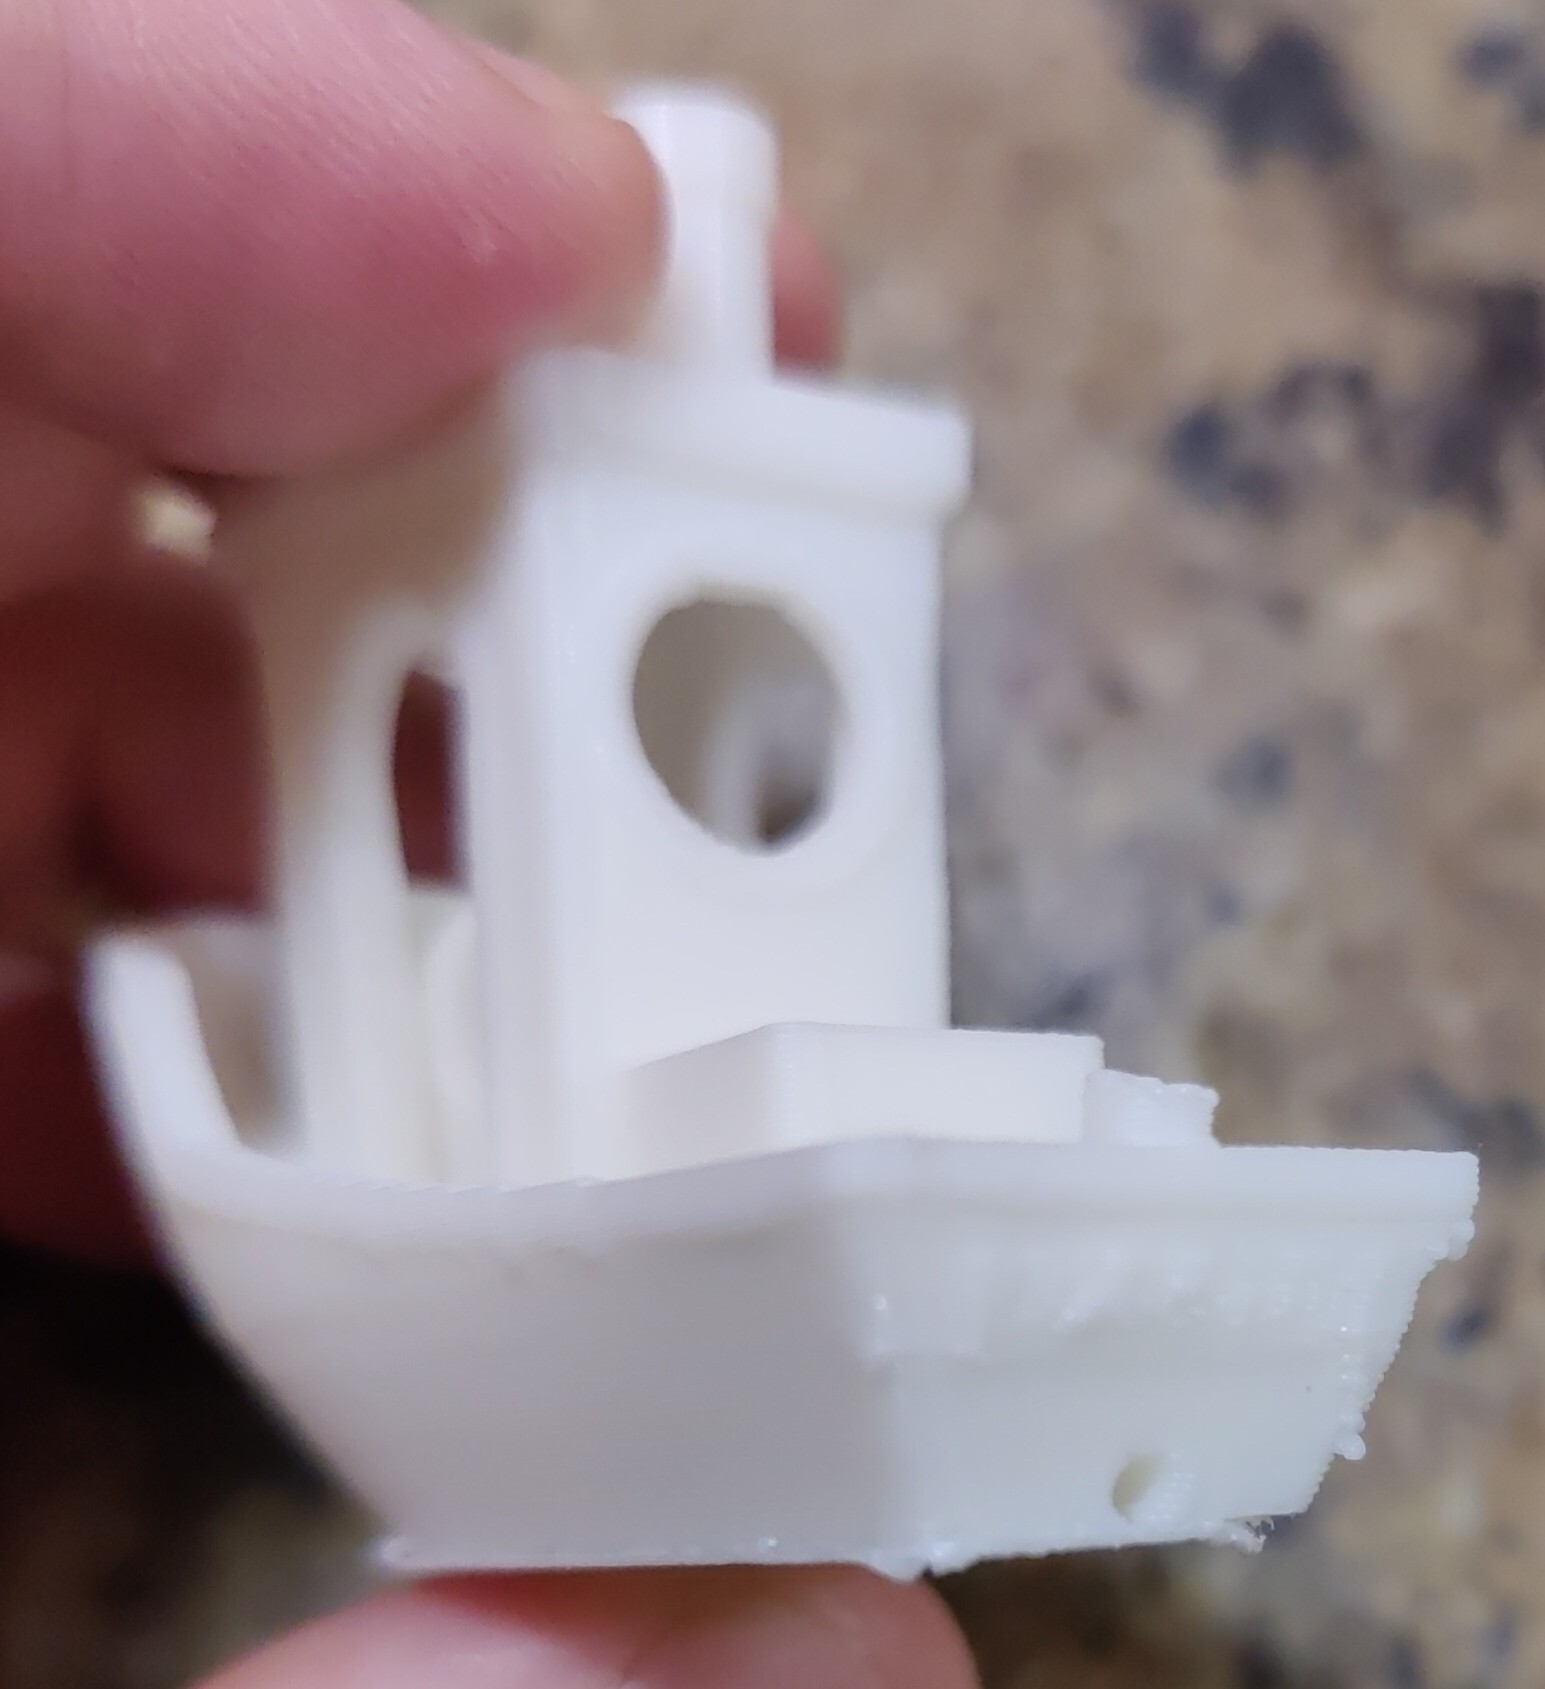
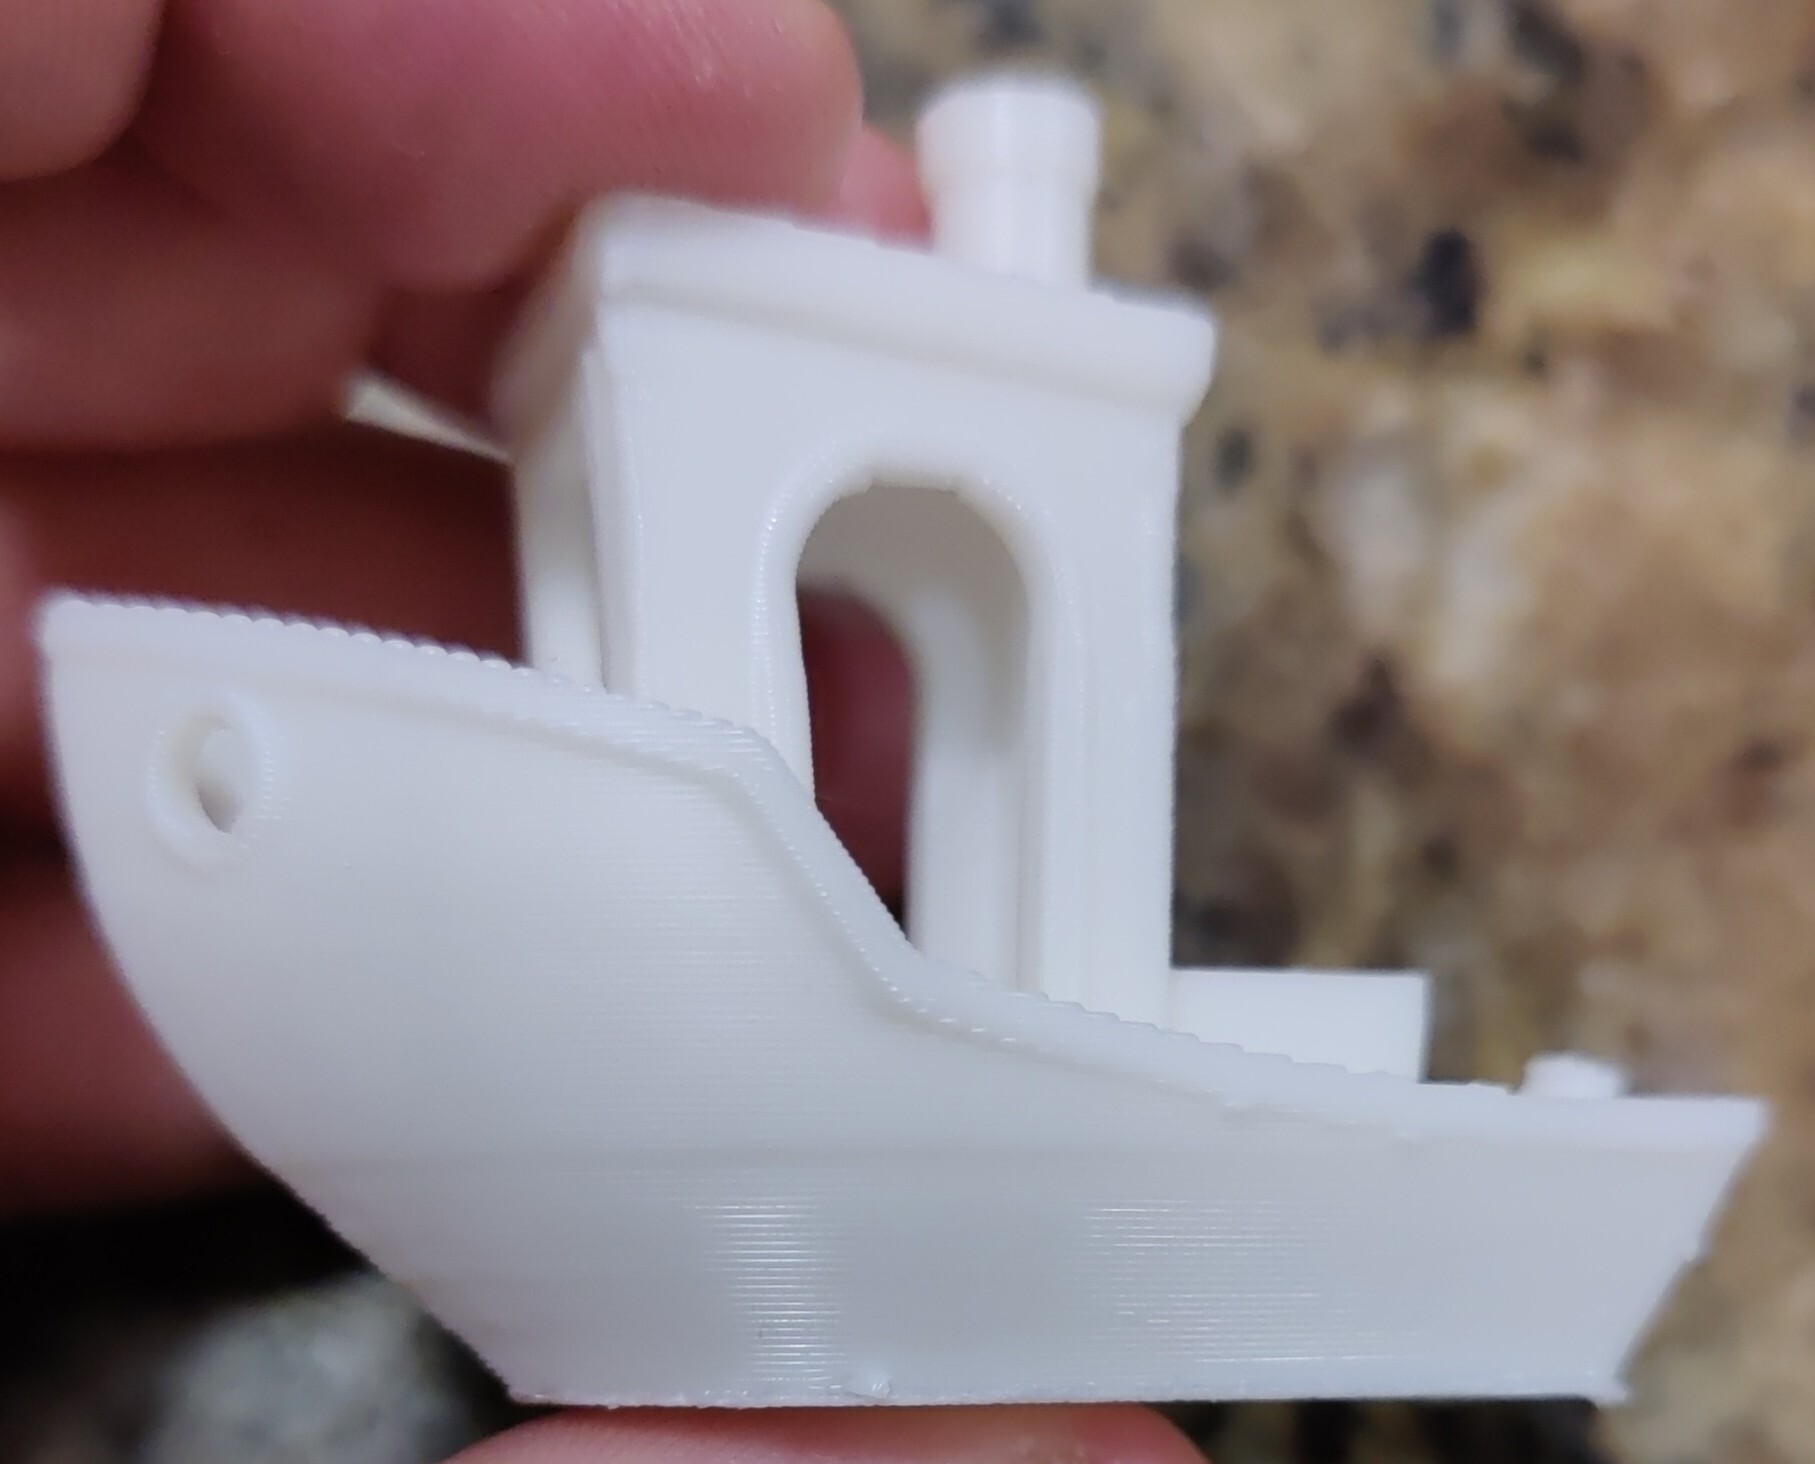
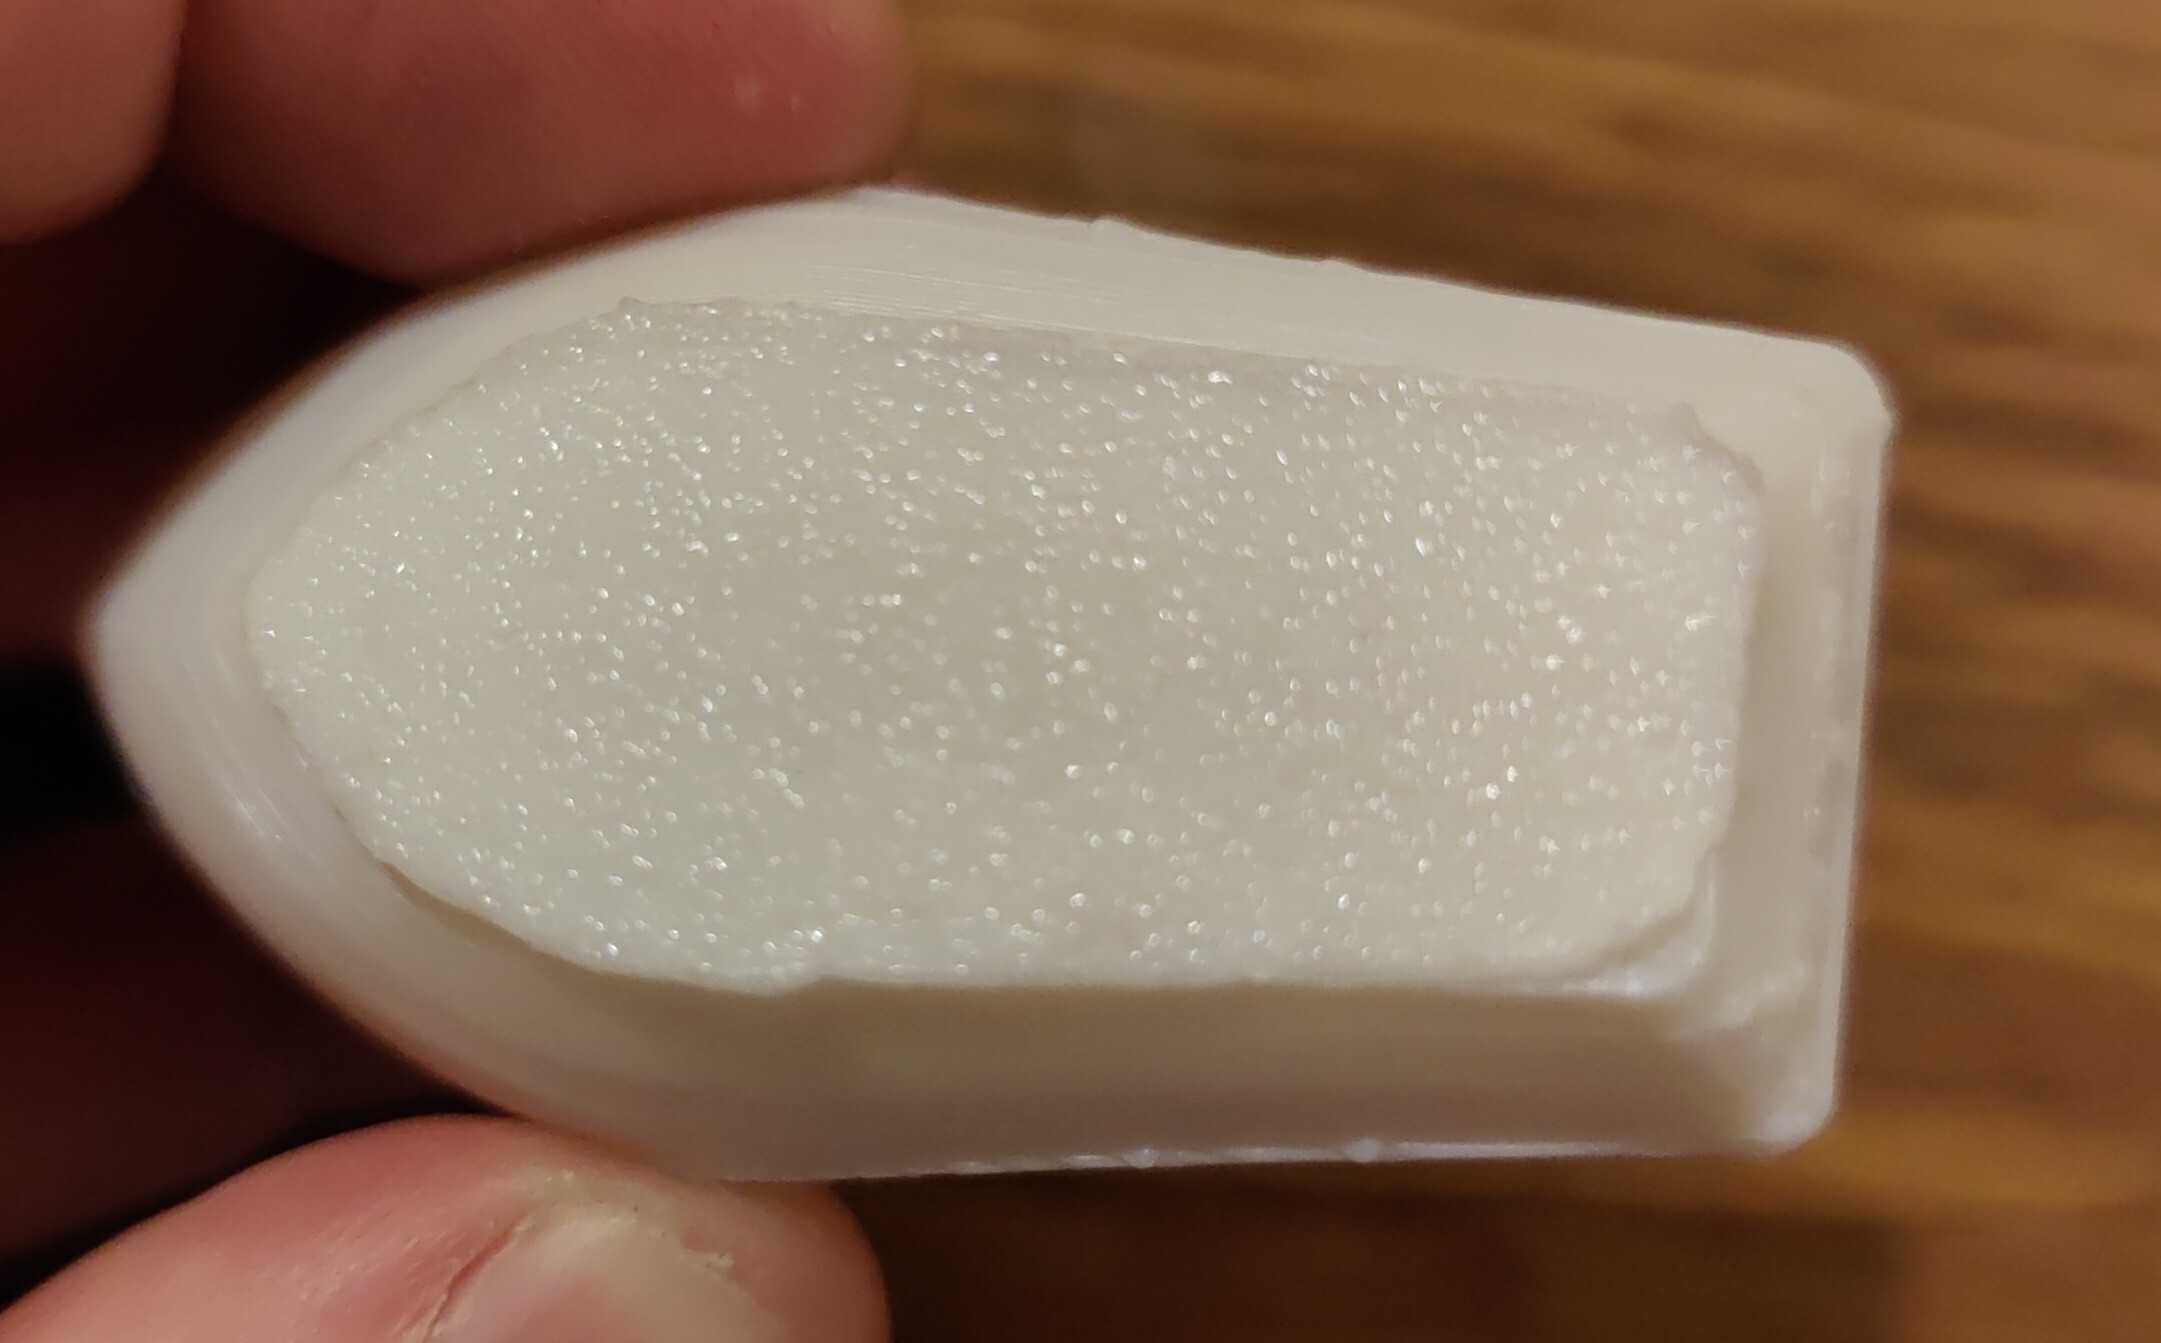
That looks pretty good, but I think your initial layer is starting too close to the print bed, so you have too much "squish" or elephant foot going on down there. I presume your printer has a textured bed, or if it's reversible you did that textured side up. I certainly hope so.
You may also want to turn up your retraction a little bit to see if you can get rid of those blobs on what I assume are the Z seam. Before panicking, though -- dry out your filament. You may find that this eliminates a lot of mystery print quality issues. You can buy a dedicated filament dryer, or if you have a dehydrator or oven that can go to a low temperature, like 45 or 50 degrees C, that will also work.
I will second the drying filament statement. It's genuinely shocking the difference it can make. Pretty much every metric is improved by using properly dried filament.
There are also food dehydrator mods out there on thingiverse/printables to convert a cylindrical dehydrator to work for filament without butchering the stands that come with it. Plus side is you can also make beef jerky with it :P
Yeah it has a textured PEI plate, the filament is just the 10m sample that comes with the printer (vacuum sealed), the filament I ordered hasn't arrived yet.
I'll give the ABL another go to see if it changes anything or just manually adjust Z-offset maybe.
I'll remember the trick with the dehydrator for drying out filament, I already have one of those that goes all the way down to 30°C
Note that vacuum sealing doesn't necessarily change anything, I've bought my fair share of vacuum sealed wet filament.
OK so I did another ABL, and it seems like it doesn't quite get it right unfortunately. This time I tried running the "levelling check" print they include (5 squares with 2 layers each, placed at the corners and center) and could actually hear the nozzle scraping against the bed when moving across it. I manually adjusted the Z-offset and that helped, I've now got readable letters on the bottom of my benchy. Blobs are still there though, so I'll take a look at retraction as well.
Yeah, scraping is way too close. Also, if you are truly paranoid you could take a ruler to the surface of your build plate and make sure it's actually flat. If it isn't, that'll cause you grief.
(The plate on my Qidi is removable, and held on with magnets. The other day I took it off to clean it, and by the time I reinstalled it a piece of swarf from something or other had fallen onto its mount, and got trapped under the plate which caused it to be bowed slightly. My next print came out with a bowed bottom and it definitely took me a moment to figure out why.)