this post was submitted on 29 Nov 2024
14 points (93.8% liked)
Geophysics
170 readers
1 users here now
Geophysics community, not restricted to Canada.
General rules: must be geophysics related or adjacent (this is a very wide scope, and includes things like stellar earthquakes); must adhere to lemmy.ca moderation rules; no pseudoscience.
See also [email protected]
And: [email protected]
founded 2 years ago
MODERATORS
you are viewing a single comment's thread
view the rest of the comments
view the rest of the comments

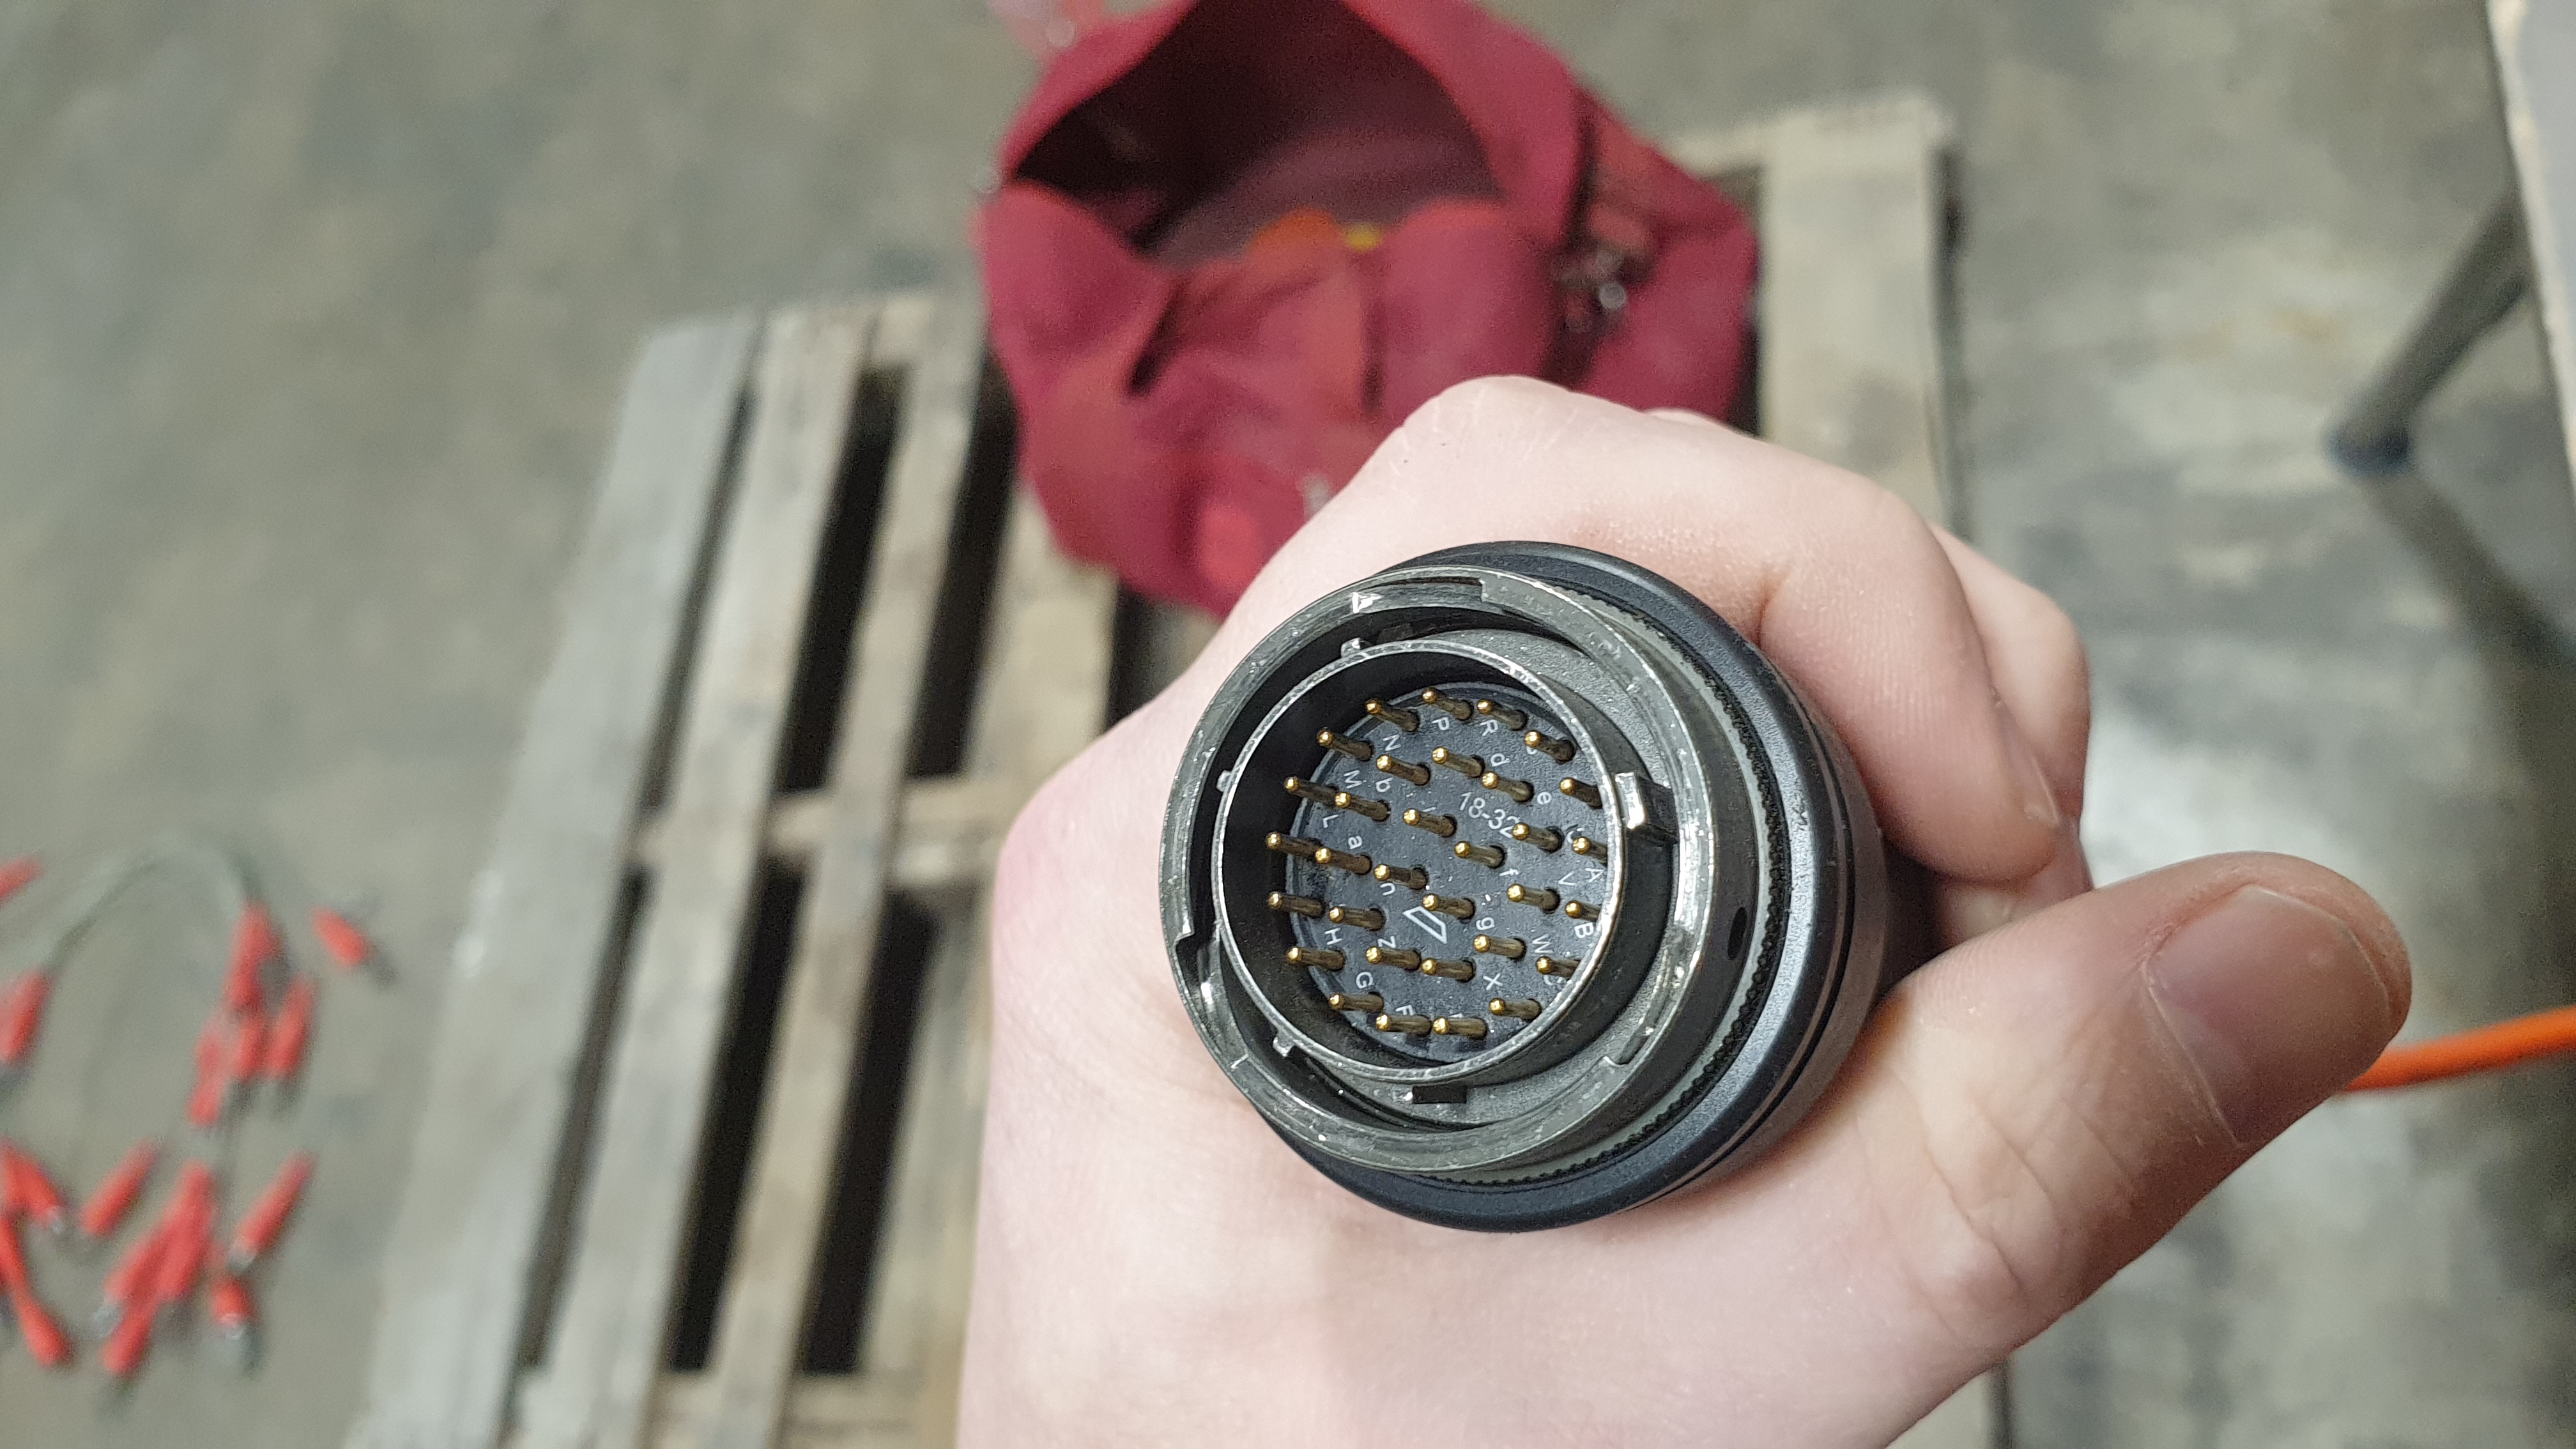
Oooh, electronics engineer chiming in here, those connectors are pretty cool and expensive. I've worked with them at a previous aerospace company. They're great for wiring up because they're keyed for only one way and the key is off-centre so you'd have to be an idiot to fuck up when following the wiring diagram. The trick is to not let an idiot draw the wiring diagram.
Source: have been that idiot at times.
A kindred spirit. I've also been that guy ~~drawing lines on a screen~~ designing wiring harnesses but in the automotive world.
Have you had to do the soldering portion before, or has it always been technicians? If I was a junior technician doing a replacement on one of these, what advice would you give?
I didn't do the soldering on it, though I would have liked to as an escape from my former boss (that's another story), but I did watch the technicians doing it and from what I remember:
First, double check your wiring diagram at both ends. Had a right fun time explaining to my boss the reason for the days of delay was whomever did the connector on the motor/gen socket had wired it up backwards because they hadn't flipped the wiring diagram. And disassembling that was a bitch.
Triple check the orientation you're working from and it's always better to borrow a second pair of eyes than redoing it.
Make a spreadsheet with the connections and print it out large on A3 paper (or US equivalent size).
Read the connector documentation a few times and have a go at disassembly then reassembly without the pins.
Cut your wires to the required length and bundle them together into a harness using kapton or electrical tape.
Make sure any glands that need to go over the end of the connector are slid over your wiring bundle
Work from the centre out, it makes pin insertion much easier.
Double check before inserting a pin until it clicks, they're more difficult to remove than insert.
Check both ends using continuity on your multimeter after each insertion (if that's possible) and mark off the connection on your A3 sheet using a highlighter.
Run a continuity check after you've inserted the last pin.
Finally, slide the gland fittings and thread into place.
Please verify this advice yourself as it's been more than 4 years since I've worked with these connectors and you should never blindly trust strangers on the internet, let alone those giving advice.
Happy wiring 😊
Much wiring, great advice 👍
When it comes to "Cannon" plugs, if they don't AMP you up, they'll Ben your Dix